Spring is upon us (or at least we so hope it’s in the near future), and with spring means that any “seasonal,” “winter” decor that’s really just leftover Christmas cheer we’re clinging to is officially not appropriate any longer.
So how to glam up a drab wooden door now? The only holidays in the future are Saint Patrick’s Day and Easter, which fly by and you’re left with a lot of overpriced decor you hung up for two weeks.
Instead, a spring, or all season, wreath is the perfect craft to hang all through summer until those Christmas boxes can come out again.
Step One: Shop Smart
The first, and most crucial step for your wallet, is to buy your supplies and to be smart about how you do it.
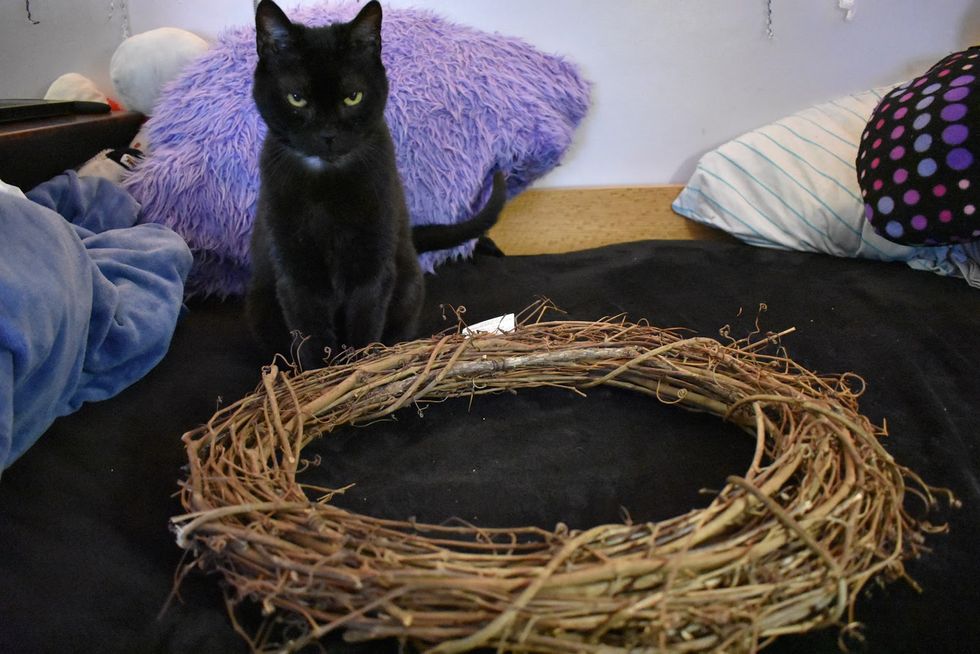
The actual supplies are very simple. You’ll need a wreath base, a woven ‘wooden’ vine base so that you don’t have to cover all of it. This will run about $5 at a craft store; I shop specifically at Michael's.
Also, along with your wreath base, consider getting a cat to assist you by eating all the fake little bits.
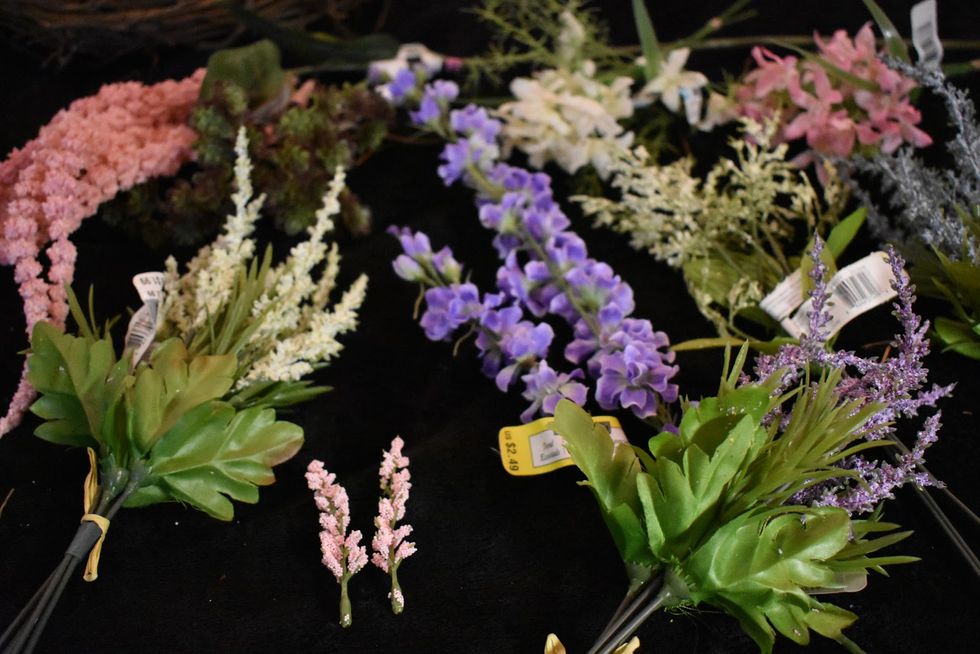
Secondly, you’ll need your flower and greenery to decorate with. Pick these carefully and don’t go overboard. Remember these will all be put together so select a color scheme that is effective together. These range in price from as low as $1 to $12, so look for sales and scour last season’s sale bins for these.
Focus on a few larger pieces or bottom pieces to create your flow. Leaves or a base element will work well to lay down first. Then, work with what attracts you, but I suggest leaning towards the smaller bundles or those with size variation because the smallest bits end up uniting and connecting the overall wreath the best in the end.
All together, if you’re smart with sales and selection, you can do this entire project under $15 (a bit more if you don’t own the tools already).
Last, to connect all those you’ll need a hot glue gun and plenty of glue. I used around three sticks to complete my wreath.
Step Two: Prepare The Space
All the little bits from the wreath and flowers will break off as you’re working, so pick your space carefully and consider laying down something to catch all the dust because it’s a pain to clean up later.
The dust will permeate through your entire life if you’re not careful.
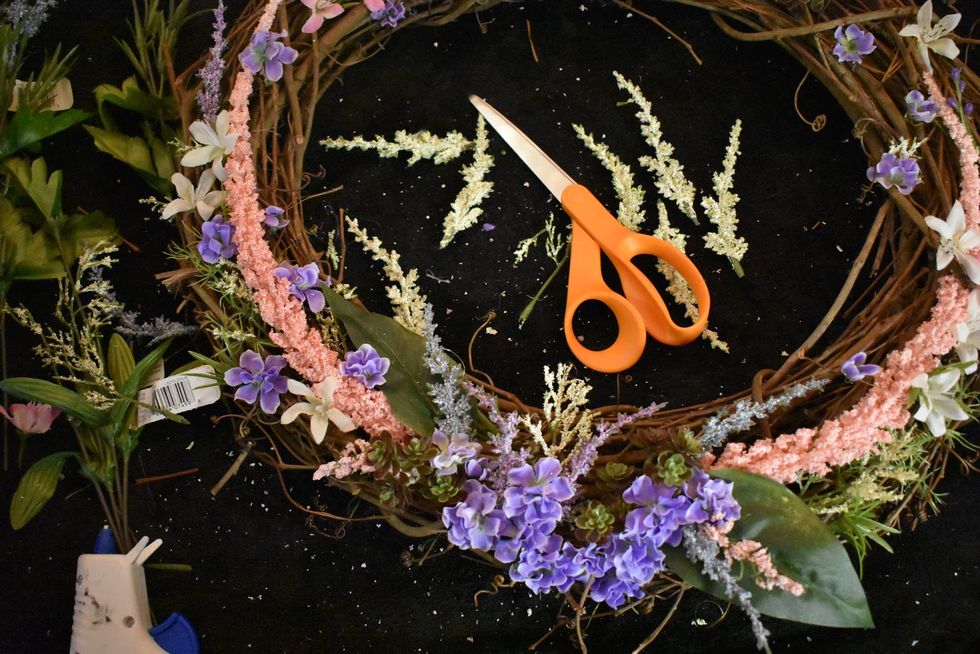
Once your surface is prepared, lay out your wreath and pick the top. Now go ahead and start deconstructing the bundles of flowers. You won’t need to large, thick stems or wire that they come on. Some will need to be cut off, others will pop off of a wire. Careful to pull them off from the base, near the wire, not the flower itself or they will break on you.
Step Three: Plan Your Layout
Before you start glueing stuff down willy-nilly, take some time to plan the major elements and the concept you want. A basic design is to focus a number of elements in the bottom wreath that flow towards the top, but plan whatever movement in the wreath you’d like.
Don’t try to lay out everything right away, because too much layer it up now will just be a bit frustrating since only so much can balance on the wreath, once you figure out the major “sketch” of the wreath, glue down the major elements.
One those are in place, start working with medium elements and work up to filling in the details with the smallest. Remember to view the wreath from above, or lift it up in front of you, every so often to see the elements as they’ll be viewed when finished. You don’t want to be angling everything towards you when you’re sitting then stand up and realize that you can see all the glue and stems.
As you’re filling in your wreath, consider building clustered elements. Add some greenery or leaf-life elements poking out from behind flowers, cluster different sizes together.
Once you’re satisfied, glue everything down securely. Then, optionally, you can add a bit of ribbon or something to hang it with or just finagle the wood vines onto a hook.
Step Four: Hang!
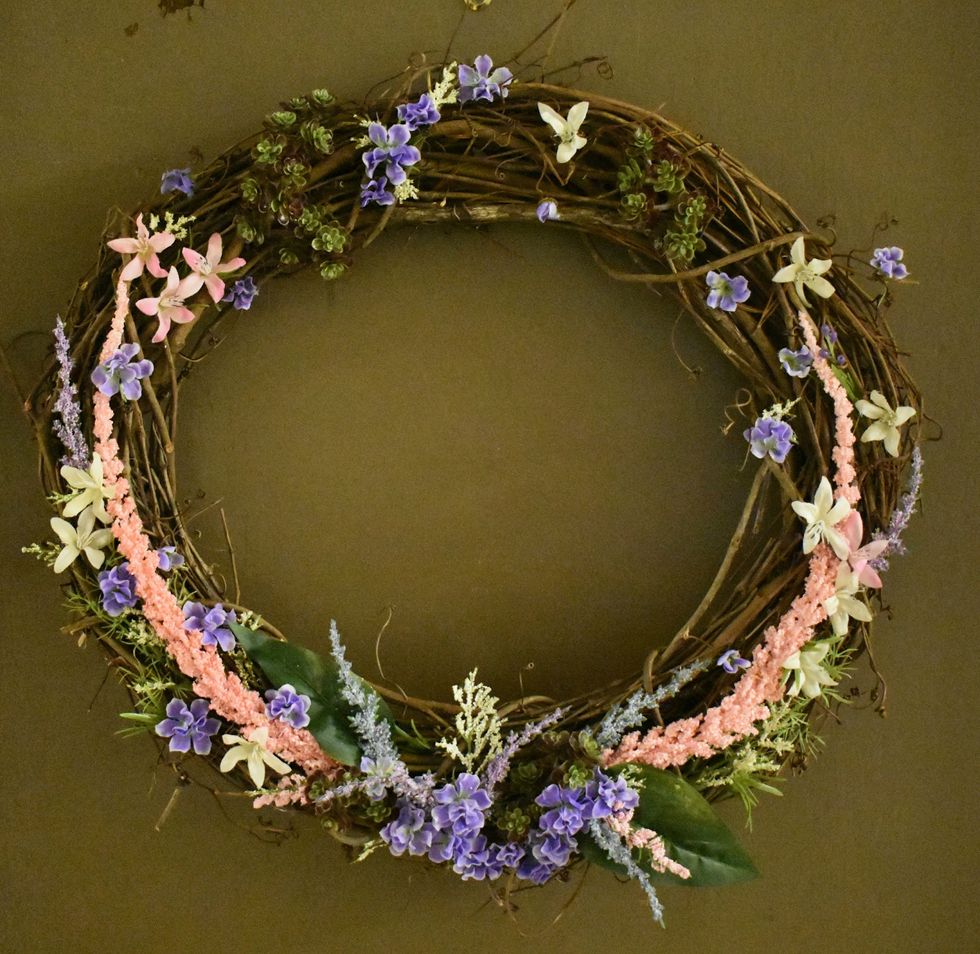
Viola, you’re done. Center the middle of the ring to your hook so it’s not crooked and secure it onto your hook.
Now, you’re all done. Enjoy the compliments and move on from that boring-door syndrome!


