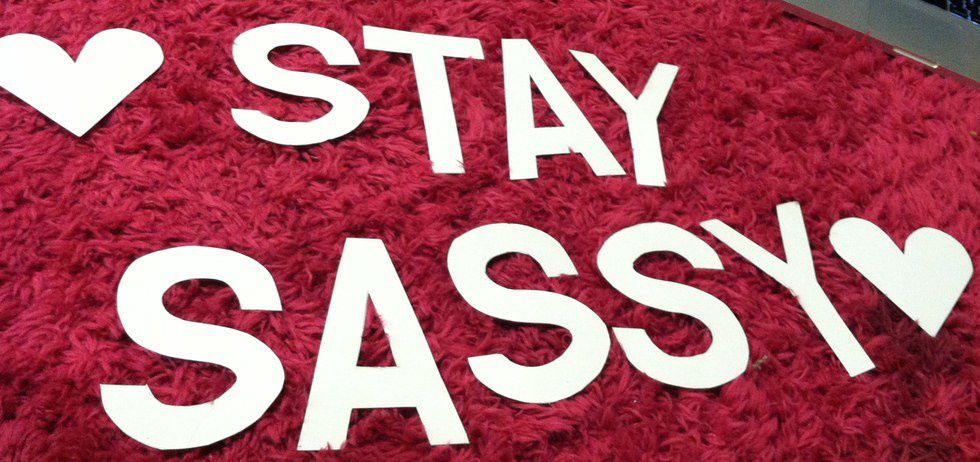
1. String letter sign. Perfect for any occasion, party, room, or event because it is so customizable!
What you need
- 4 feet of string (depending on what you want to write)
- Modge podge (only if you want glitter)
- Glitter (optional)
- Spray paint
- Ruler
- Floppy poster board
- Scissors
- Tape (preferably the clear scotch tape instead of the matte)
Instructions
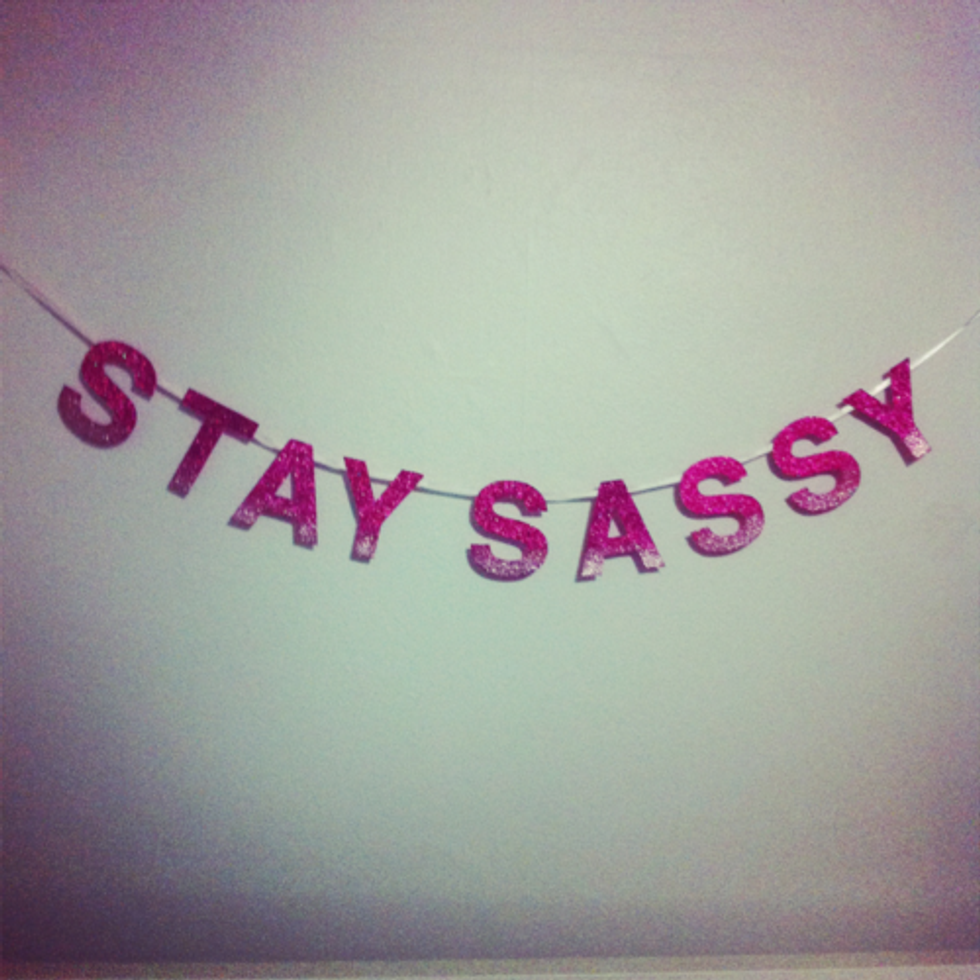
- Figure out what you want to say (your sorority motto, “Stay Sassy”)
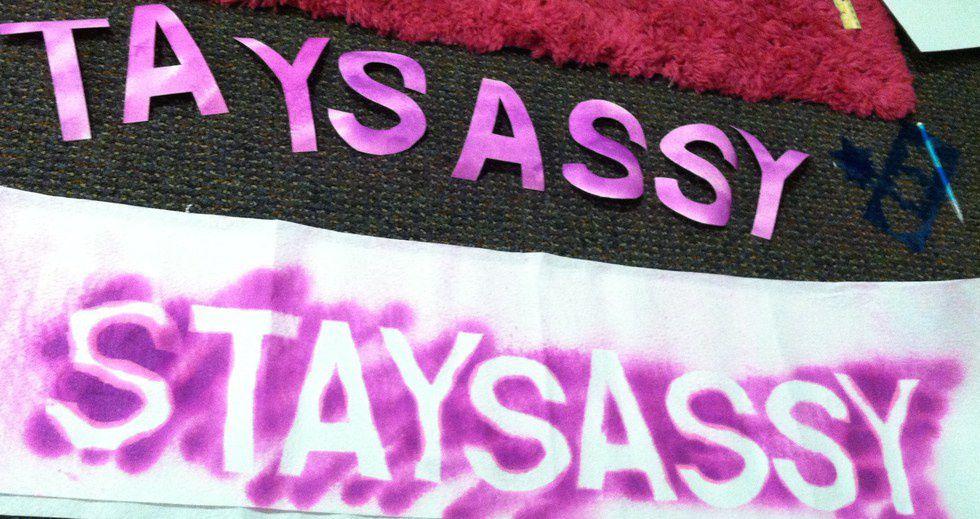
- Write on the poster board in block letters about 5 inches in height and then cut them out. Don’t worry if you mess up writing them, they will be painted anyway! Tip: If you have multiple of the same letter, for instance the four of the letter S in “Stay Sassy,” cut out the first S and trace it three more times so that they all look the same.
- Bring the letters outside and spray paint them so that there is an even layer of paint over all of the letters. Let them sit for a minute before picking them up.
- If you want to add glitter, keep the letters outside and paint modge podge over the spray paint and sprinkle glitter on the letters.
- Lay the letters out to be sure you made enough, and also to measure how long your ribbon needs to be.
- Cut the ribbon according to how long the line of letters is.
- Tape the back of the letters to the back of the ribbon so that it does not show. Tip: You can also hot glue gun the letters on so that they are sure to not fall off.
- Pin it on your wall!
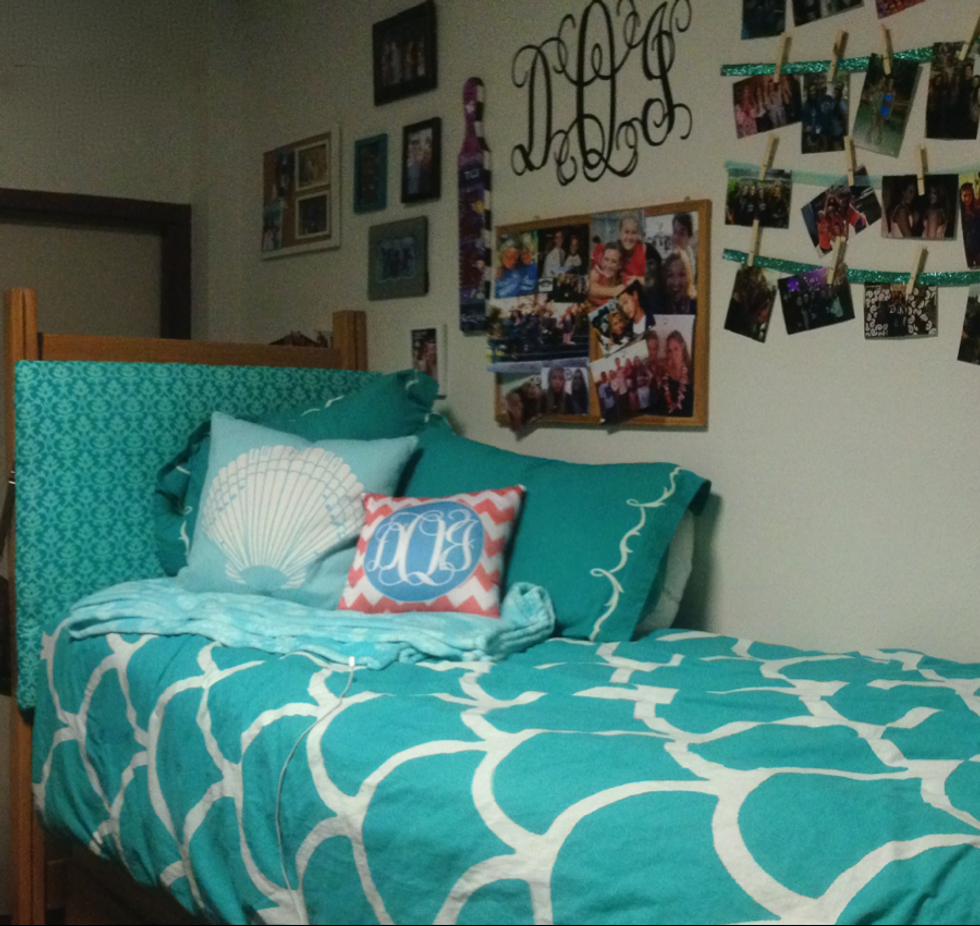
2. Headboard. A custom headboard can be up to $200 online. Why not make one for under $30?!
What you need
- Sheet of wood
- Fabric
- Batting
- Staple gun
Instructions (these instructions are for a twin bed, but they can be adjusted to any size bed)
- Measure your bed frame to figure out how wide the wood should be. You want the wood to be long enough to rest on the sides of your bed frame. Most Twin XL will be 43” wide. Also at Home Depot, they will cut wood to the size you want it.
- Figure out how much fabric you will need. There needs to be enough for the front and if you want the back. The Twin XL headboard that is three feet high would need fabric that is 83” by 36” and then add few inches each way so it wraps around the side and over laps.
- Figure out how much batting you need. It only needs to cover the front and wrap to the back slightly so it can be stapled. For a Twin XL I would get 36” by 49”.
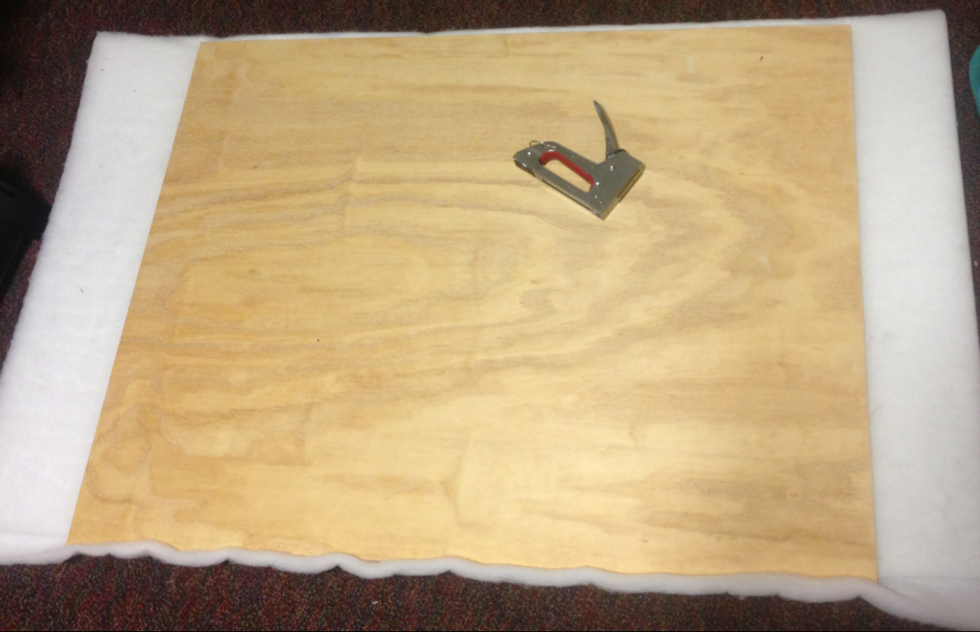
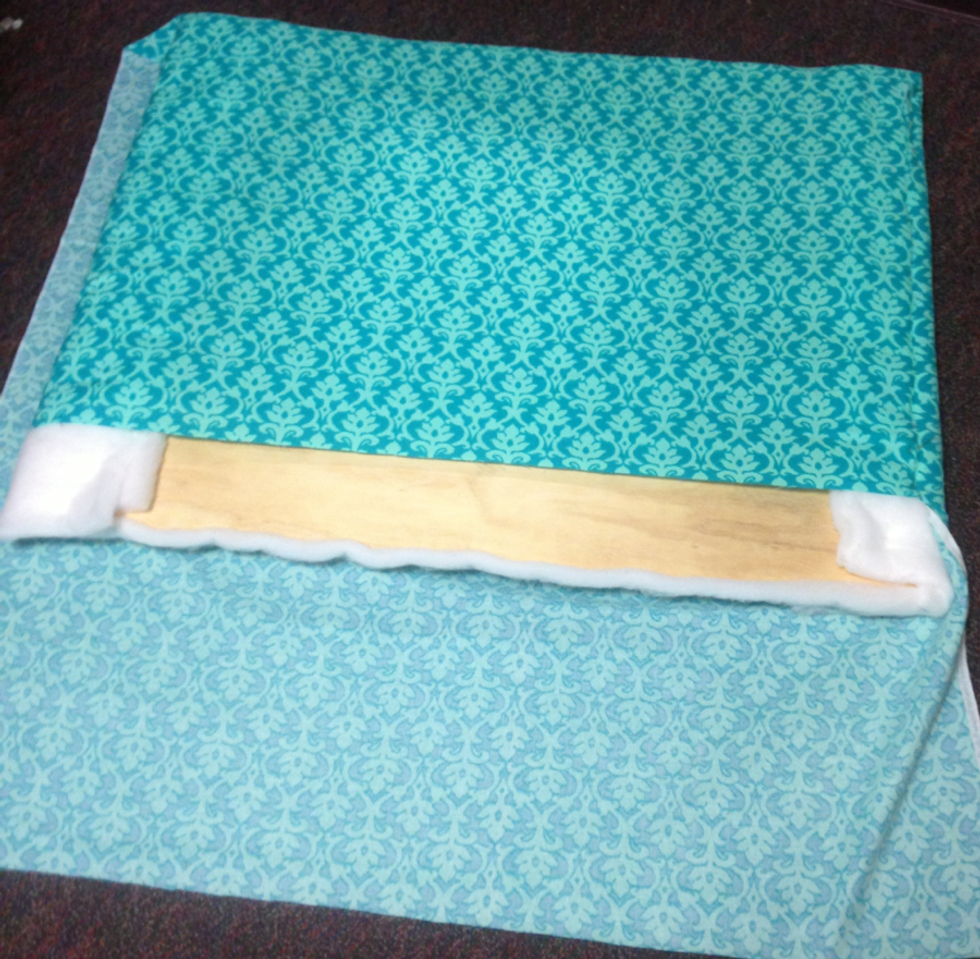
- Once you have bought all the materials, you are ready to start! Start by laying the batting on the ground and placing the piece of wood in the middle of the batting.
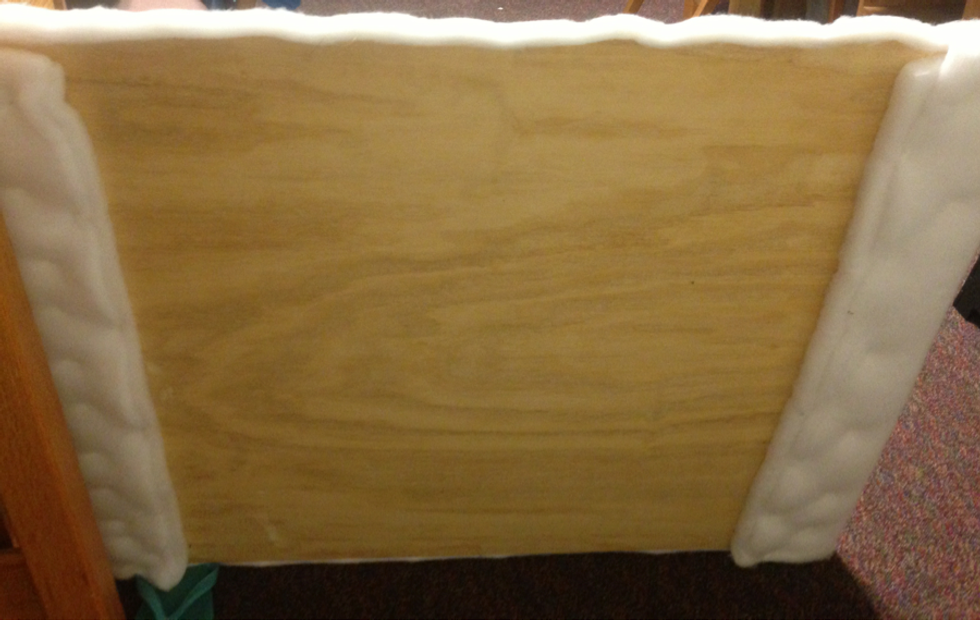
- Fold the batting over the edges of the wood and staple them down.
- Lay the fabric pattern side down, and then lay the wood batting side down. Fold the fabric over the edges and staple it all on the back.
- Put it on your bed between the mattress and the wall, between a lofting piece and your mattress, or anyway you can make it stay up!
3. String of Photos. This is, quite possibly, the easiest project to do.
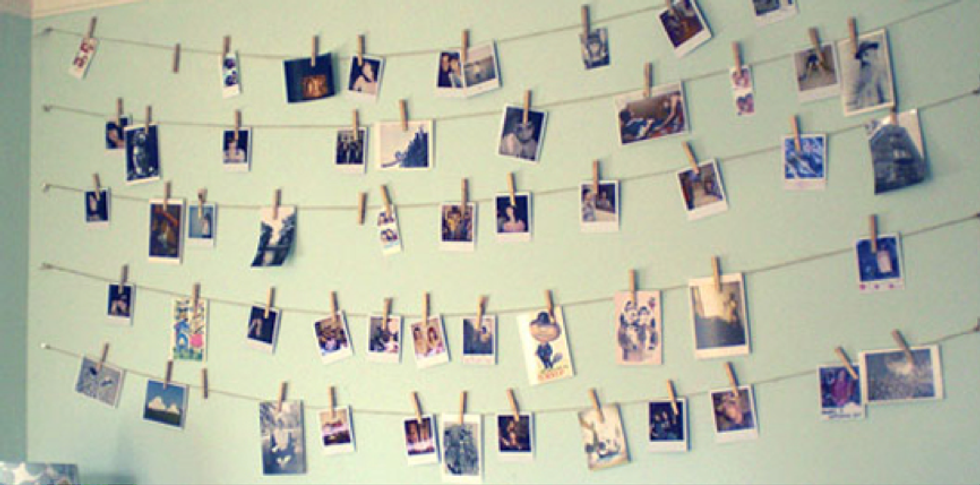
What you need
- Clothespins
- Ribbon
- Lots of photos
Instructions
- Cut ribbon in to long strips. There can be just one strand, or there can be seven strands. They can be one foot long or 10 feet long. It is all up to you!
- Pin the strands of ribbon on the wall.
- Place photos on the strings using clothespins.
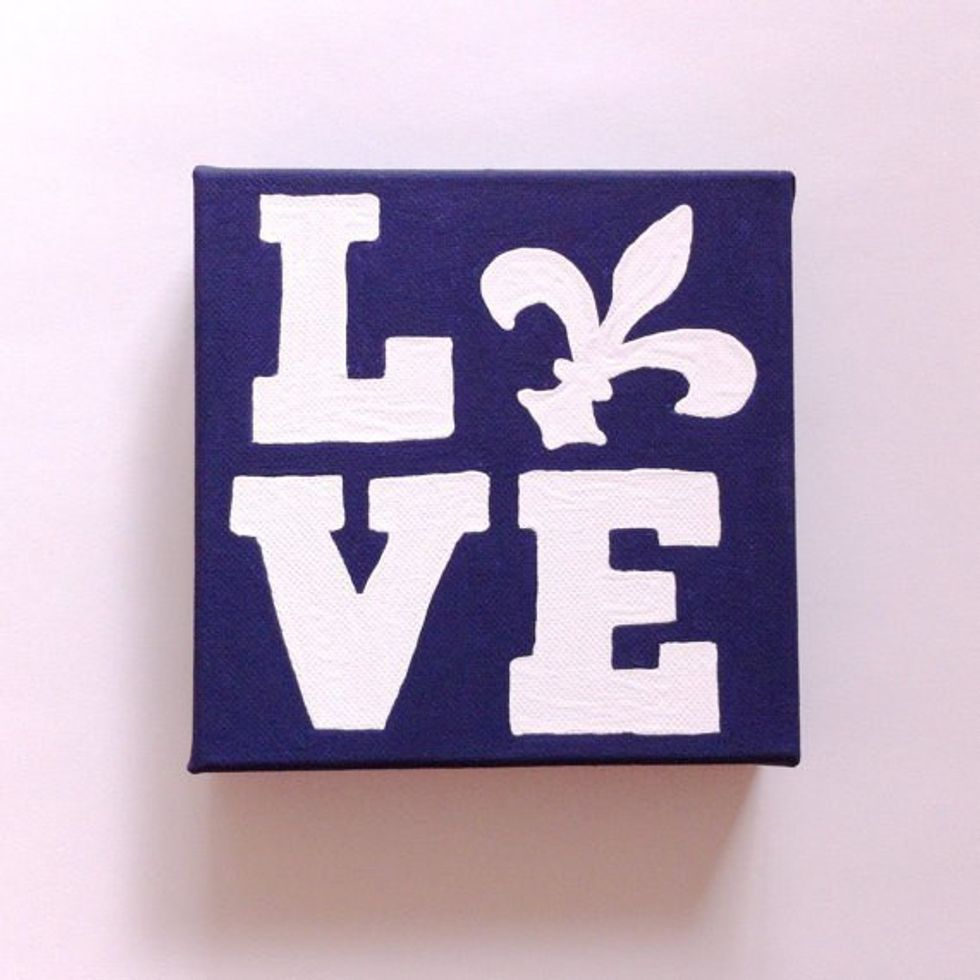
4. LOVE canvas. So easy and so simple.
What you need
- Canvas
- Two paint colors
- Paintbrush
- Stencil
Instructions
- Paint the whole canvas a background color and let it dry
- Paint the L, V, and E in their proper places, leaving the top right corner blank
- Print out a picture of what you want the “O” to be. (normally a sorority symbol)
- Cut out the picture of that it makes a negative shape and
- Paint over that negative shape in the second color you picked.


