If your university allows you to decorate your graduation cap for the big day, then you're probably like me, having dreamed of all the different ways you could decorate that hat when the time finally came. You spent years admiring those graduation pictures of people you knew sporting their beautiful caps.
Welp, now it's finally your turn, and you're holding that sad, boring, square thing of a hat in your hands not knowing what to do next. You're also feeling excited about graduation but overwhelmed with all of the things you still have to do before you can make it across that stage. Not to mention, senioritis has probably hit you, and it hits HARD.
No need to fear! While decorated graduation caps look intimidating, they are actually SUPER easy to put together.
Follow these 5 simple steps to make your graduation cap come to life and show off your personality on the big day!
Step 1: Brainstorm and purchase your supplies!
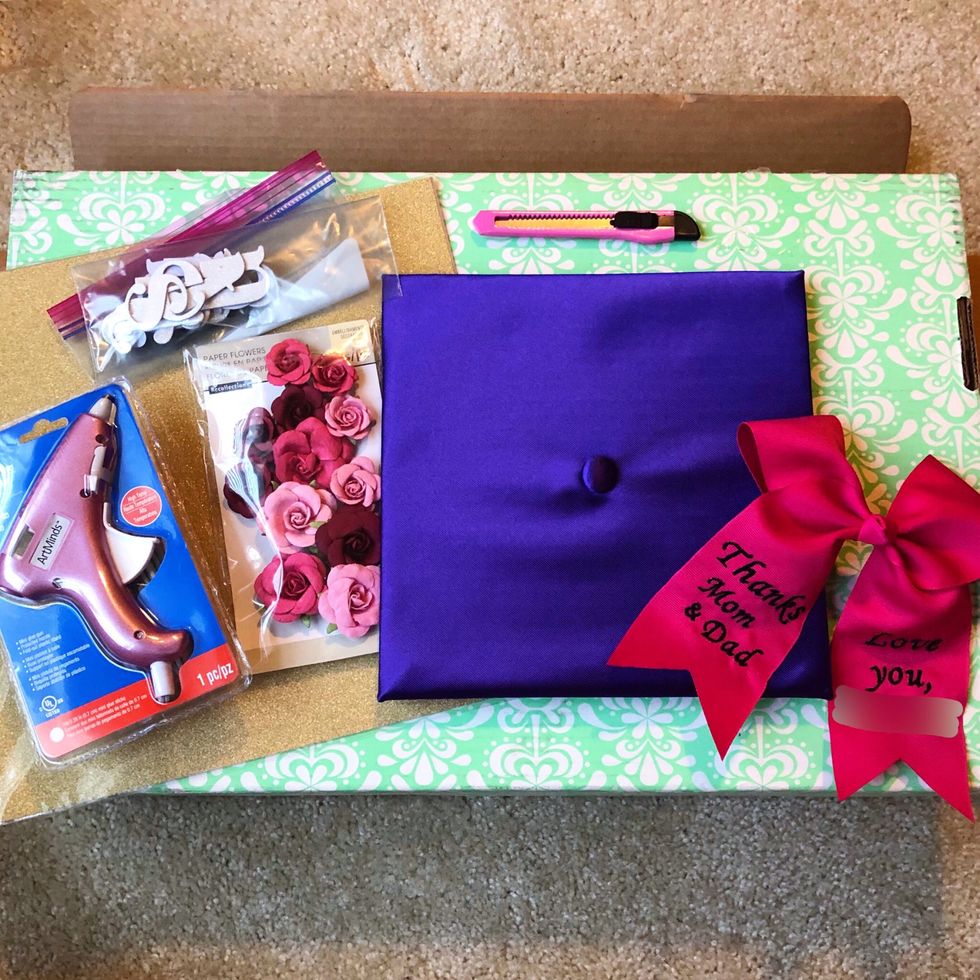
Christine Evangelista
Before you walk into your local craft store, make sure you have an idea in mind of how you want your cap to look. (If you don't, you'll end up buying out the store…trust me.) Brainstorm ideas from scrolling through Pinterest, looking at other people's caps, or by just taking a nice bath and getting those creative juices flowing!
Once you finally have an image painted in your mind of the perfect grad cap, buy the necessities to make that picture come to life. Some things you'll definitely need are:
- A hot glue gun
- Hot glue gun glue sticks
- A pair of scissors
- An X-Acto knife
- A pen
- Your grad cap
- Anything you want to use for decorating!
Step 2: If using scrapbook paper for the background of your hat, trace it out to get the right size!
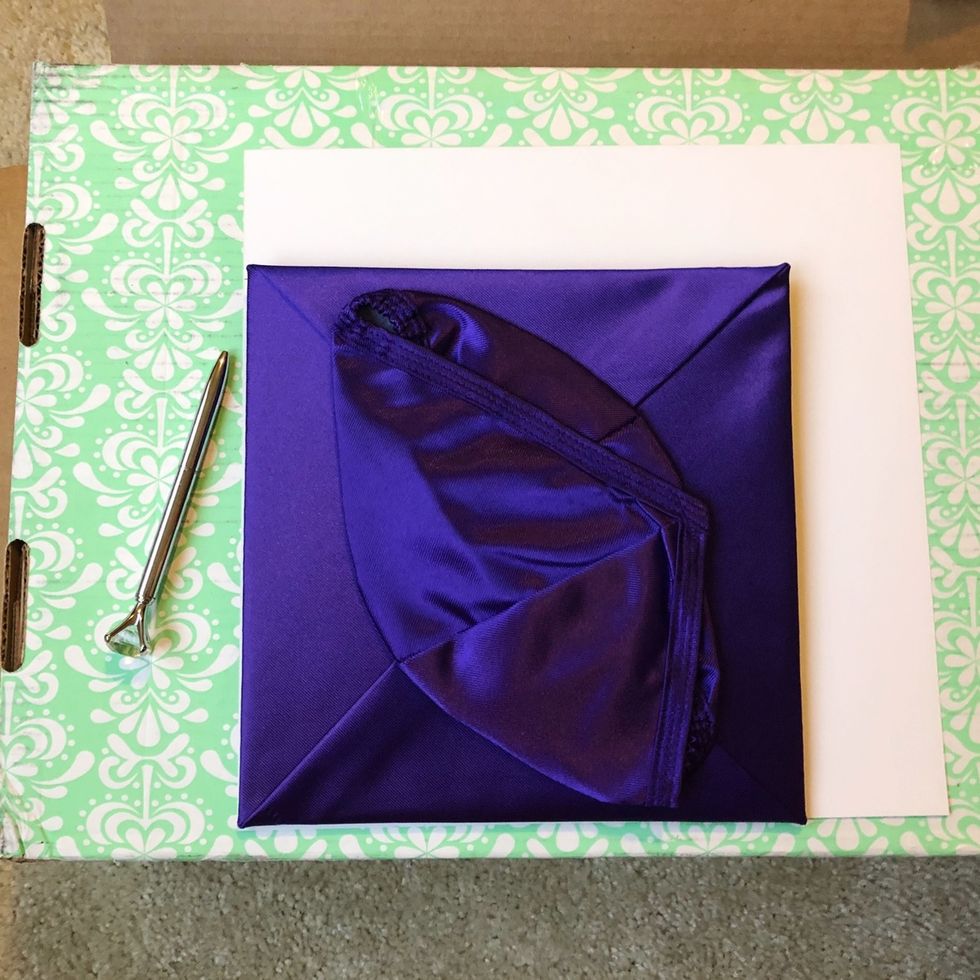
Christine Evangelista
If you decided to use a piece of scrapbook paper to brighten up or change the color of your graduation cap, the first thing you'll need to do is to trace your cap on the back of the paper. Go slow! There is no rush, and masterpieces take time. Once you have finished tracing, go ahead and cut out your square.
Step 3: Cut out the hole for your tassel, and glue the paper down!
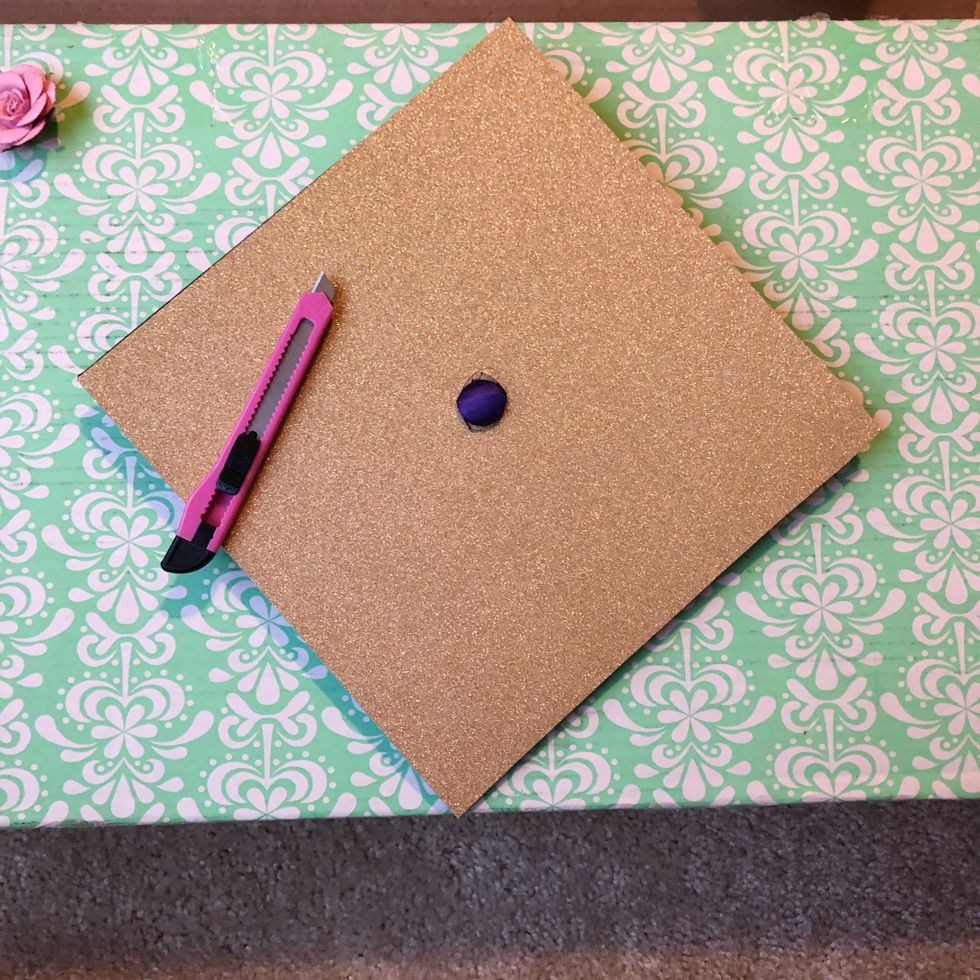
Christine Evangelista
Once you've cut out the background for your cap, you will need to take an X-Acto knife (or a pair of scissors if you don't have one) and feel for the button on the cap. Make incisions to slowly carve out the button for your tassel!
TIP: If you mess up (as I did) no worries! Take leftover scraps from the sheet of paper, make a new hole, and tape it under where the hole you messed up is! No one will be the wiser.
The next step is optional. It's time to hot glue your piece of paper to your grad cap! I decided to glue mine down at this step since I knew it would be difficult to do with all the décor I planned on putting on my hat. However, you can opt to make this your last step.
Step 4: Lay out all of the pieces you want to use, then finally, hot glue them down!

Christine Evangelista
Make sure to play around with all of your decorations to make sure you are happy with how they look. Once you glue those suckers down, there's no going back!
Once you've convinced yourself you're happy with your layout, take a few deep breaths, and begin permanently setting them.
TIP: Hot glue down EVERYTHING even if they are sticky on their own. In order to avoid any piece of your beautiful hat coming off on the big day, it's always safe to go that extra mile!
Step 5: Sit back, relax, and admire your masterpiece.
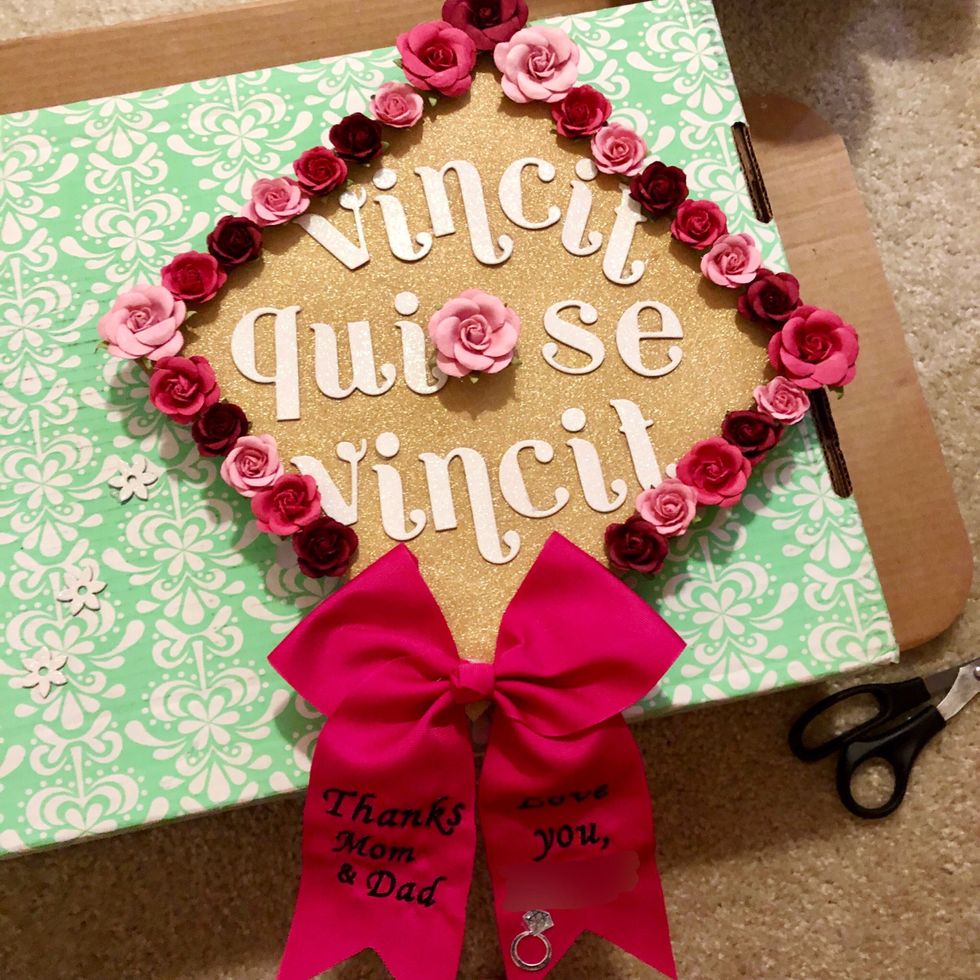
Christine Evangelista
You finally did it! You finished your cap and you're ready to take on the big day like the flawless college grad you are. Instagram it up then put it somewhere safe until you're ready to take your grad pictures, or ready to wear it on the actual day. See, it wasn't so bad, was it?
Happy Graduation!


