It's that time of year again when the turkeys are gobbled down and the trees go up. Some people love decorating for Christmas and other people (like my father) do not like decorating for Christmas at all. My family goes all out for Christmas every year-we are the Christmas crazies. At our house we go nuts with decorations; we have five trees right now. So basically we have tree decorating down to a science in which I will share with you now.
1. Take it out of the attic
This is the worst step, in my opinion (so much effort). After you get the stuff out of storage, it is a breeze!
2. Take the tree out and set up
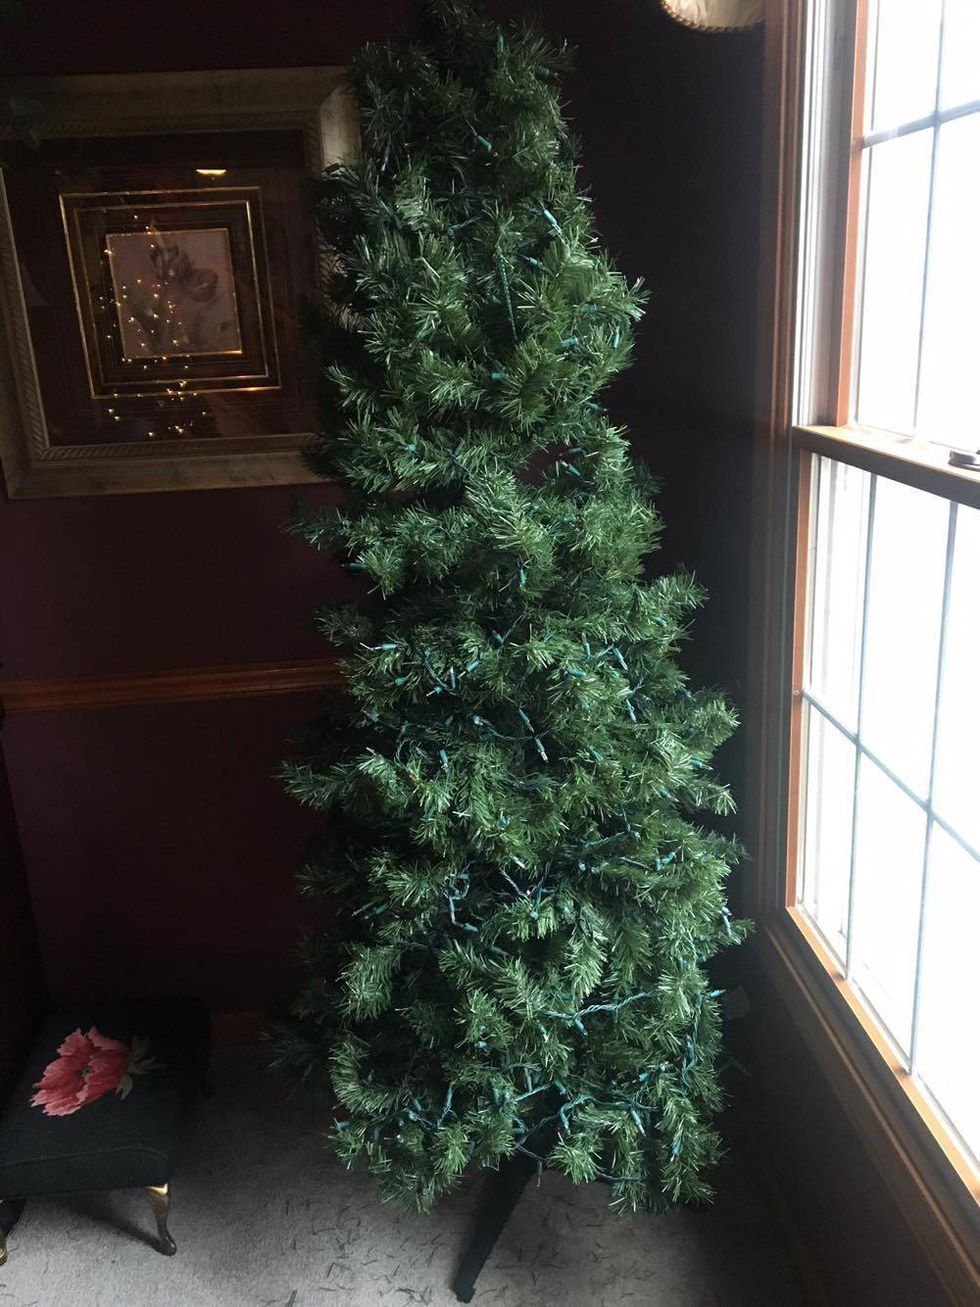
Trees are becoming much easier to set up. If you still have an old, unlit tree, then this step will take you longer. (Hint: Walmart has really good, pre-lit trees for less than $100)
3. Light it up
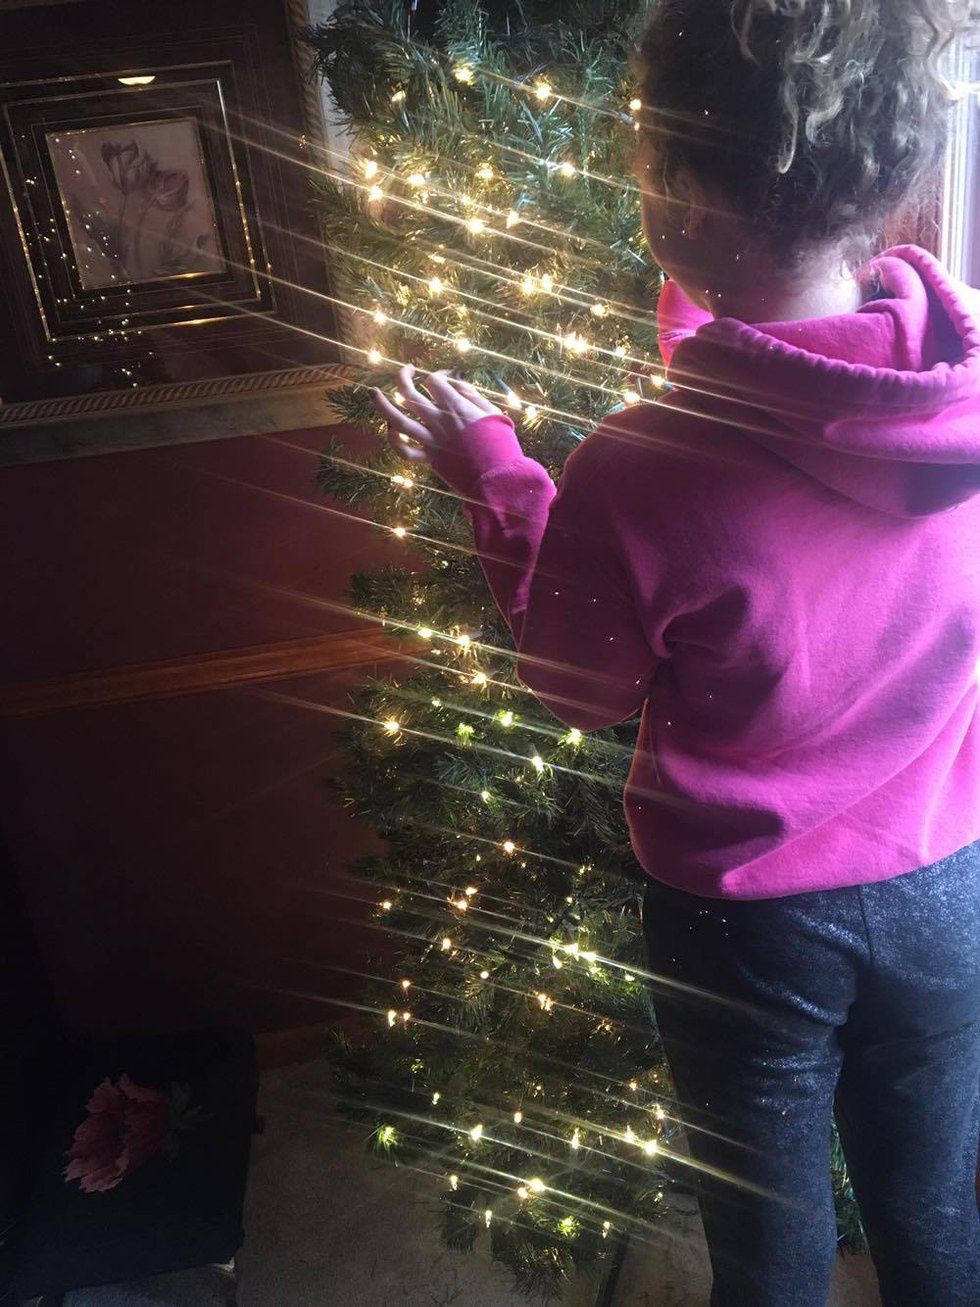
Light the tree up! Even if it is a pre-lit tree you need to add more lights! The pre-lit trees are nice, but there is always room for a few more lights. For each tree we average about 600 lights. It looks pretty, and I am sure that we are ComEd's favorite customers this time of year.
4. Ribbon it
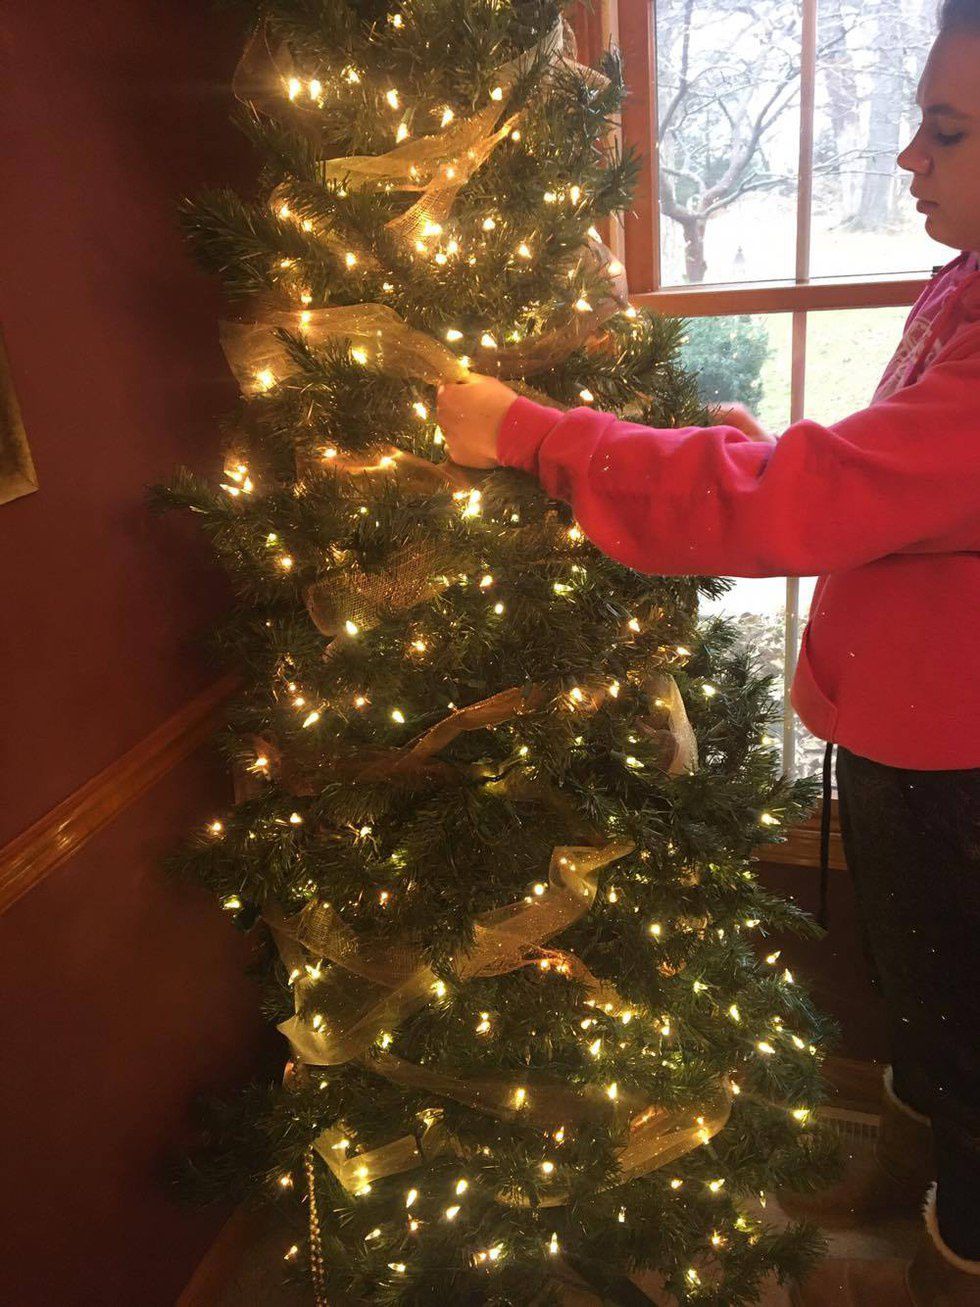
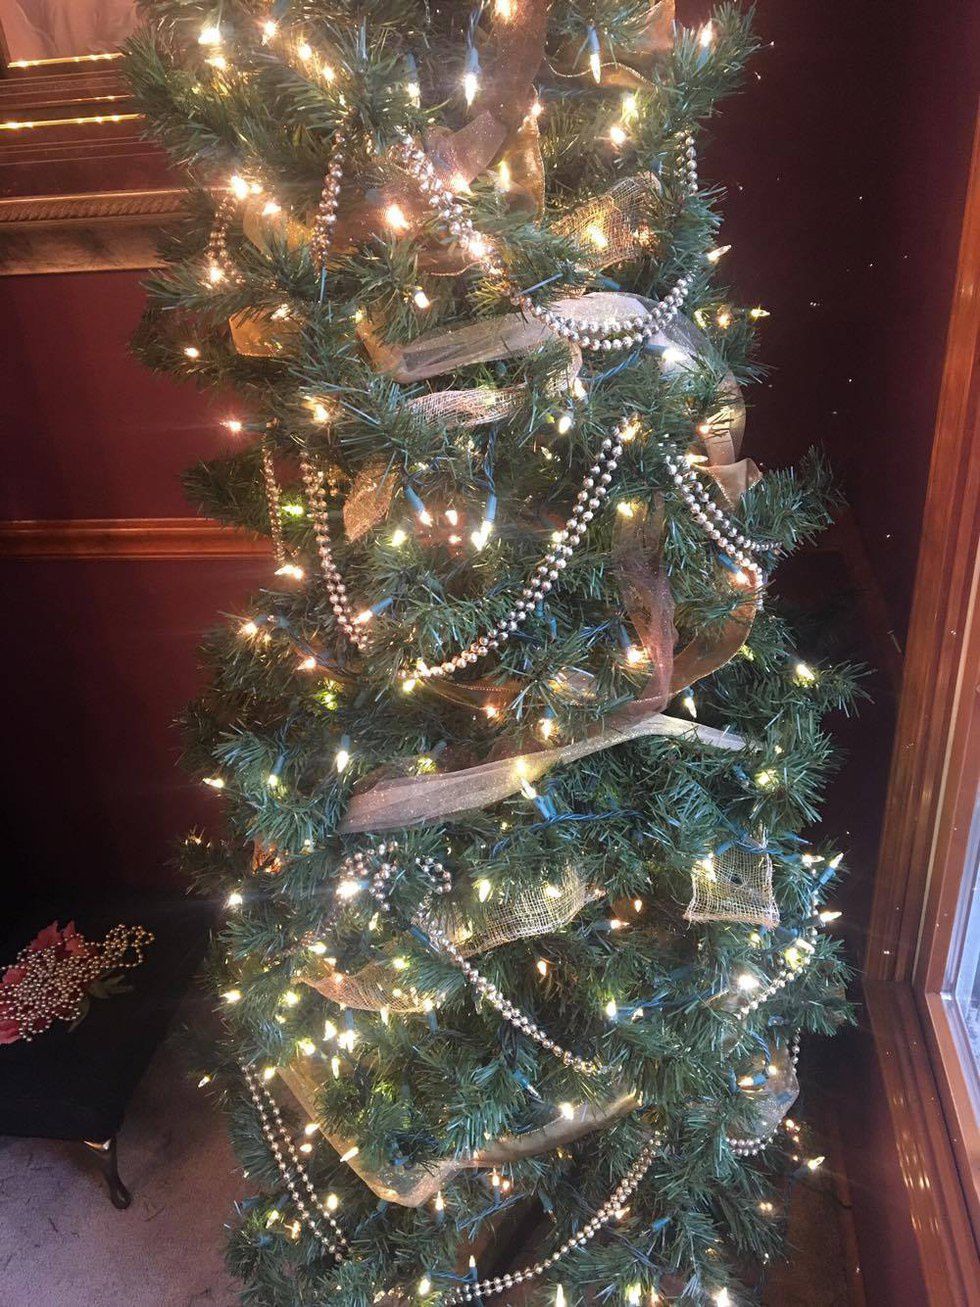
Close to the pole of the tree we loop around ribbon to create a deep layer of decoration. (Pro tip: if you don't have enough ribbon for the whole tree, loop the ribbon back and forth over the areas of the tree that people can see; don't worry about decorating the back. Important pro tip: if you do use ribbon, make sure you tuck the ribbon into the boughs of your tree. You do not want your tree to look like a mummy!)
5. Bead it
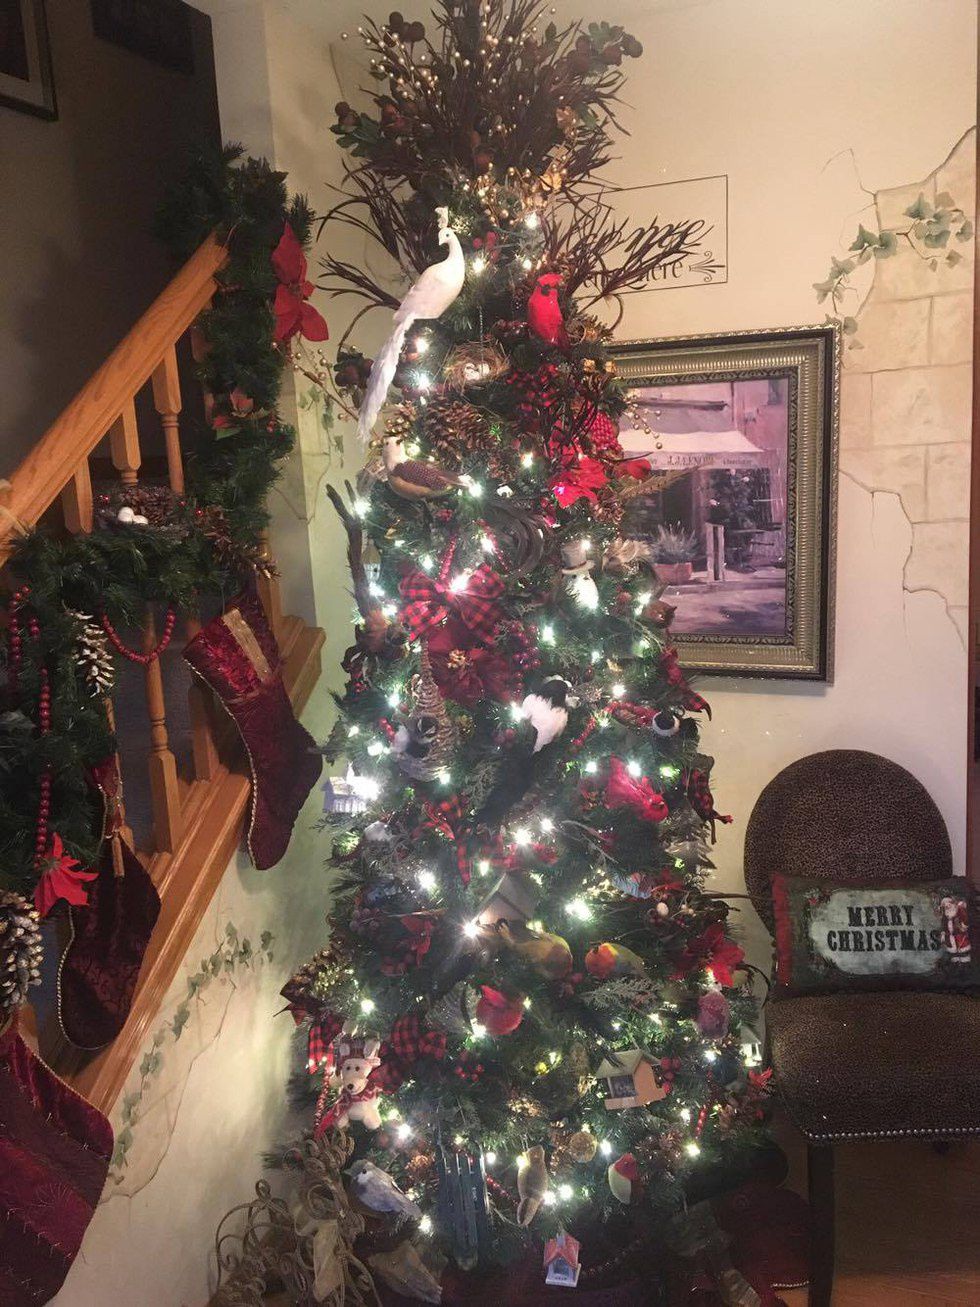
Just bead it! We have our strands of beads that we drape all over the tree. We have various styles of beads, from wooden cranberry beads to sparkly gold and red strands. When we put beads on, we never do straight lines of beads. It looks best when you start with big loops at the bottom of the tree and get smaller as you go up. (Pro tip: drape the beads so that the lower strand of beads' low point is where you make the peak for the next strand (see picture). Important pro tip: if your beads are on the small side, double up your strands; it will have more impact and greater style).
6. Hang up boring ball ornaments
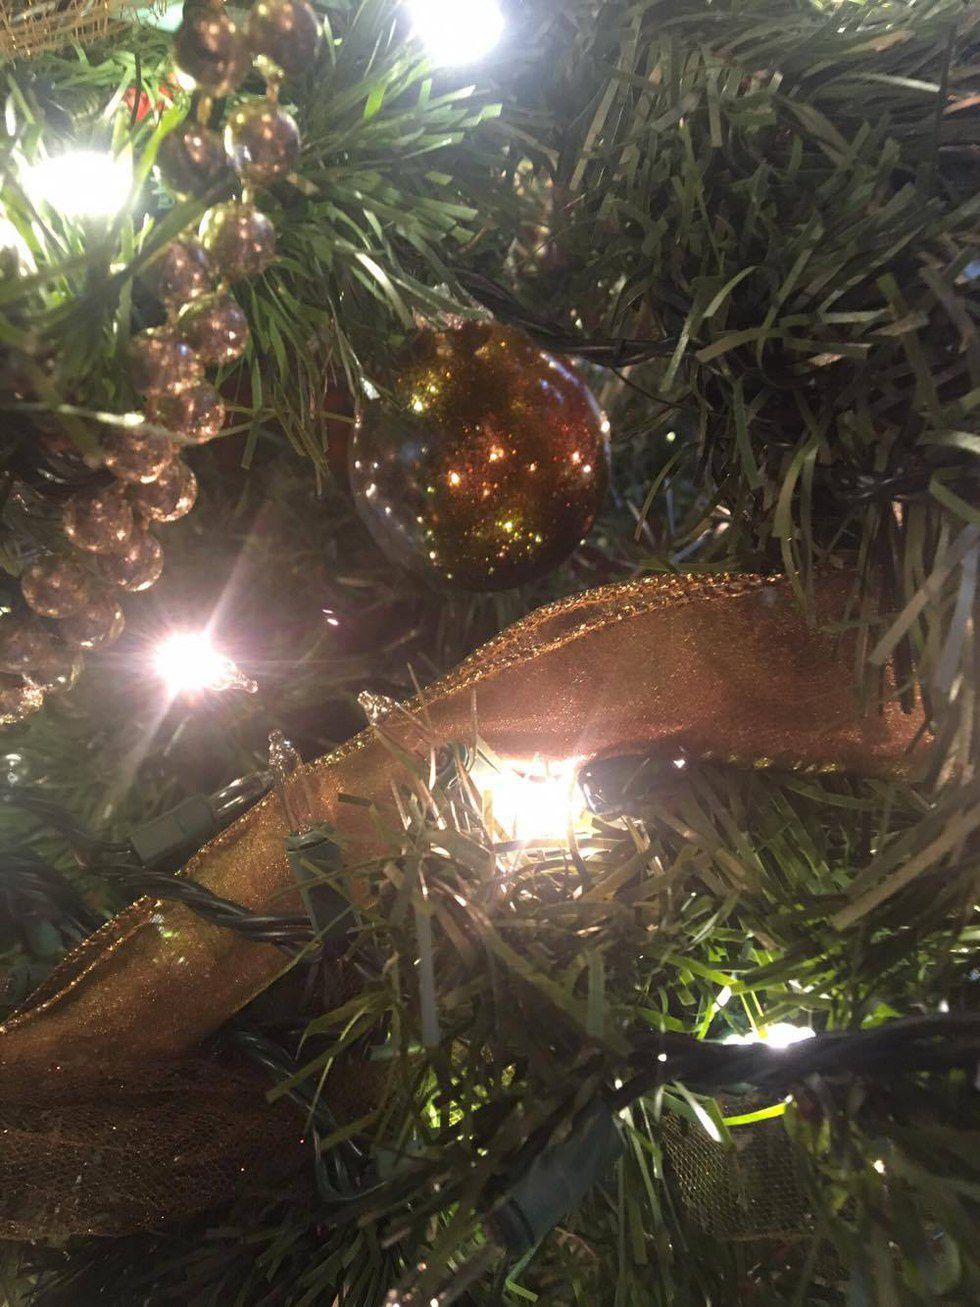
Close to the center of the tree, hang the boring ball ornaments to create a deep layer so that when someone looks deep into the tree they see ornaments. It is another easy way to add a layer of depth to the tree.
7. Hang up regular ornaments
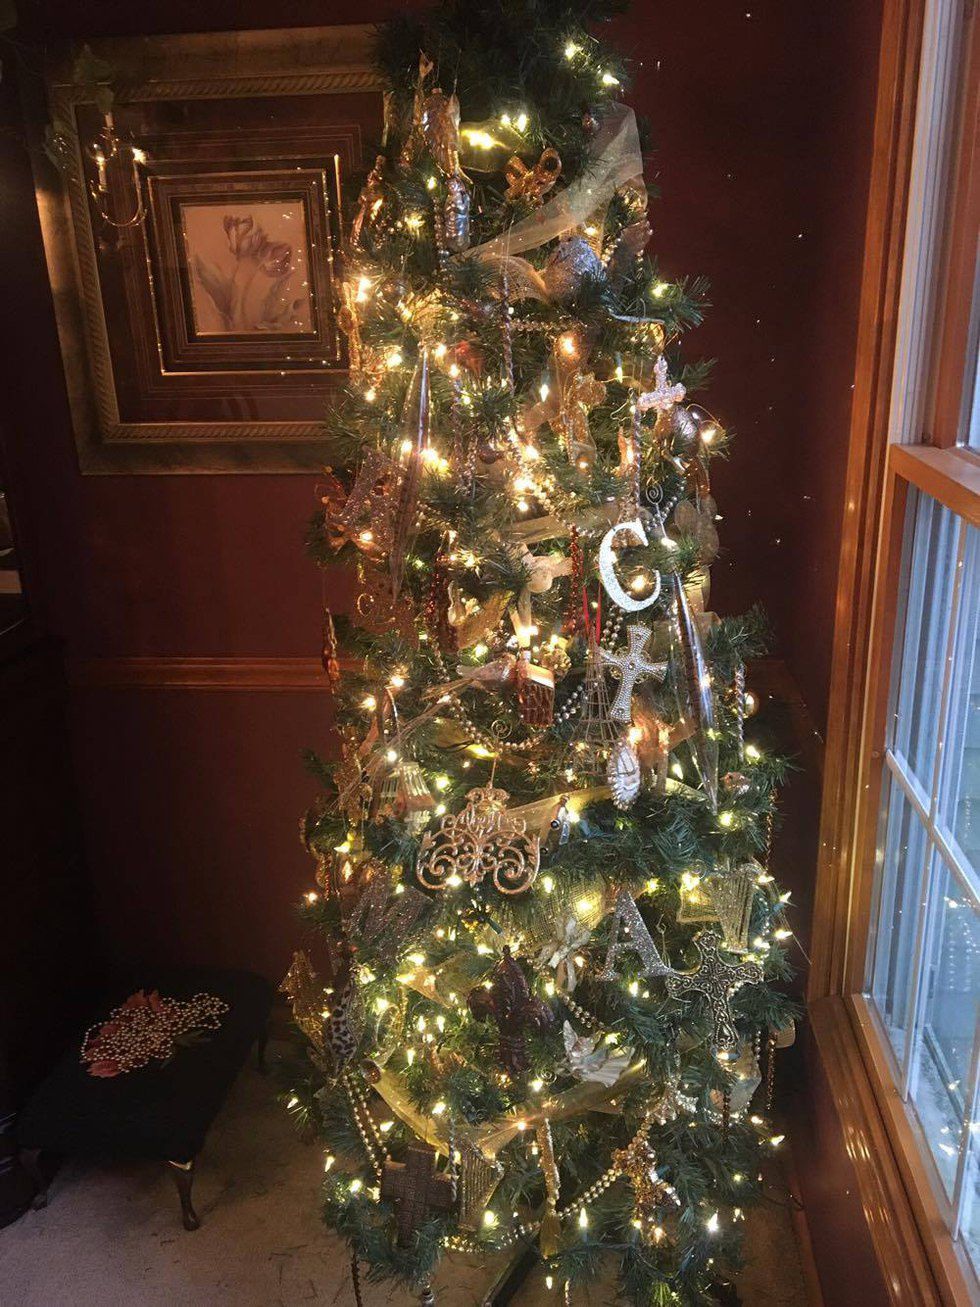
This is pretty self-explanatory. When hanging them up, try not to leave any empty holes in the tree. (Pro tip: if there are any babies around the house when the tree is up put ribbons on the ornaments rather than metal hooks. Also put soft, unbreakable ornaments towards the bottom of the tree so that a little kid doesn't take down and get hurt on a breakable ornament.)
8. Tree topper
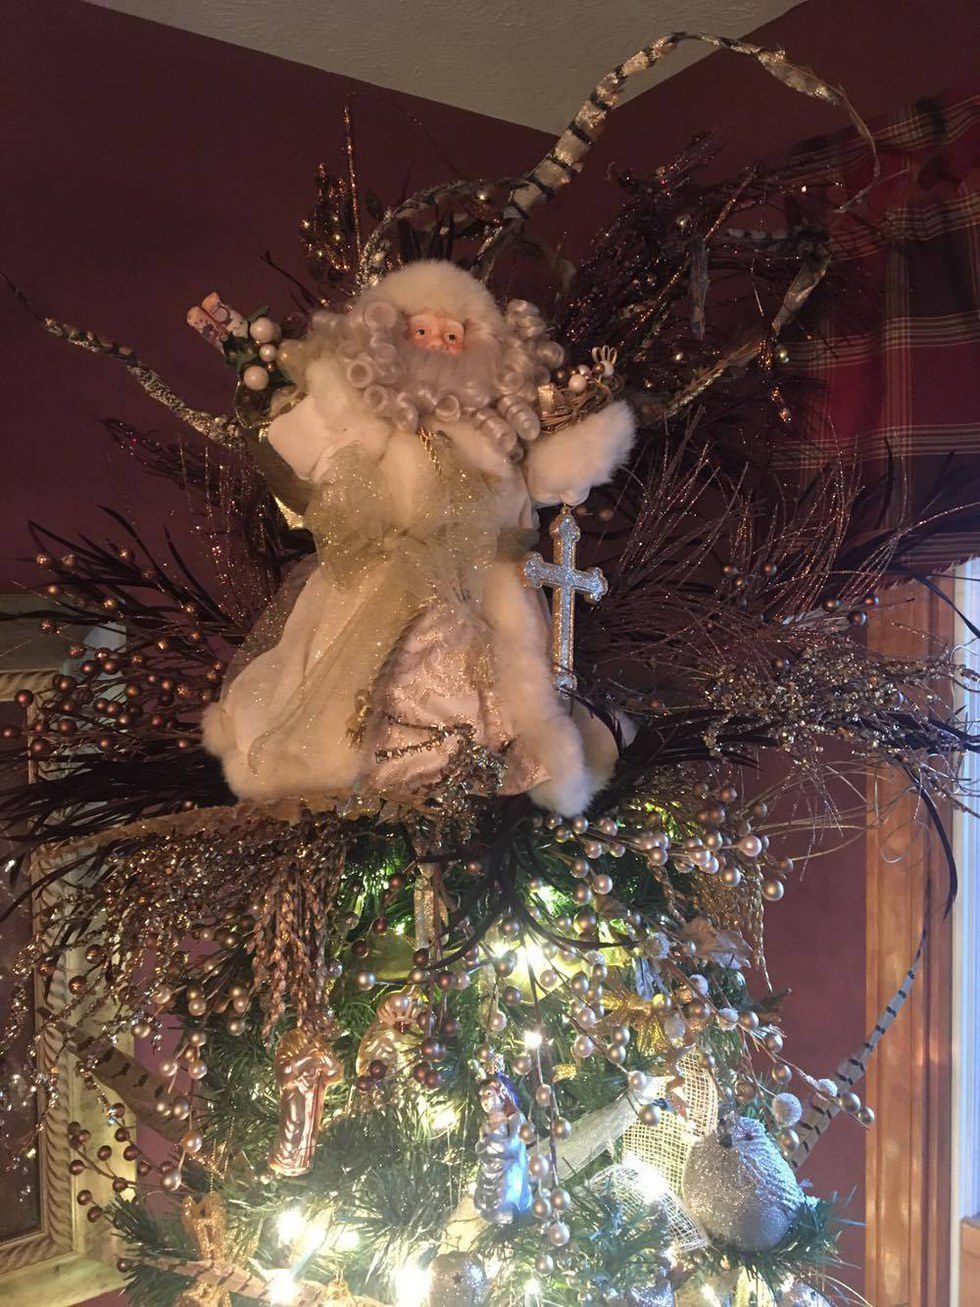
This is a more creative way to finish off the tree rather than just putting up the typical angel or Santa topper. In the picture we put Santa on the top and then created three bundles of picks to put behind him. Then we took any extra picks and filled in between the big picks. (Pro tip: check out my next article for how to create several different types of tree toppers)
9. Tree skirt
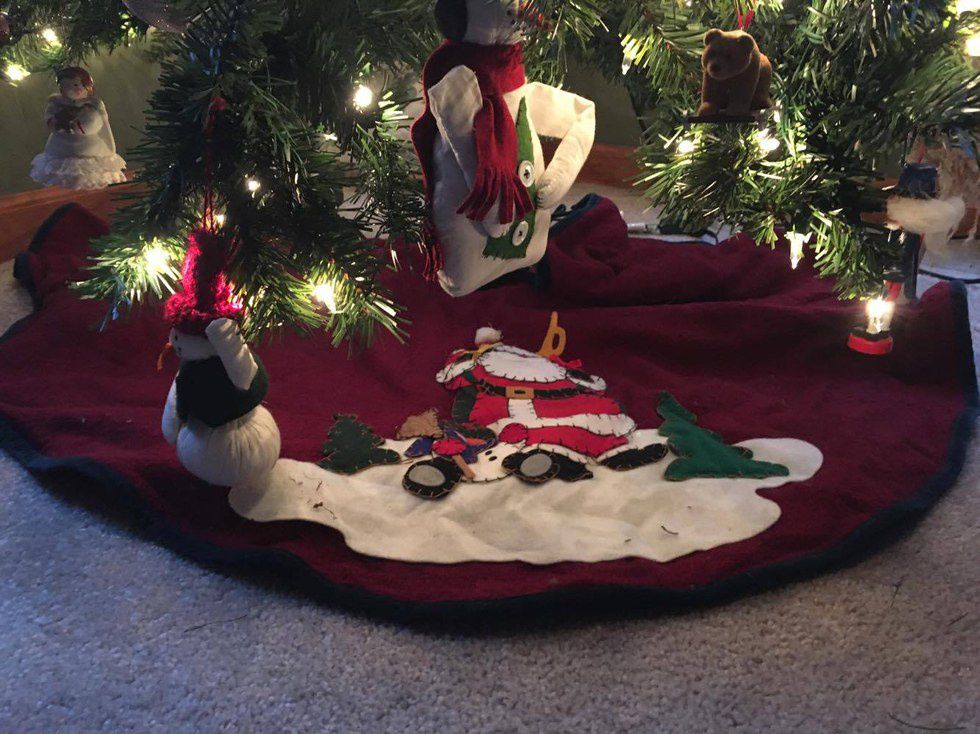
Every tree needs something to cover the tree's unsightly base. We have recently seen baskets and decorative covers that go around and over the tree base. For our trees we use tree skirts or a few yards of a pretty fabric to cover the base.
10. Repeat
If you are like us and have multiple trees to do, these steps are easy enough to follow and repeat for the rest of your trees.
Hopefully this helps simplify the process of putting up a tree; good luck in decorating for Christmas!


