There is an abundance of people who love the idea of being crafty and creative, but they have no clue how to get started. There is also an abundance of people who love the idea of being crafty and creative, but just simply aren't artistic. Being artistic comes naturally for some, but for other it is a learning process. There are several little projects you can do that can lead you down the path of the creative.
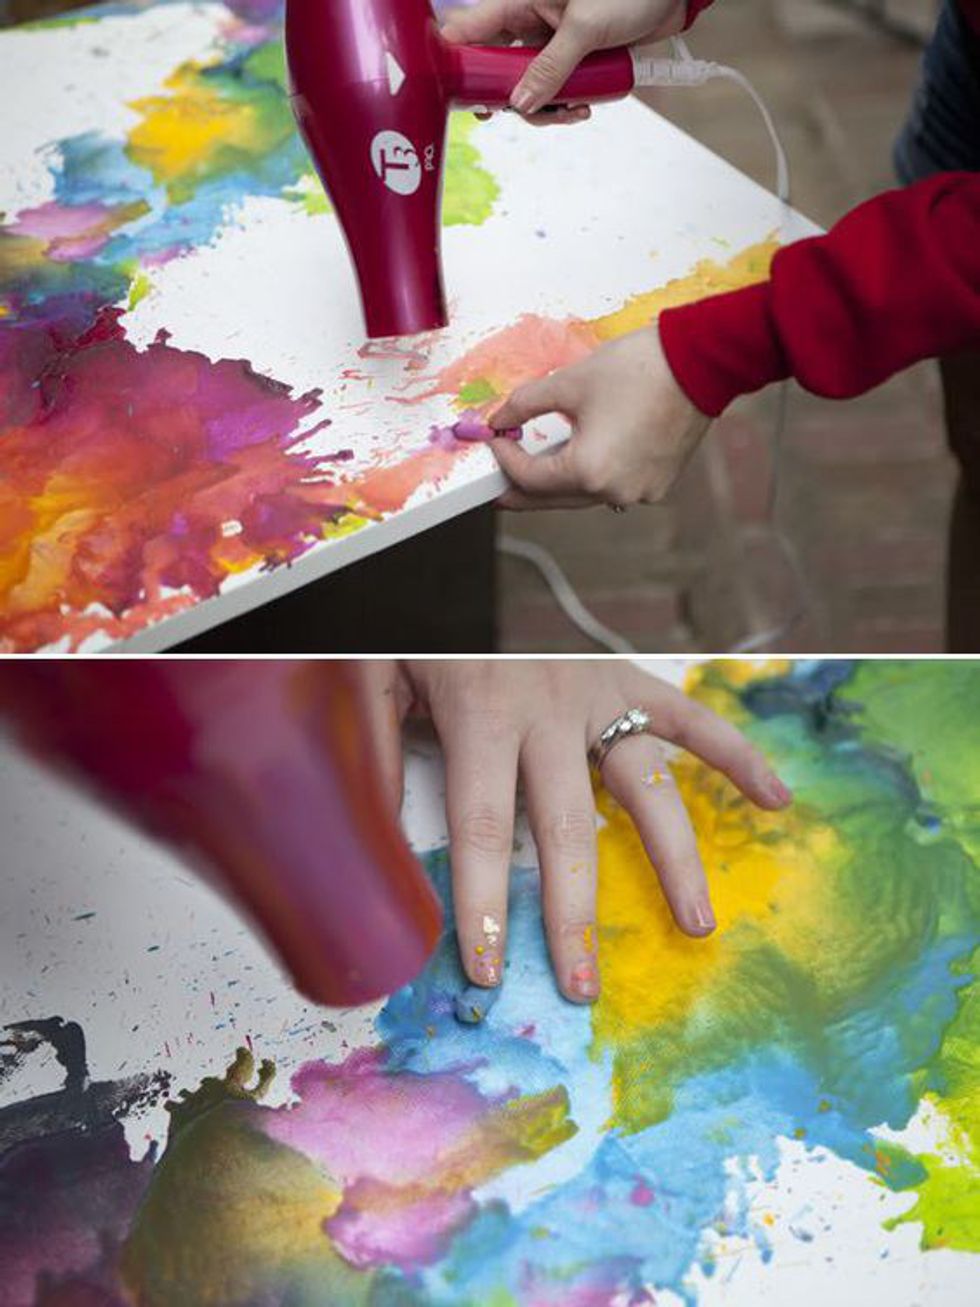
1. Melted Crayon Art
There are limitless possibilities to this one. You can add some tape in different shapes and patterns, and then melt the crayons over the top of the tape. Then when you take the tape off you will have an eye-pleasing masterpiece.
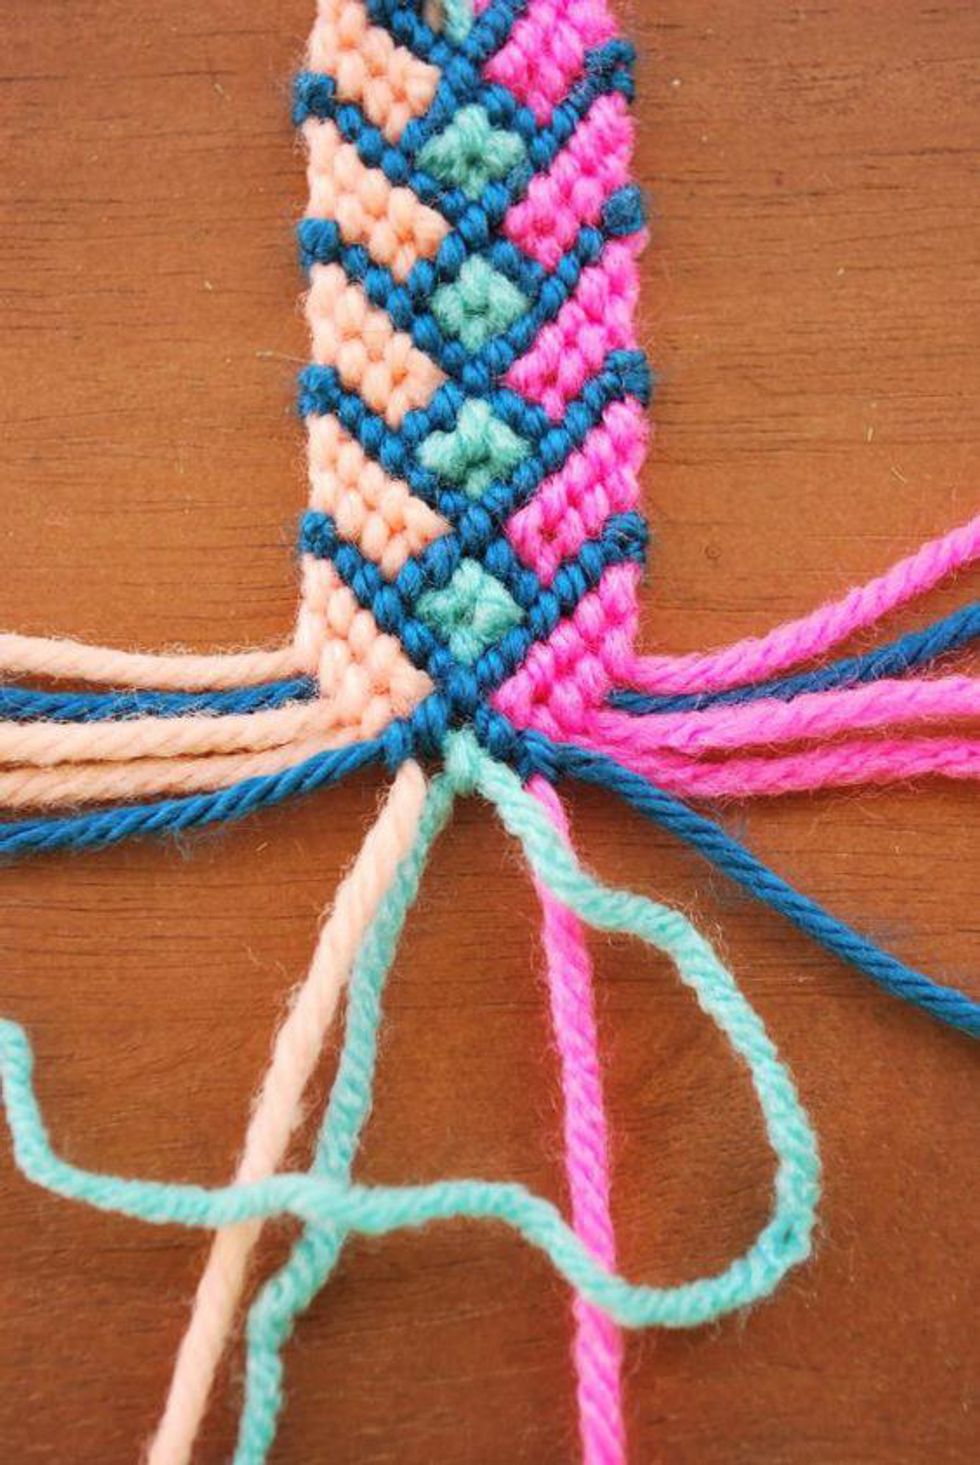
2. Jewelry Making
There are countless tutorials on DIY bracelets and necklaces. You can make anything, from the simplest of accessory to an intricate one. You can use beads, jewels, stones, or even just knots. You can make your own handmade jewelry for any outfit.
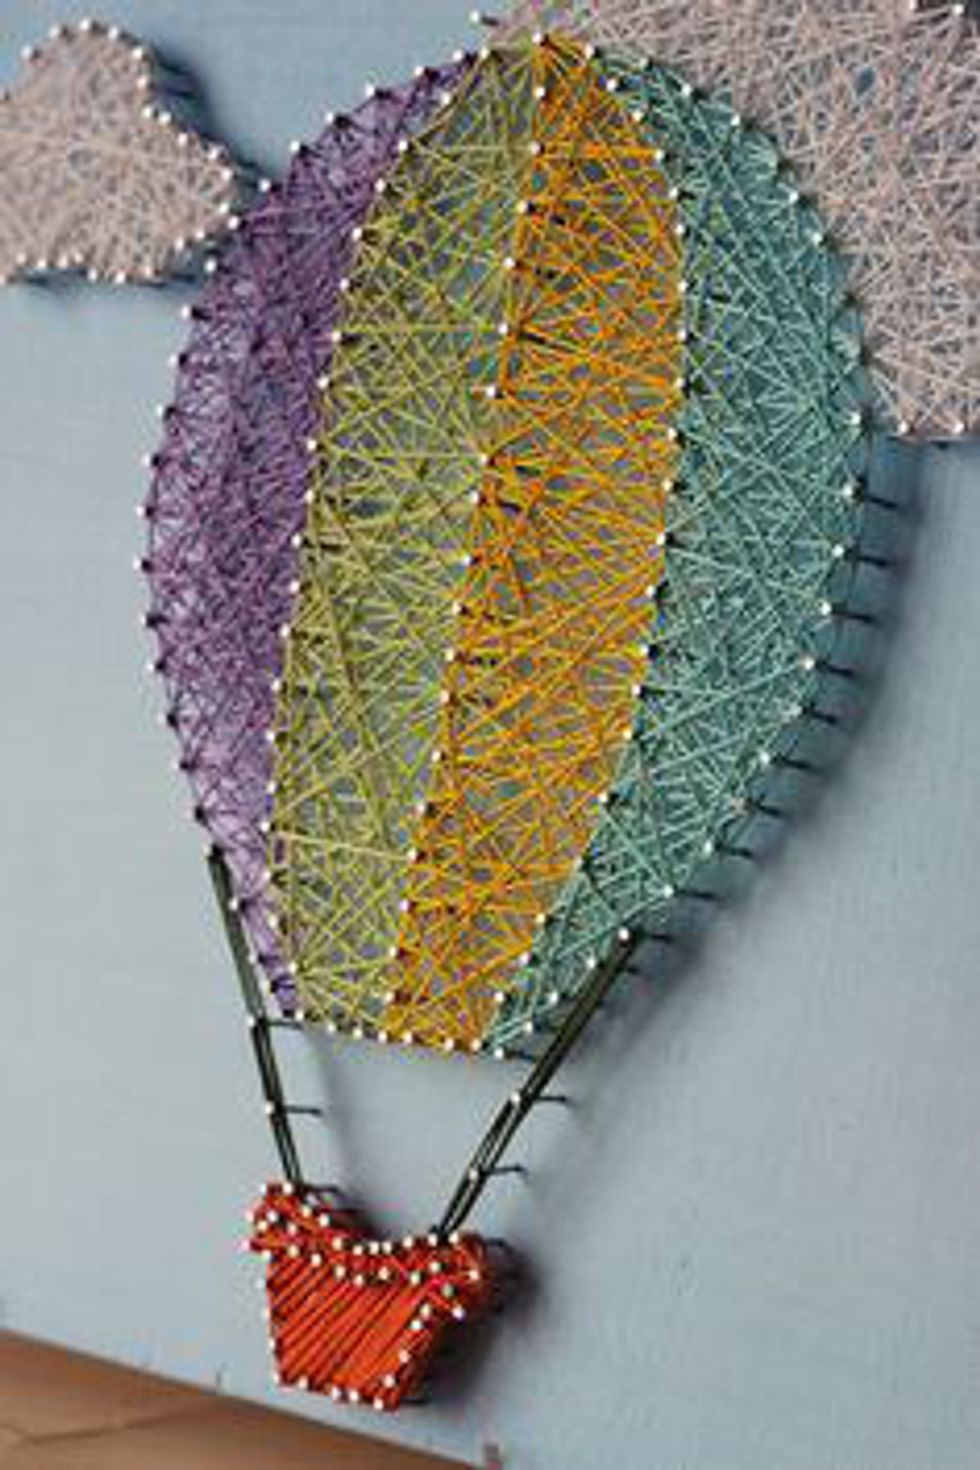
3. String Art
��
All you need is a canvas, some nails or pins, and endless string. This one can be as simple or complex as you'd like. With plenty of practice, this can become quite an abstract project. Stick the nails or pins in the shape you would like, adjust the outline, and then take the string and wrap from one nail/pin to the other. Keep wrapping, until the string is as sparse or clumped as you prefer.
4. Picture Frames
Take a loved photo and put a handmade frame around it. You can go for a rustic look, a modern look, a chic look, or a vintage look. There are endless possibilities. One way to do a rustic-type look is to get a basic wooden frame, grab some twigs all different shapes, colors, and sizes, and hot glue them on to the frame in a pattern that pleases you. Add some dried acorns or little decorations for a finishing touch. A more modern/vintage look would be to wrap a frame in burlap, glue some pearls of varying sizes in little clusters, add some silver pearls for an extra modern look, and add any extra flare you want.
5. Tie Dye
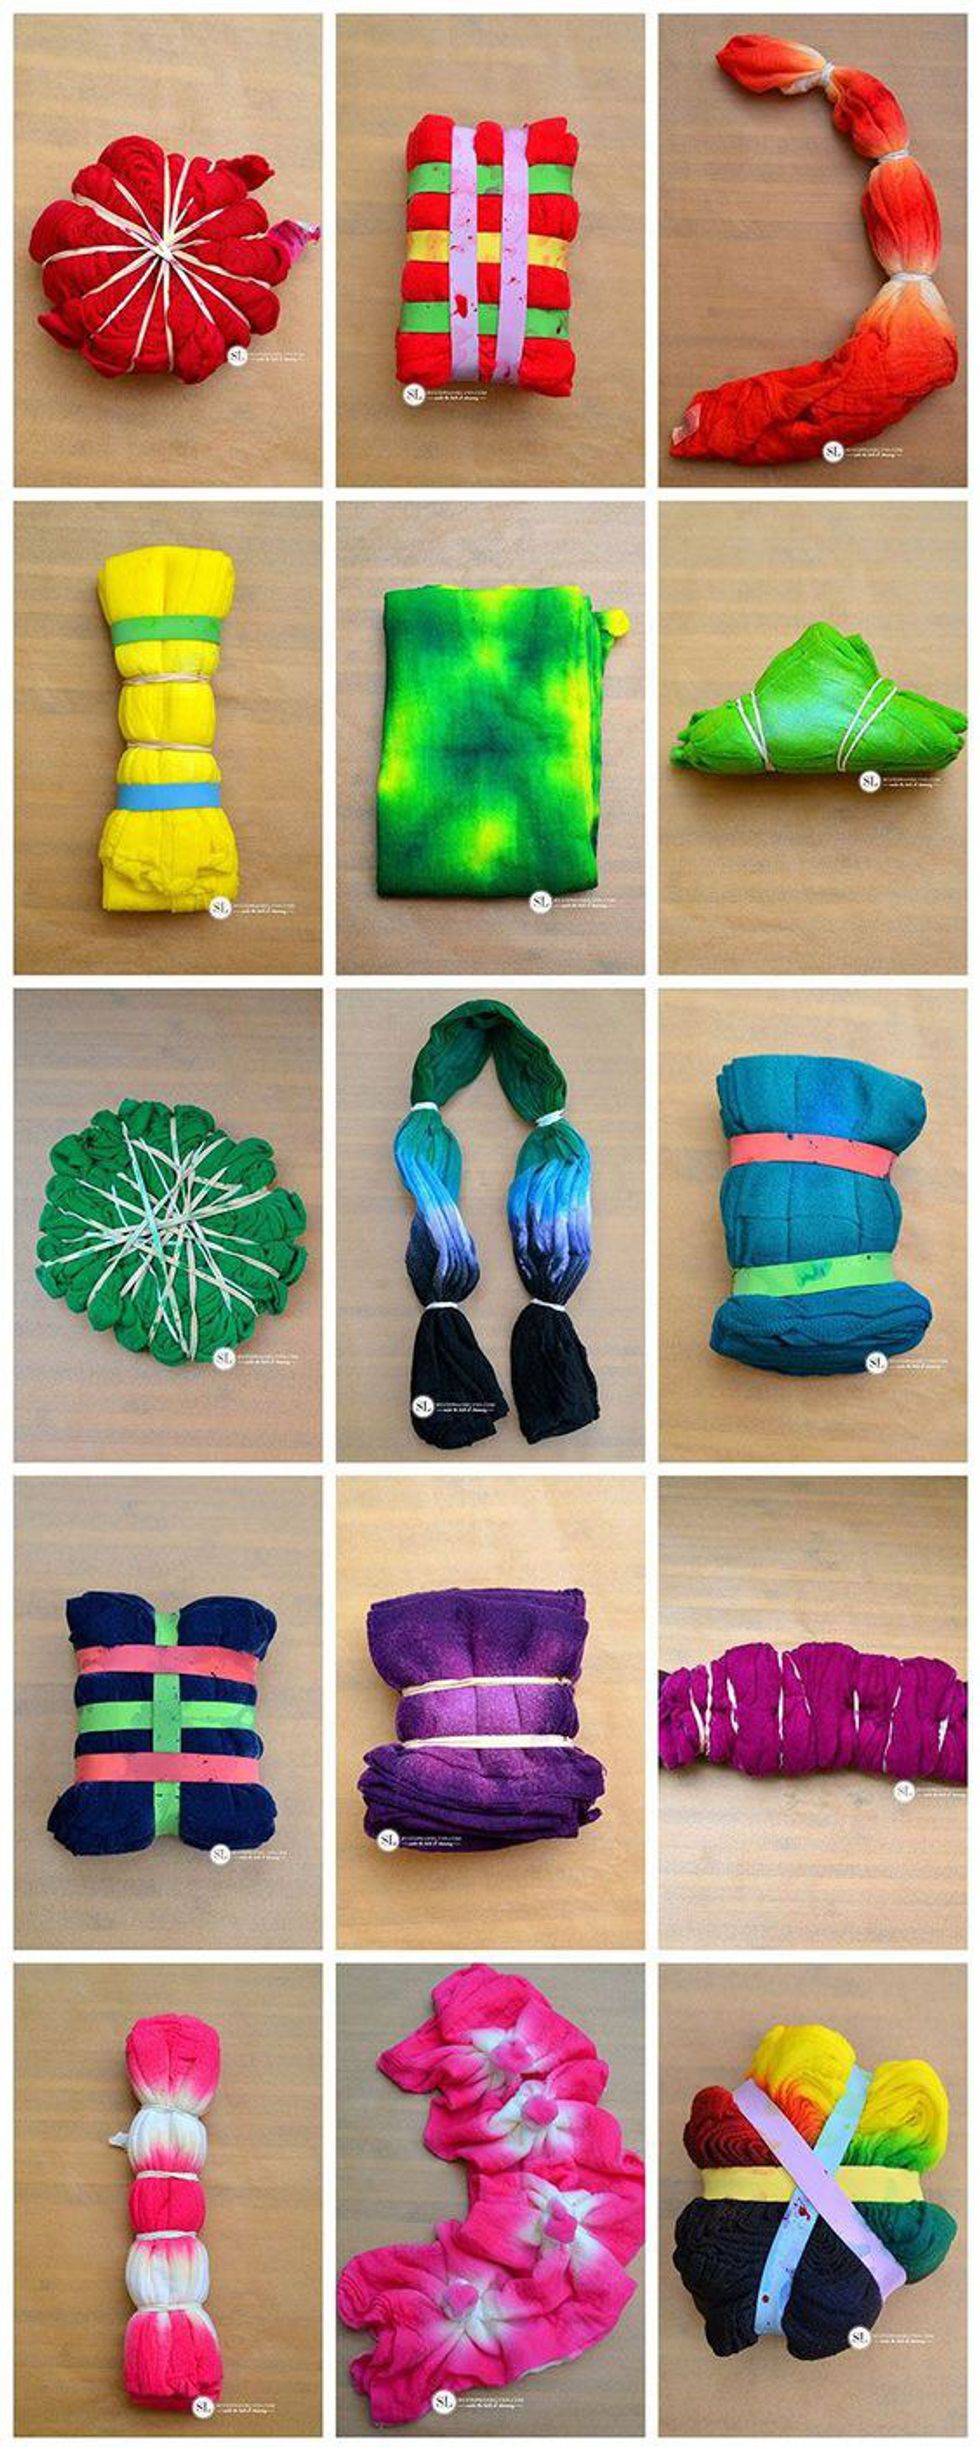
This one is fun and easy for all ages. There are many different ways you can design your tie dye, and you can do it on almost anything. Whether it be a shirt, pants, or a tablecloth, the finished result is always fun. You start by twisting, folding, or crumpling the fabric in any way you want. This is the pattern of the dye. Then you wrap rubber bands in any design you want. This is where the dye won't touch so it leaves a white pattern. Then take your colored dye and soak it through your piece.
6. Marble
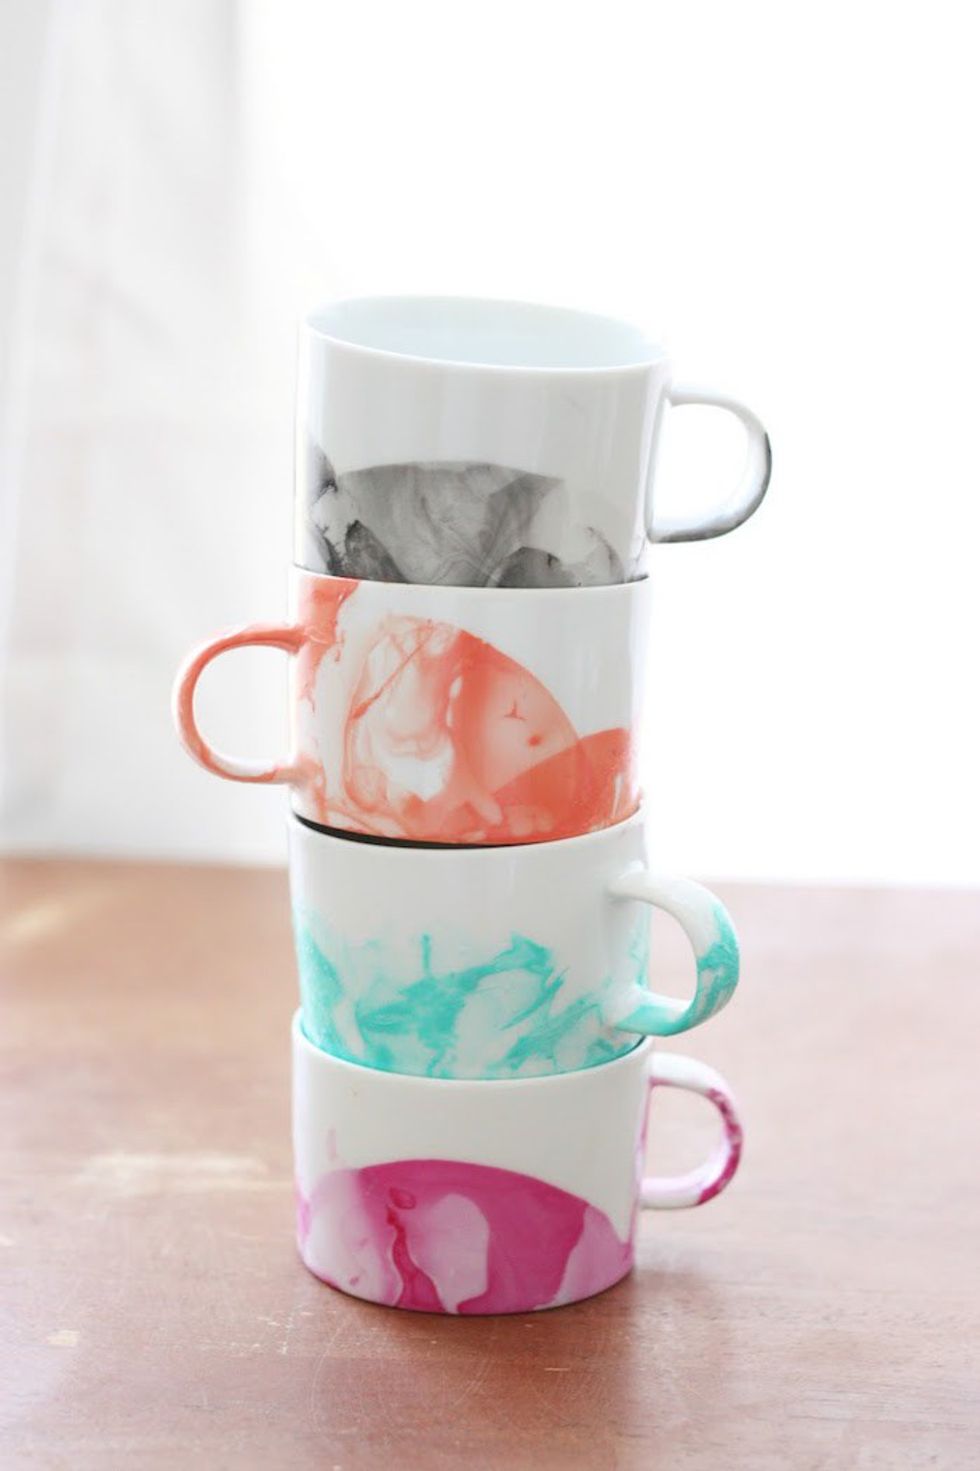
This one is like tie-dye, but for dishes or things of that nature. Depending on the size of the thing you are marbling, you will need a pan of water big enough and deep enough to fit the object in it. Then put a couple drops of nail polish on the top of the water. You can put multiple colors on the water and it won't mix. Using a toothpick, you can drag some of the outer edges into the middle to create a different pattern. Then you can dip whatever you're marbling into the water slowly, and when you pull it out, it will be marbled!
7. Yarn Bookmarks
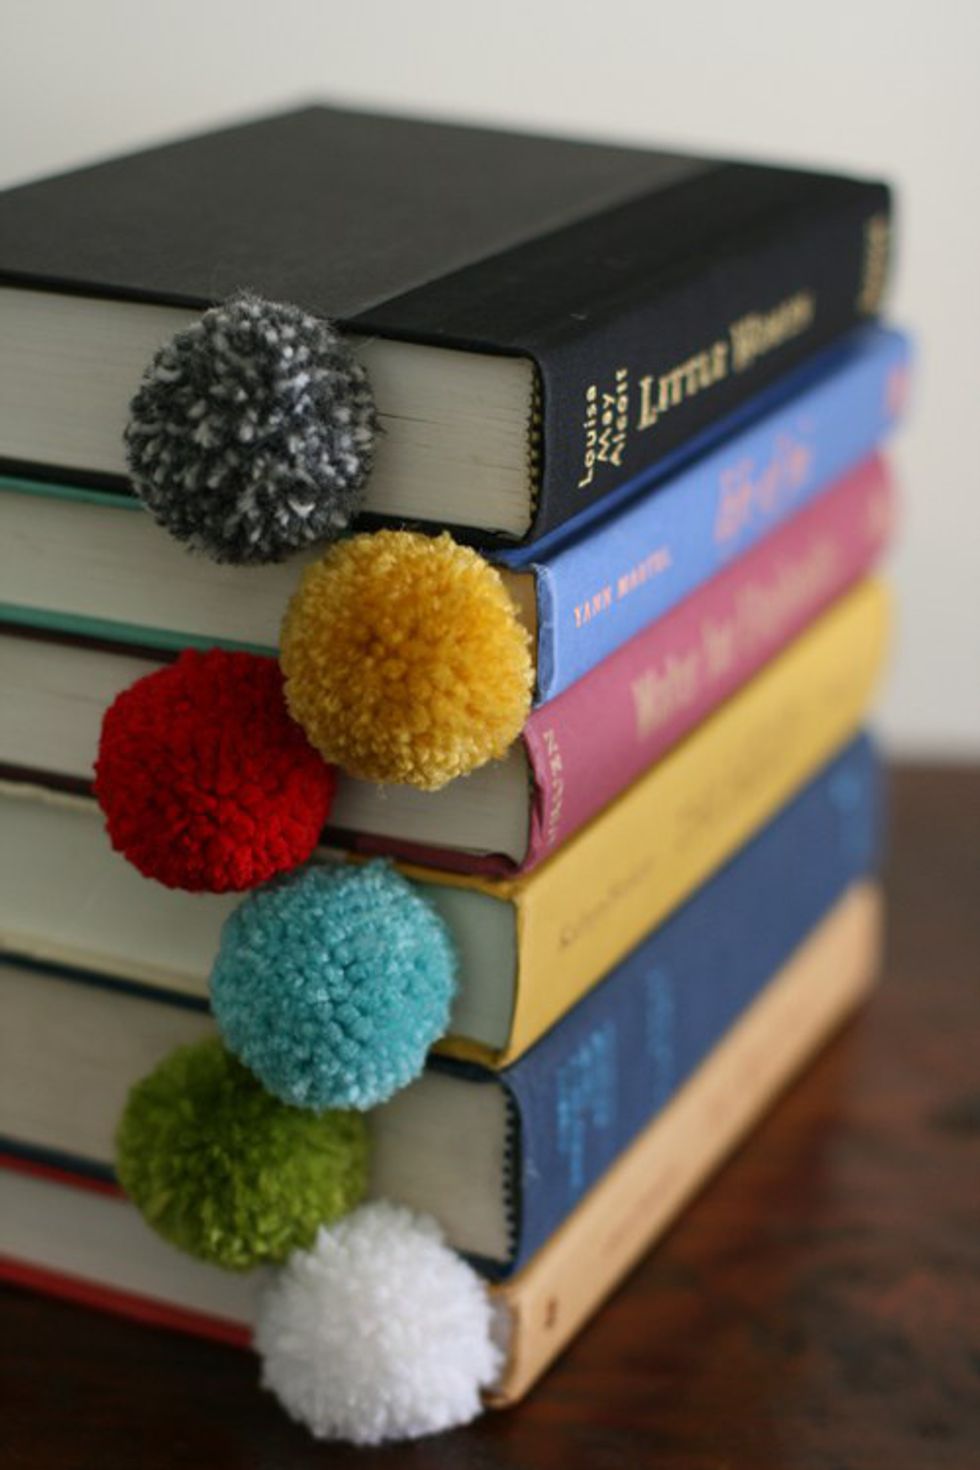
This one is super fun and cute. Cut two pieces of yarn, one about six to eight inches long and the other 12–14 inches long. Set those aside. Take the end of the yarn that is uncut and wrap it around three of your fingers 90 times. Then slide it off and use the six to eight inch long piece of string to wrap around the middle ball of string. Taking super sharp scissors, you will cut the loops of the yarn so that you have a floppy little puffball. Then you can snip away until your puffball is fluffy and the size you want it.
8. Homemade Clay
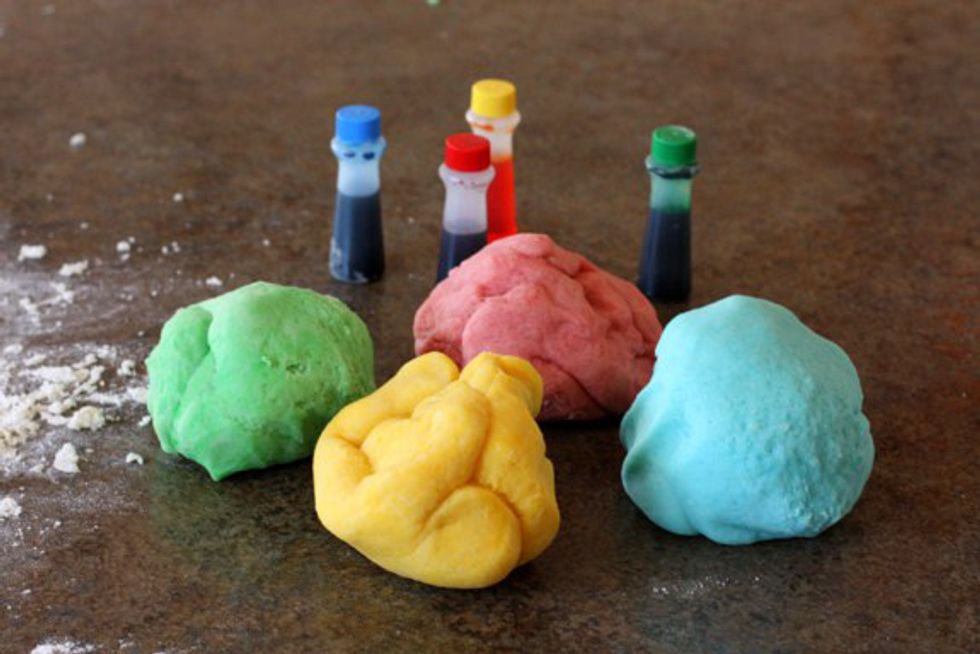
Clay can get expensive and some of them have to be baked at extremely high temperatures. So here is a recipe for clay that dries like porcelain and is made of items found around the house. You'll need: two cups of baking soda, one cup of cornstarch, and one and a quarter cups of cool water. Mix it all together, and then set it on the stove at medium heat. Constantly stir it. When the mixture stiffens into a clay-like texture, take it out and put it in a bowl. Cover the bowl with a damp paper towel and let the mixture cool. Letting it cool lets it stiffen up completely. After it is cool, you can shape it into anything you want and then let it dry overnight! If you bake this kind of clay it will turn brown instead of drying white.
9. Modge Podge
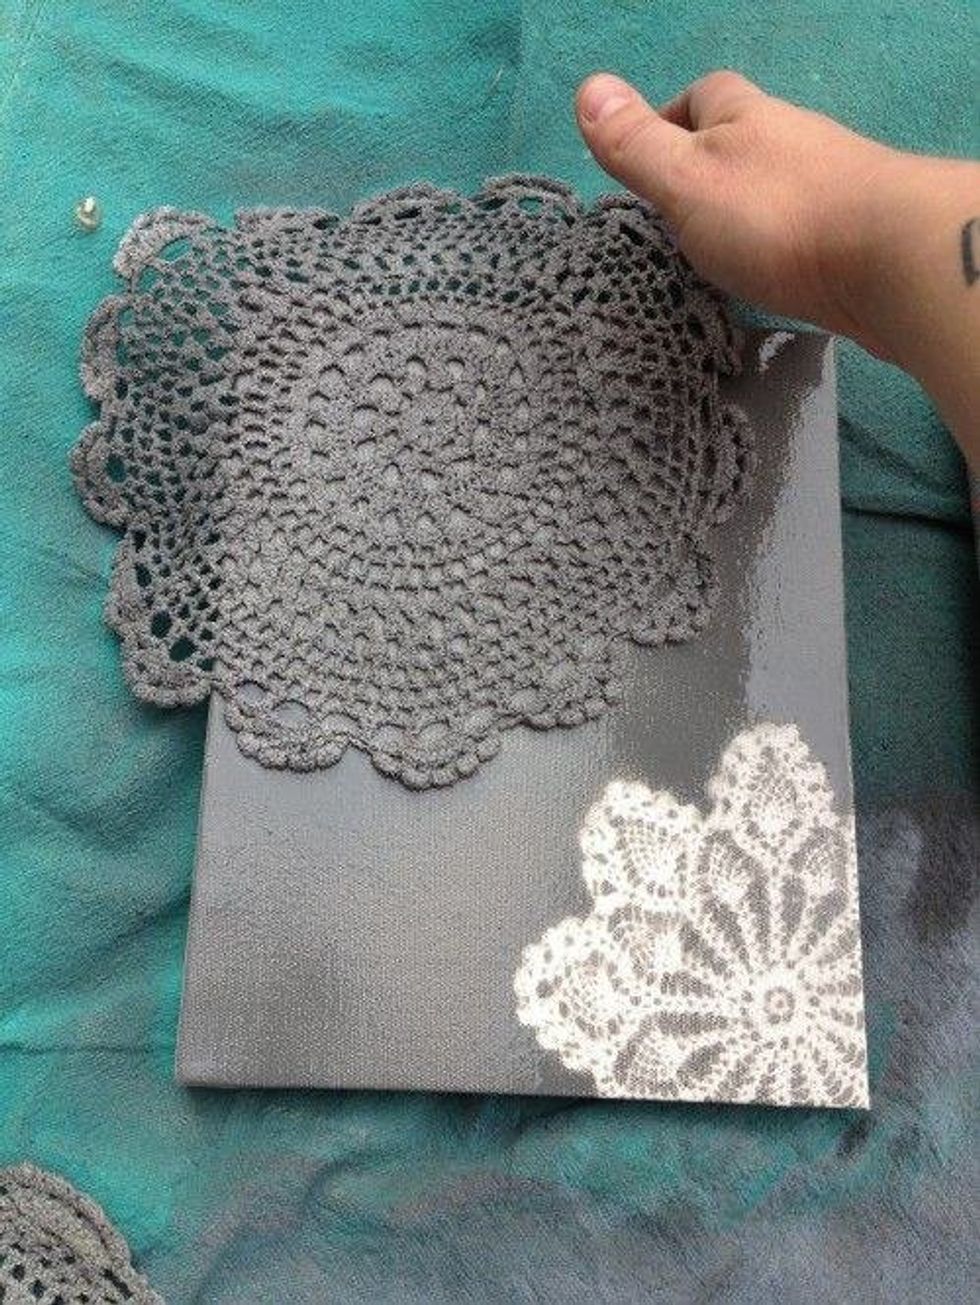
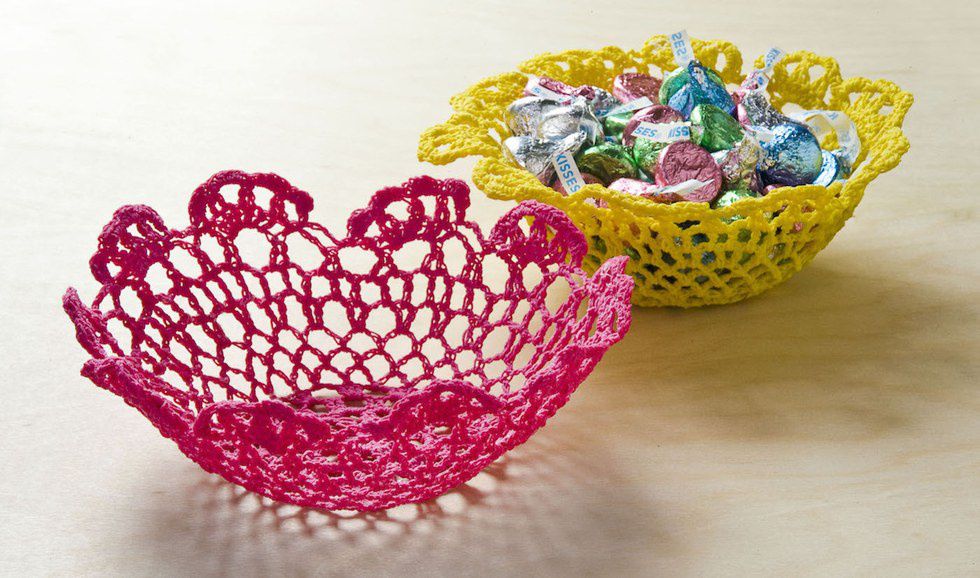
Make bowls out of anything! From colored paper, strips of magazine, twine, leaves, newspaper, yarn, or doilies, you can use either homemade modge podge or store bought from your local craft store to make bowls! Just dip each strand or paint it onto whatever media you're using and paste it onto a balloon blown up to the size you want your bowl. Add an extra layer of modge podge and then let it dry overnight. Pop the balloon, and you have a bowl!
10. Candle Holders
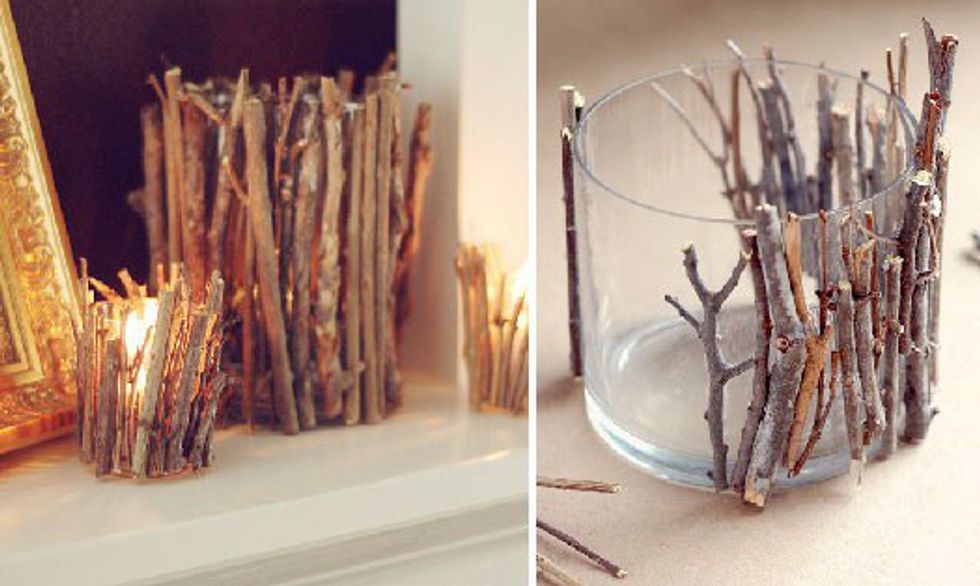
Need something other than a plain old candle holder? Decorate it according to the theme of your room. If you want a more rustic look, take your plain glass candle holder and glue different sized twigs around it. Then, if you want, flare it up with ribbons or buttons. A more modern look is gluing glass beads all over the candle holder. You can wrap it in twine, burlap, glue buttons to it, or dip it in glue and glitter. There are so many things to do.
11. Cracked Marble Necklace
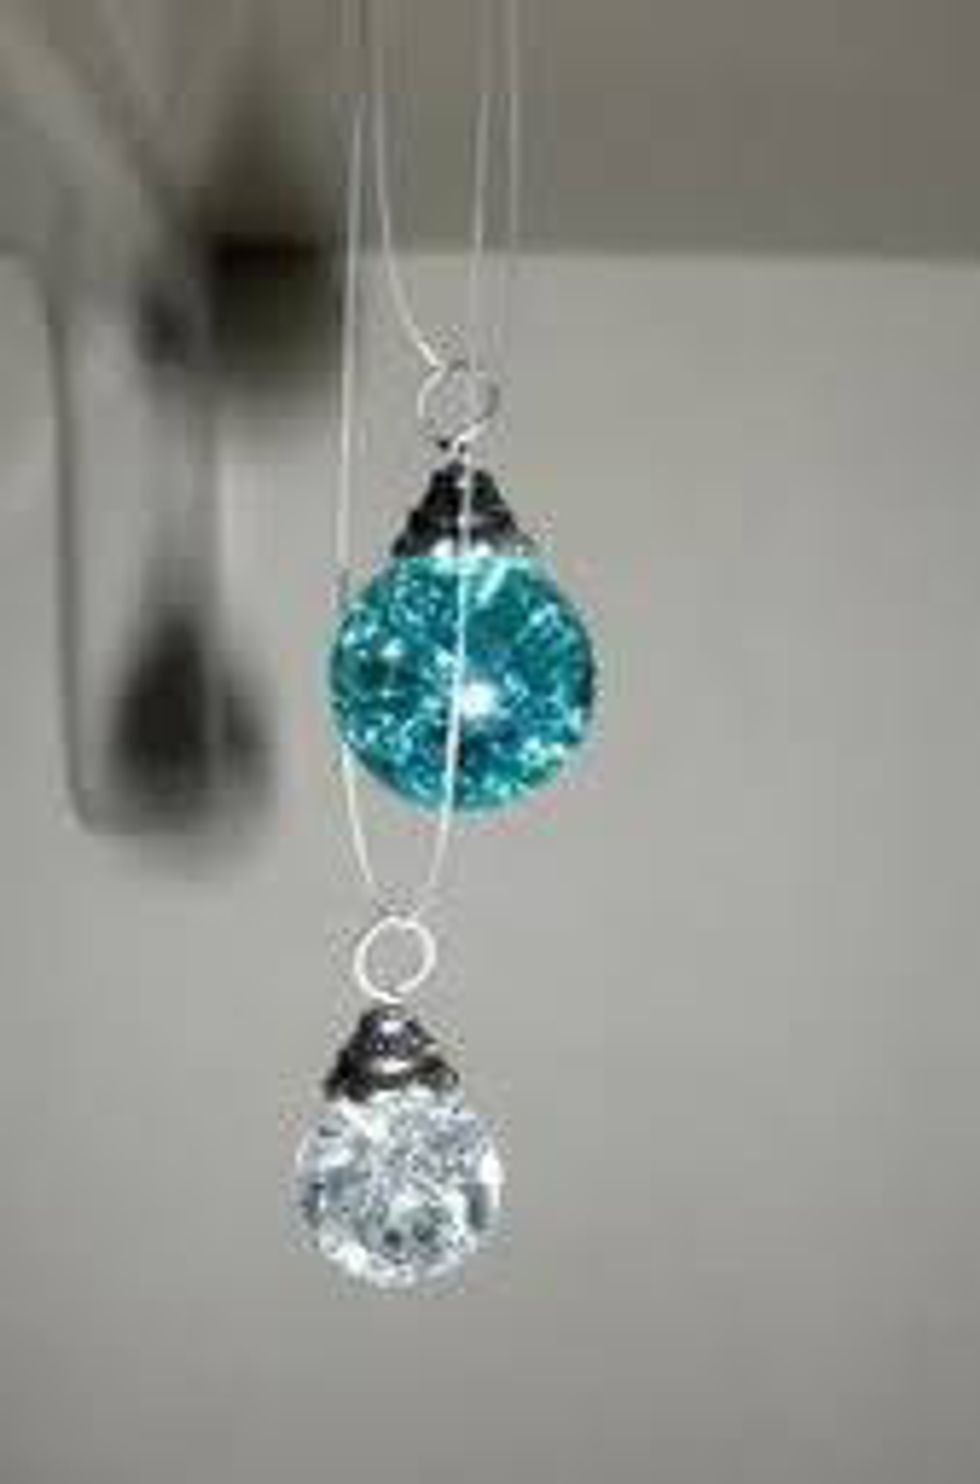
Bake marbles. After that's done go to your local craft store and buy some bead caps. There are all different sizes and styles of bead caps so choose one that works for you. Also, buy some jump rings to put through the bead cap so you can thread the chain through.
There are so many possibilities and endless amounts of crafts for beginners. Anyone can be crafty, you just need a little inspiration!


