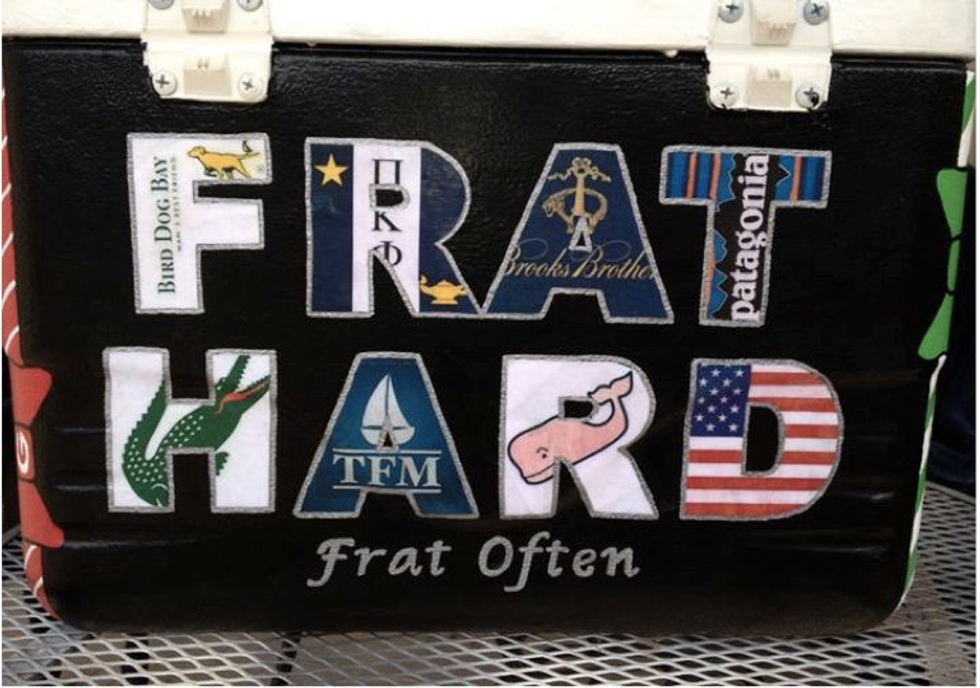
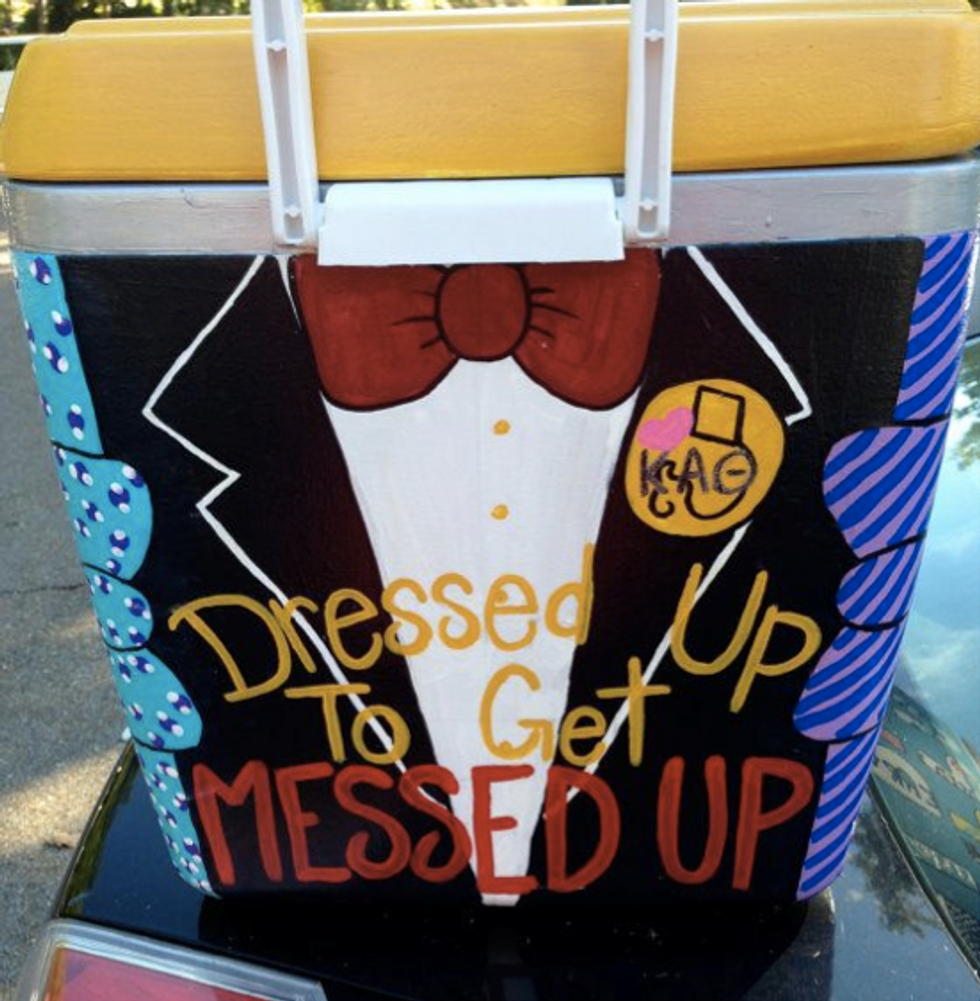
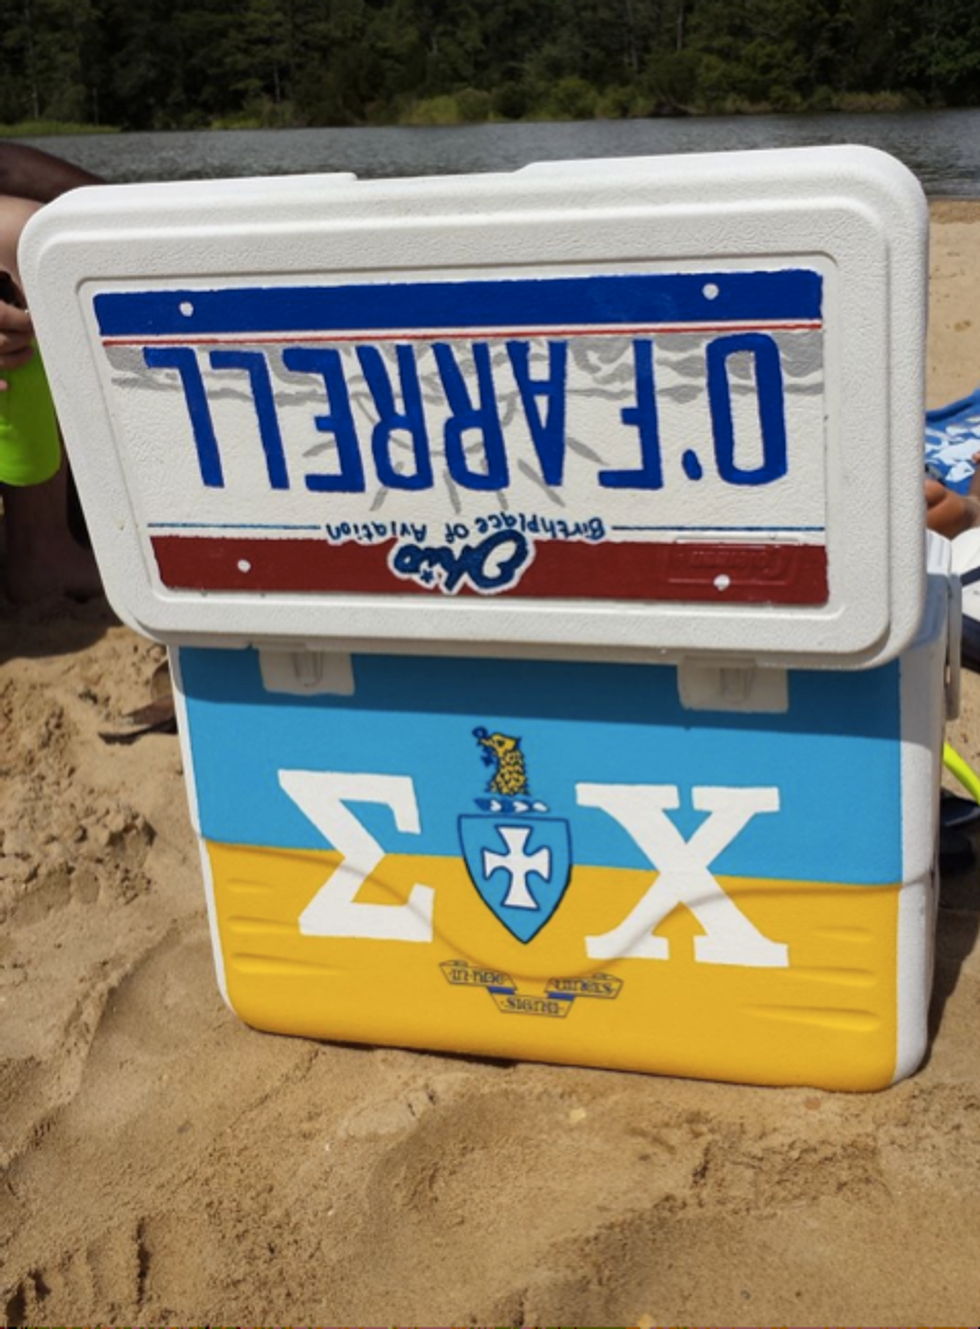
The best time of the year is upon us: Fraternity Spring Formal season. This also means time to slave for hours over a cooler that will probably get ruined after Formal weekend. However, for the weekend, you'll want something that your date will be proud to show off. If you're a craft-loving artist, lucky you. If you're like me and can barely write your name decently, you'll take as many cooler-making tips you can get, so here's some advice from a former cooler rookie.
1. Do your research.
If you don't know your date well, get to know him! Figure out where he's from, what sports teams he likes, his favorite musicians, etc. What makes coolers so great is that each one is different and personal for the guy, so put things on there that are special to him!
2. Join the Cooler Connection Facebook group.
This public Facebook group is full of tips, pictures, ideas, and advice on making coolers. Members share what went wrong so you know not to make the same mistakes, as well as show off how awesome coolers can turn out. People share fonts, logos, and all sorts of other helpful things.
3. Pinterest, Pinterest, Pinterest.
Just search 'coolers' or 'fraternity coolers' to get more specific, and there will be more ideas than you can wrap your head around. There are pictures of all kinds of coolers that have been done in the past, as well as links to blogs with advice and tutorials.
4. Cover the wheels.
If the cooler you pick has wheels, make sure you cover them before doing anything to the cooler. If they get sprayed with primer or accidentally painted, they could stick and not be able to roll anymore. I put plastic grocery bags around mine, and that worked really well.
5. Give yourself plenty of time.
There are so many layers that will be on your cooler with primer, base paint, and then detail paint that you will need multiple days. I would say its best to give yourself at least a week before the formal to have adequate time to do it all and to do it well. Spread it out over a period of a few days because you will want to make sure that each layer is completely dry before moving on.
6. Modge podge is your best friend.
Any logos, patterns, or really anything you can print off can be added to your cooler easily with mod podge. Simply add a layer as a base, then lay the paper on and spread the mod podge over top of it. It looks white, but it will dry clear. Also, make sure the ink from the printed paper is completely dry before mod podging it on, or else the ink will smear. This is a fool-proof way to save time and effort because you don't have to hand-paint it. Also, once your cooler is completely done, add a layer of mod podge to the whole cooler to seal it all.
7. Utilize trace paper.
This is a tip that I wish I would've gotten before I made my first cooler, but after seeing how well my friends' coolers turned out with tracing, I'm definitely going to use it for my upcoming one. Print off whatever you want to trace, then trace that from the printed paper onto tissue paper. Make sure you use white tissue paper and not trace paper! Use painters tape to tape the sheet of tissue paper onto the cooler, then trace over the stencil using a Sharpie, which will bleed through onto the cooler. This is why you need tissue paper because it's thinner. It may not be a perfect transfer, but it a will be a good start. Then, just fill in the outline!
8. Make a plan.
This is a pretty important place to start. Once you've done all of your research and have come up with some ideas, sketch out what you're planning to do to each side. When I did my first cooler, I painted and re-painted and changed my mind so many times and it took me so much longer than necessary. If you go in with a set plan, you won't waste time and it will save you money at the craft store because you will only buy exactly what you need. (Plus it may save you the extra 3 or 4 trips to the craft store that I had to make that week.)
Mostly, if you're inartistic like me, the best things that can save you are the ones that keep you from free handing, as well as having a plan for what you're going to do. That way, you know that what you're planning on doing is even going to be possible.
No matter how your cooler turns out, your date will just be so happy to have one, and I guarantee it will turn out better than if he tried to make one for himself!
Good luck, and happy formal-ing!


