When I was about 14 and going through a "Mom, please buy more flour so I can make desserts" phase, my mom bought me a cake pop/donut hole machine.
Now, five years later, I can tell you that my cake pop machine is long gone! When my brother, Jacob, asked me to make "something good" for his upcoming dessert silent auction, I knew right away what would entice little kids in attendance to ask their parents to bid on... cake pops.
Here's every step I'll be taking to make these cake pops tempting to all in attendance.
1. Bake a cake.
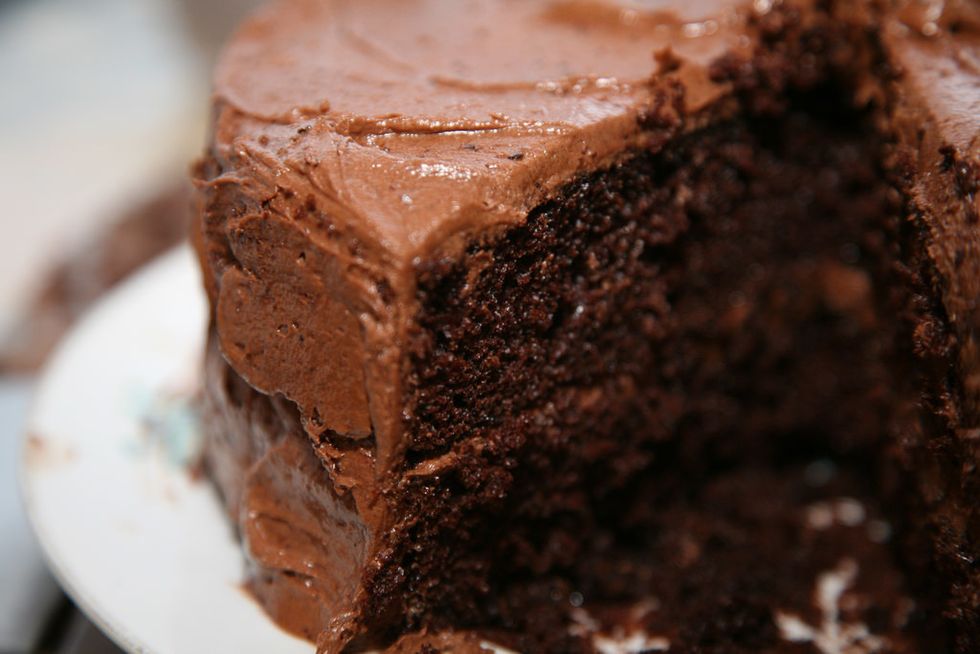
I'll be using this recipe and following instructions for the "one pan cake." Although I prefer vanilla, I'll be baking a chocolate cake because there is a higher percentage of (strange) people who choose chocolate over vanilla.
2. Let the cake cool, and trim away the "crusts."
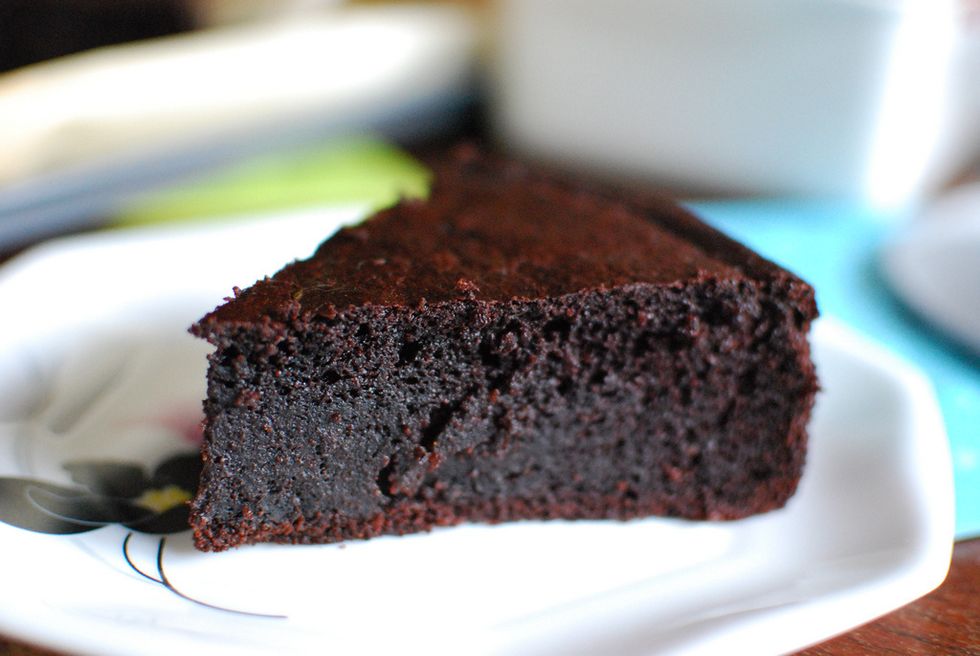
After letting the cake sit for about an hour or two, I'll carefully cut off the sides, edges, and top of the cake. This ensures there are no "crunchy" parts of the soon-to-be cake pops.
3. Crumble the cake.
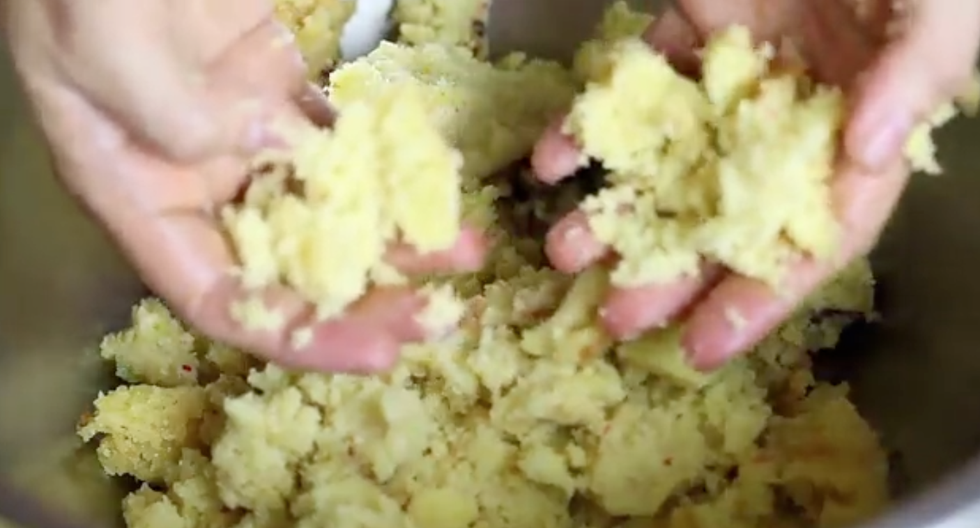
It may seem counterproductive to crumble the cake I just spent hours baking, but TRUST ME, this is how the best cake pops are made! The finer pieces of cake will allow you to shape the cake pops however you please later in the process.
4. Mix in half a can of (or homemade) chocolate frosting to the crumbled cake.
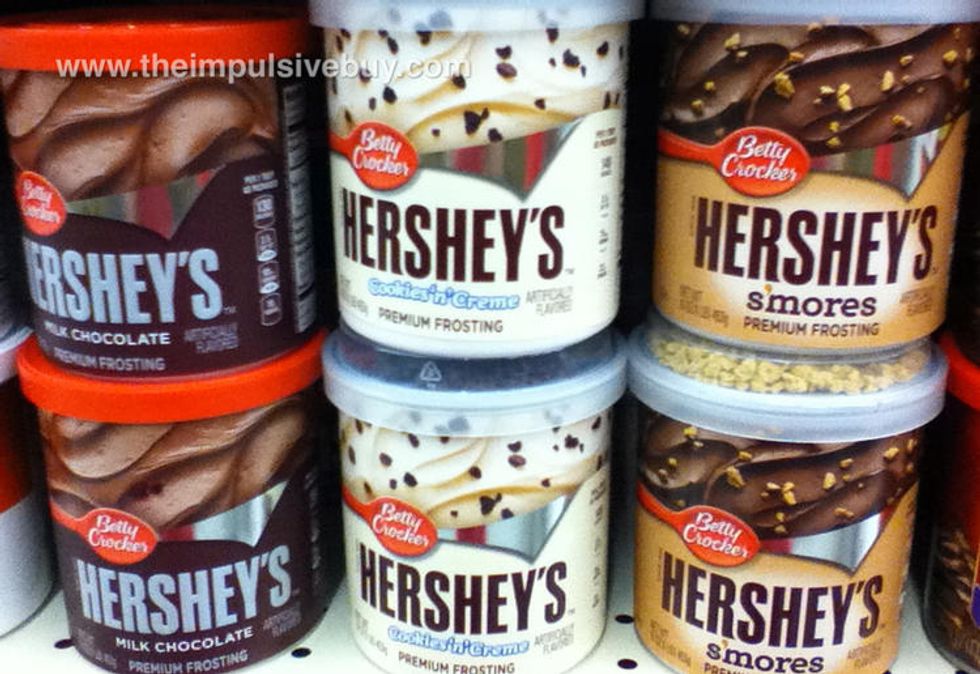
Add just enough frosting until the consistency will allow you to form balls from the batter. Too much frosting will cause the balls to be too "mushy." In my opinion, it doesn't really matter that the frosting isn't homemade. Although it contributes to the taste, it's main function is to serve as the "glue" that holds the cake ball together. But if you're going to use homemade frosting, use this recipe.
5. Form the cake balls.
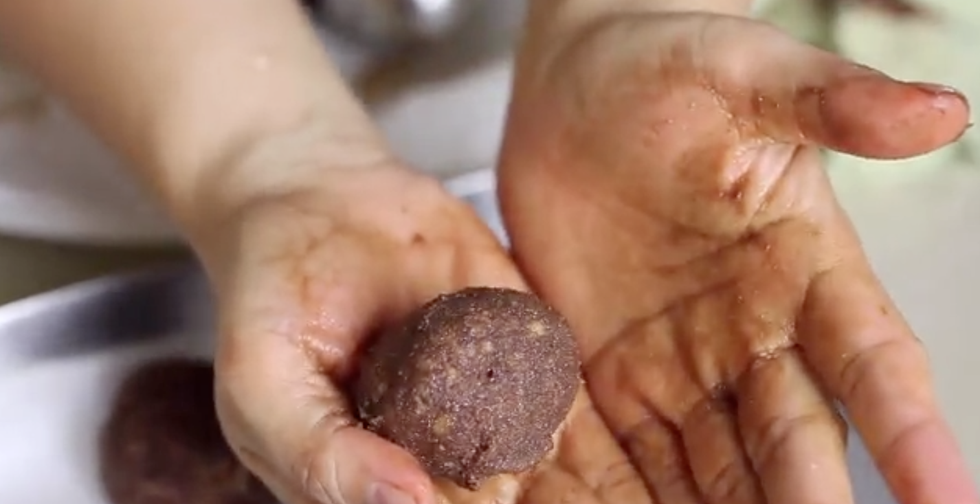
Using a cookie scooper, dish out as many cake balls as the batter will allow. Compact and press the scoops together tightly, as you don't want them to crack later when dipped. Place on wax paper to prevent them from sticking to the plate.
6. Freeze for 30 minutes.
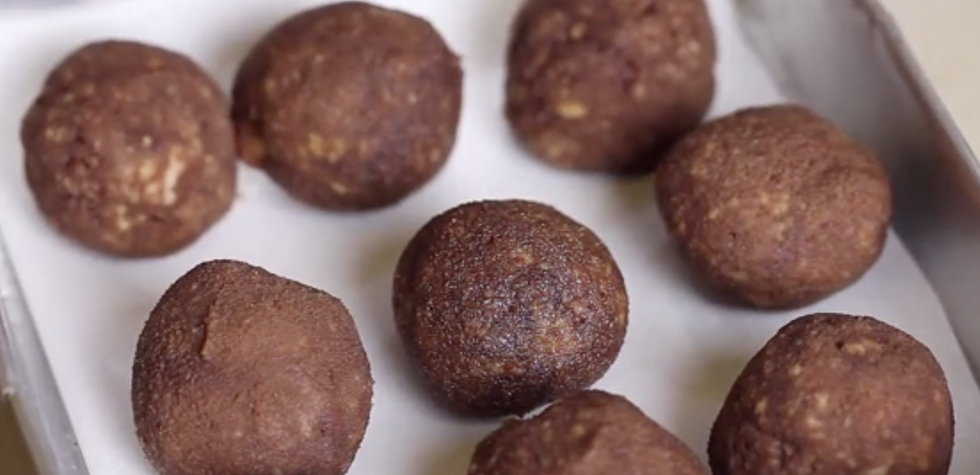
Placing the cake balls in the freezer will allow them to harden and make dipping 100x easier!
7. Affix a fork/cake pop stick about halfway into the cake balls.
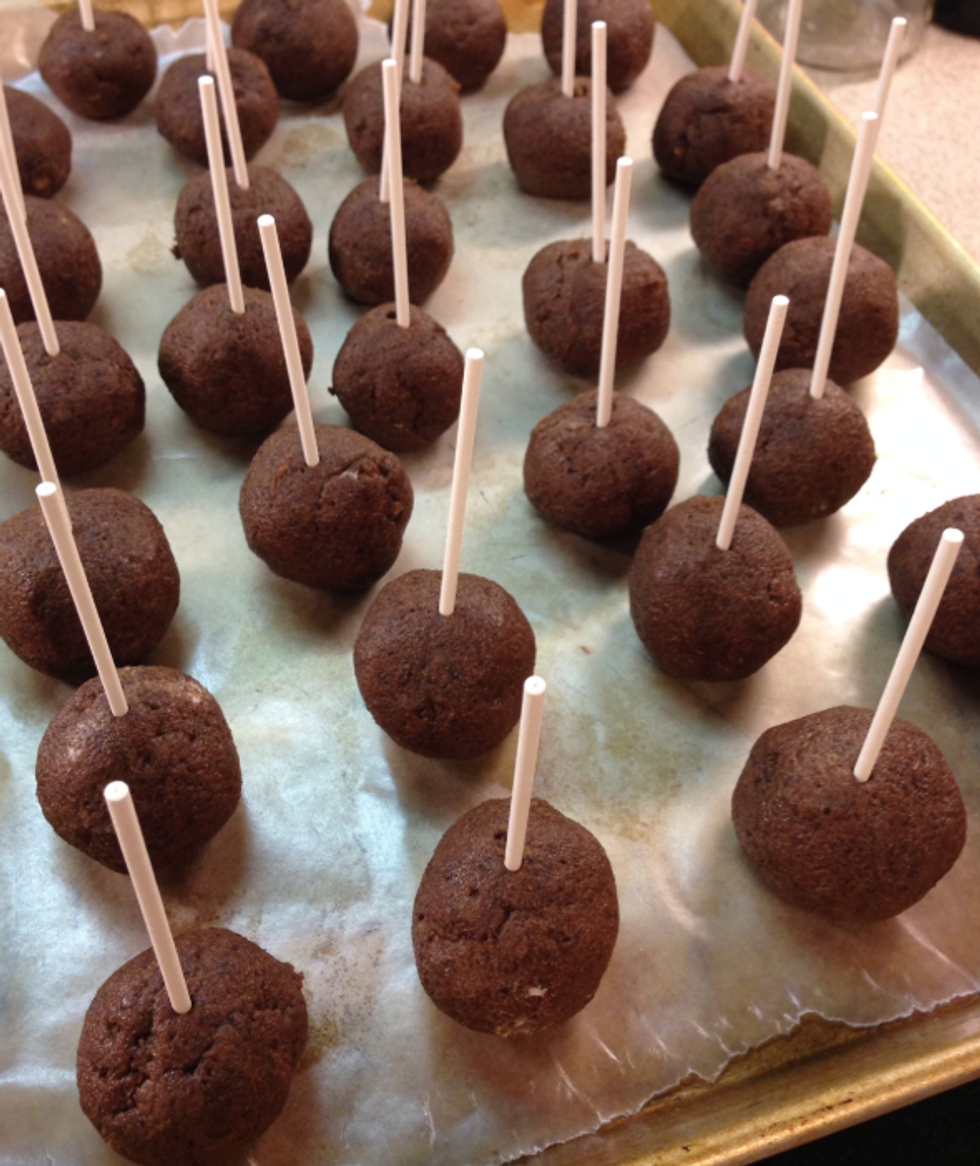
A fork is sturdier and more secure when dipping; I recommend using a plastic fork if it is your first time making cake pops. I've found that the lowest price for cake pop sticks is at Walmart.
8. Prepare the "candy melts" for dipping.

Candy Melts are available at Walmart or Michaels, and come in various colors. For best results, melt according to the package instructions, and add in one tablespoon of Crisco.
9. Dip the cake balls.
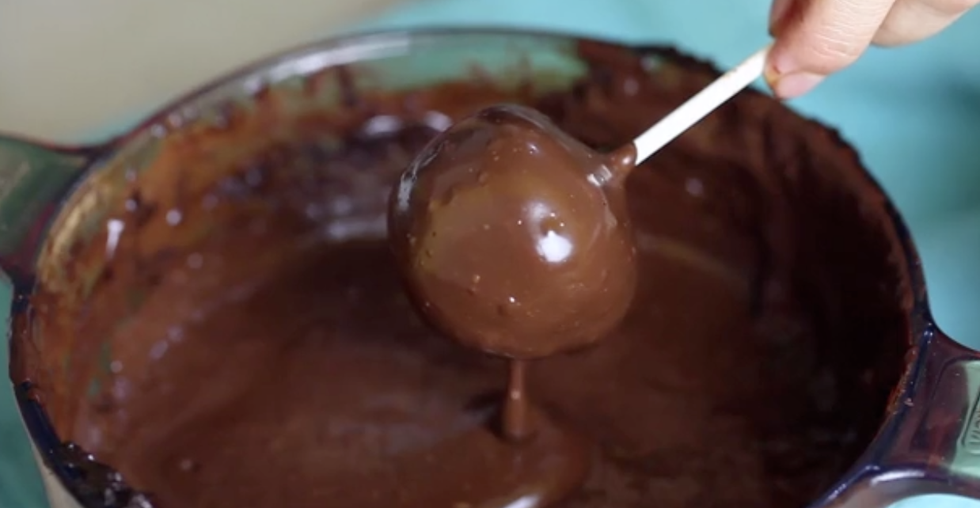
Begin by submerging half of the cake ball into the candy melts. Use a spoon to pour candy melts over the rest of the cake ball. Submerging the cake ball all at once increases your chances of causing the cake ball to fall off the fork/stick.
10. Stick cake pops upright into styrofoam.

It's a better idea to stick the cake pops upright into styrofoam than to place down onto wax paper. This will ensure that your cake pop is round. Drips make occur, but you can prevent this by gently tapping the cake ball on the side of the bowl after dipping.
11. Add sprinkles/decorations.

Check out this website for some of the best cake pop ideas. Experiment until you you've made the perfect pop! I'll be making the cake pops pictured next week. Bakerella and Pinterest also have tons of ideas for decorating cake pops.
12. Use gel for extra decoration.
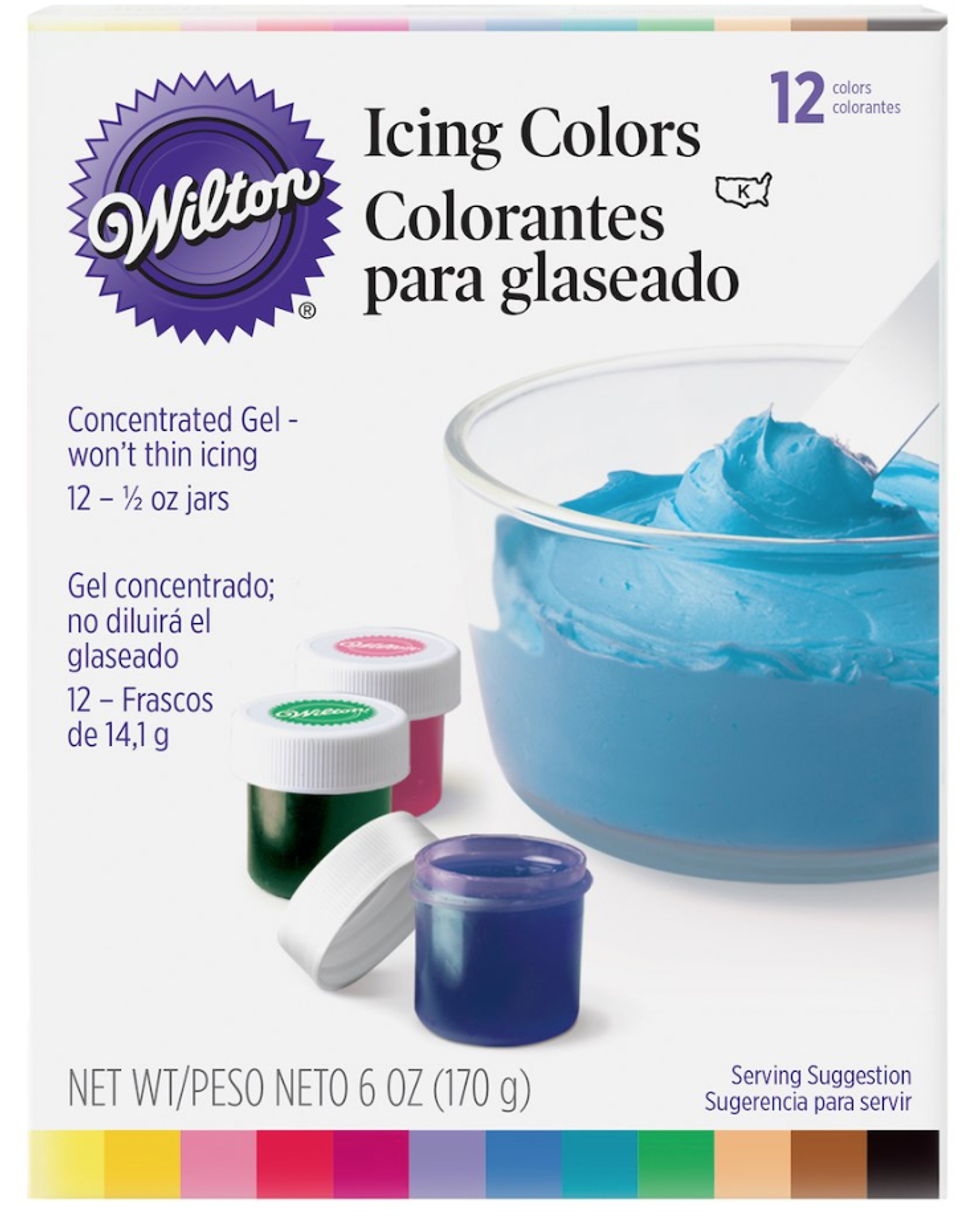
From previous experience, I know that black candy melts fade when melted, so it's really more of a gray color. This color won't work for my cow pop spots, so I'll be adding a few drops of this gel to darken my black candy melts.
13. Cover the cake pops with mini treat bags.
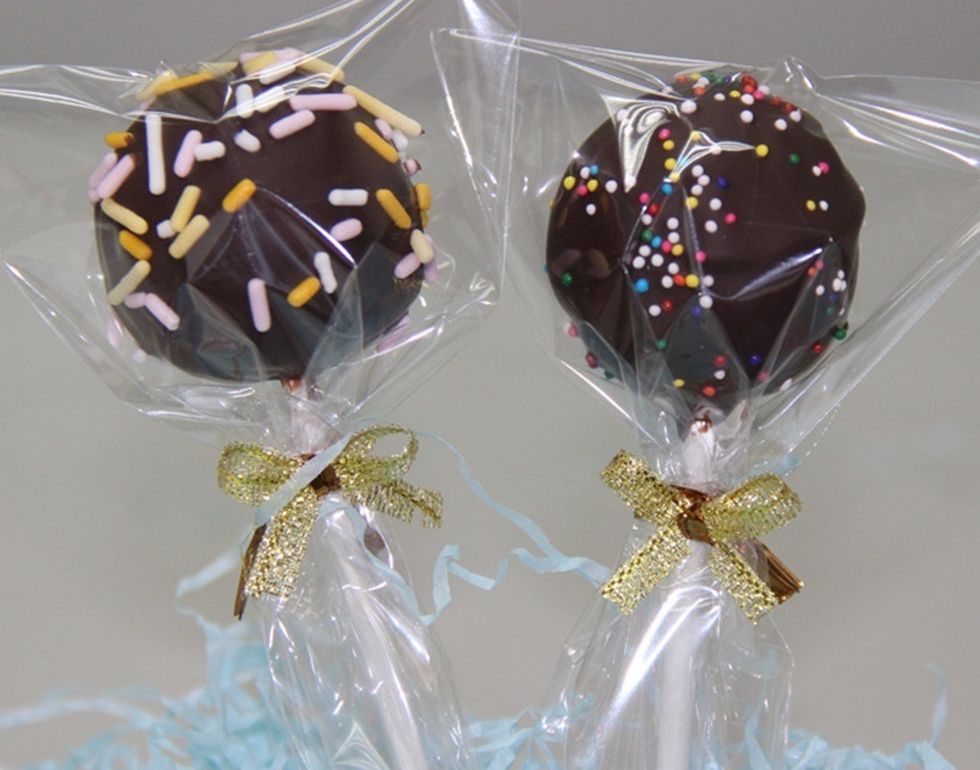
Buy these sleeves from Walmart to ensure your cake pop stays in one piece! These are not necessary, but nice to have on hand.
14. Make an interesting cake pop stand.
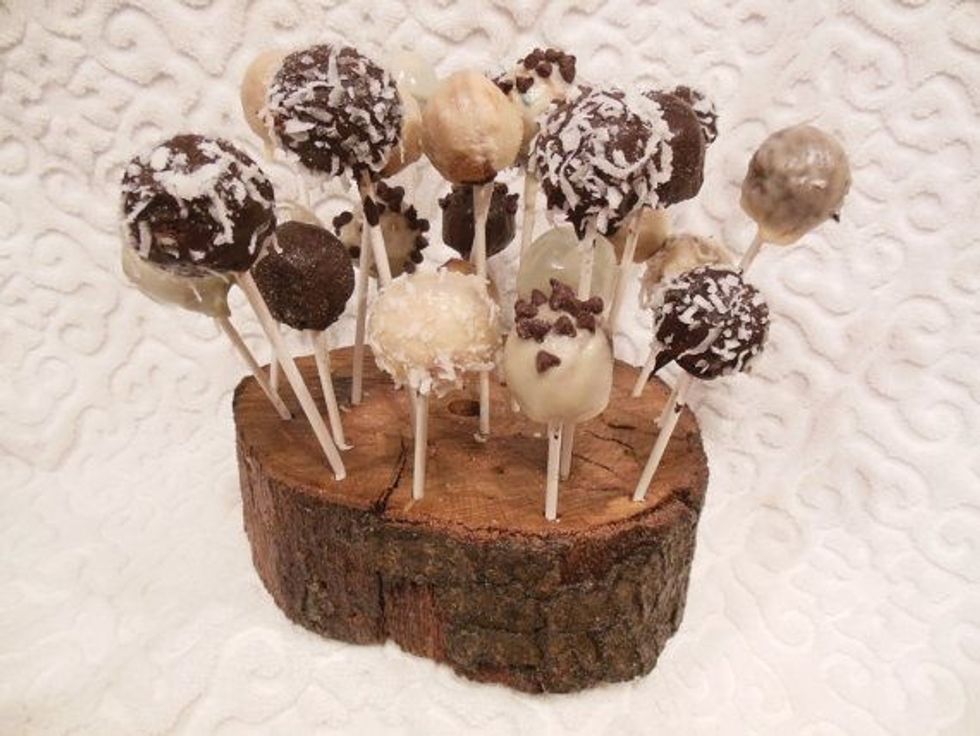
Now that your cake pops are ready, you'll want to show them off! Get creative! To transport the cow cake pops I'll be making, I plan to stick styrofoam inside a pair of new cowboy boots! I'm also considering painting a styrofoam block to look like a hay bale.
15. Eat in at least two bites.
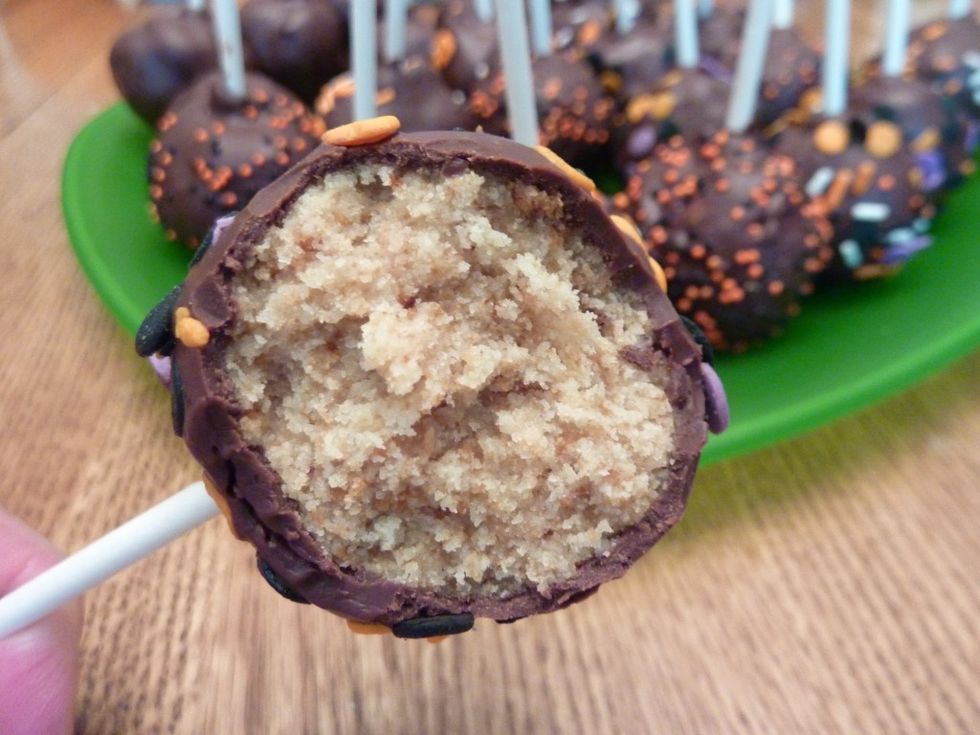
Sure, anyone can eat a cake pop in one bite, but why not savor it? It will be well worth it!
Now that you're an expert cake pop chef, you'll be a hit at events and parties!
And if you're ever in need of a good laugh, perhaps you can pull this prank on someone!


