I stumbled upon bullet journaling on YouTube, while I was binge-watching any and all college related videos. A random girl had a video up on her channel showing the comparison between her daily planner and her bullet journal. I had never heard of bullet journaling up until the moment I clicked on her video, and that was a minute action that has had a sizeable impact on my daily life!
Bullet Journaling is a way to combine all of your lists and daily agendas into one organized journal. Some people even add in scrapbook elements, by glueing in pictures or small memoirs (like concert tickets) into their journal. Others may even add in diary entries, journal in their thoughts, write poetry, or do some sketches. Regardless of the addition, they all serve the desires of the owner of the journal. That is the beauty of the bullet journal, it’s molded around your life and its blue print.
Recommended for you
For me regular planners usually only work for the first couple of weeks of school, then I just rely on my friends and my brain to remember the important test dates and deadlines. As I enter my freshmen year of college on a pre-med route, I need to become more strict on myself with time management organization. Luckily, bullet journaling is a system that I was easily able to adapt into my life and it is the only system that has worked for me.
You can either buy a journal specifically made for bullet journaling such as the one here, or you can follow the following steps to start one yourself:
1. Pick out a Journal.
It can be any size or shape depending on your personal tastes and how much space you’ll need to write everything down. I, personally, did not go the fancy route but instead, picked up a medium sized (5.75 x 9 in.) pink spiral notebook at the dollar store!
2. Set up a Key.
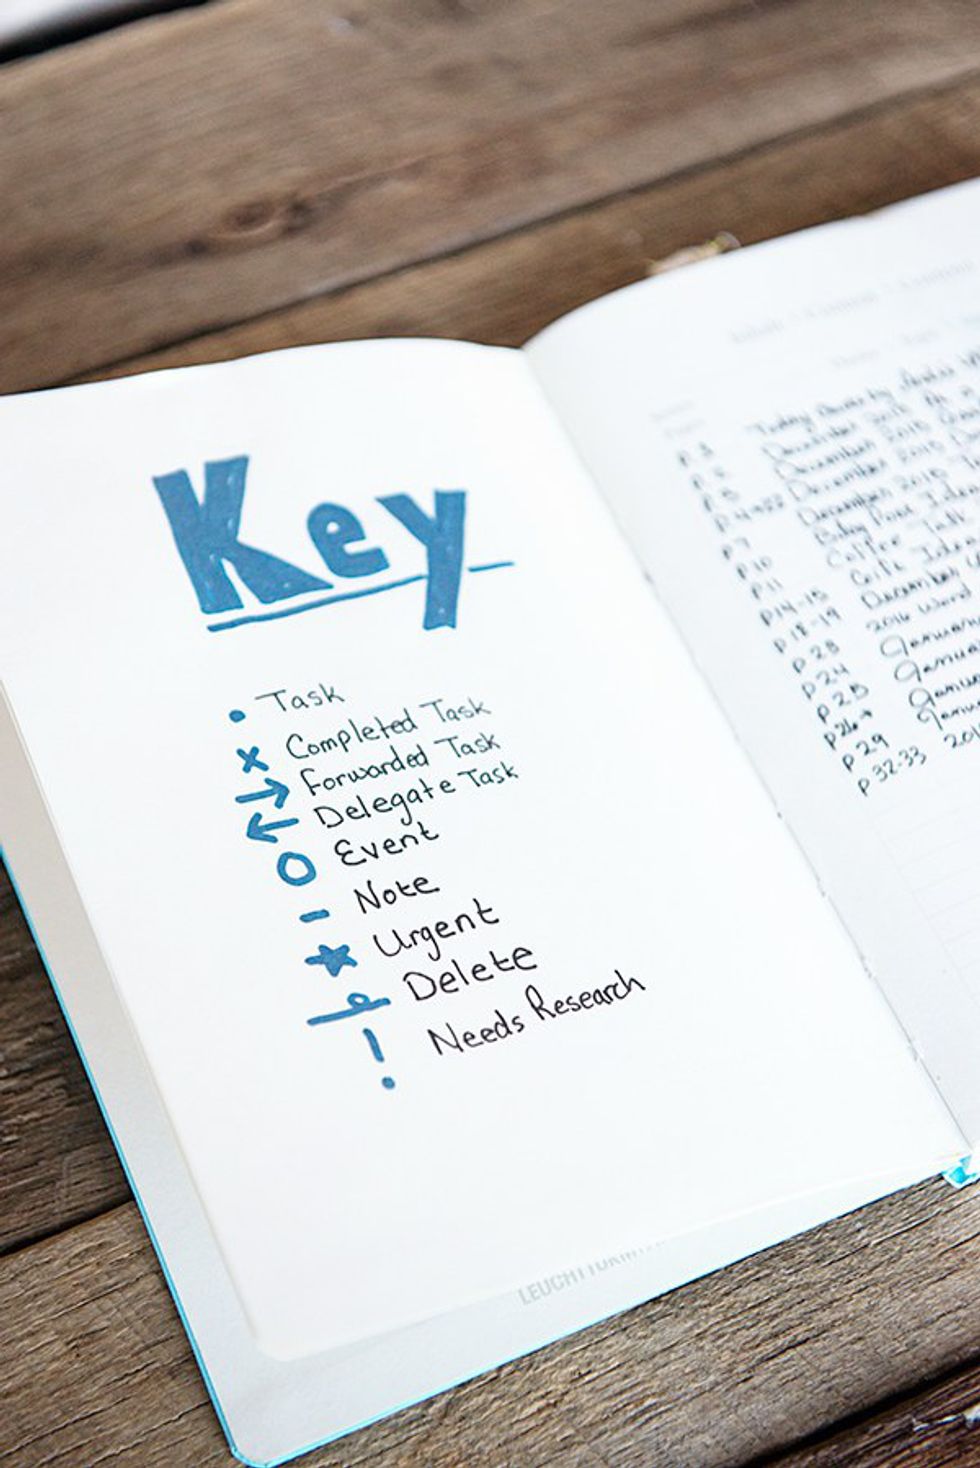
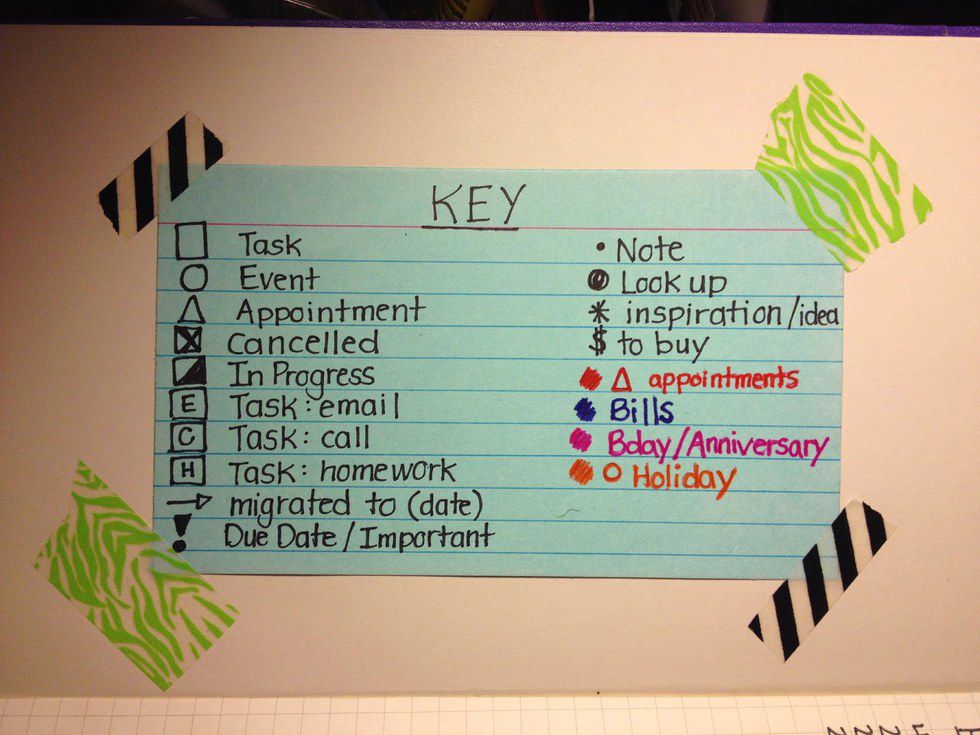
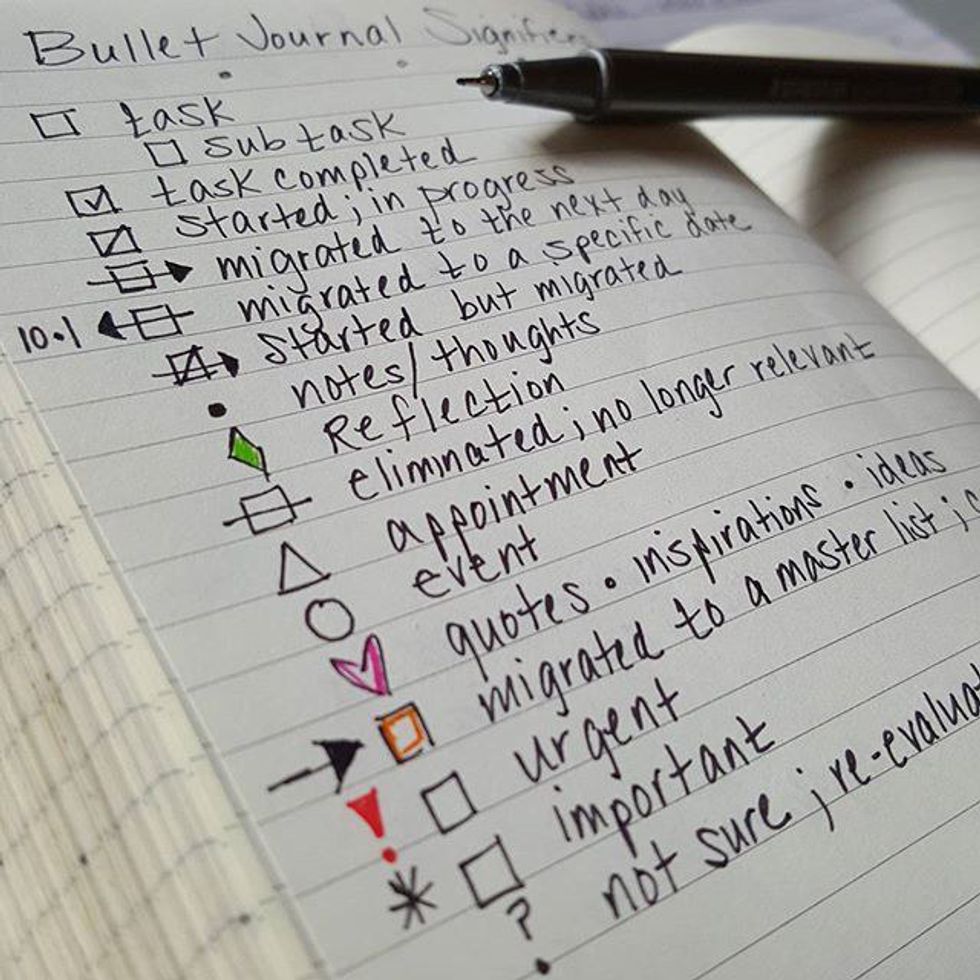
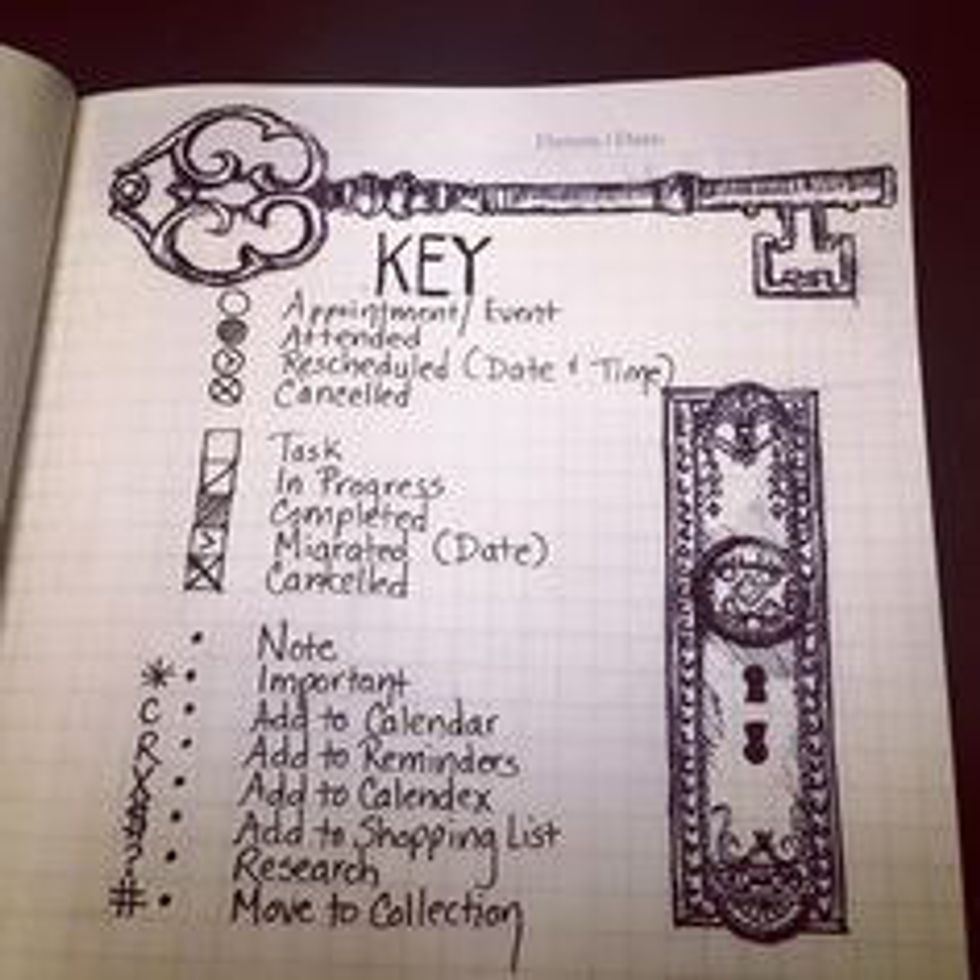
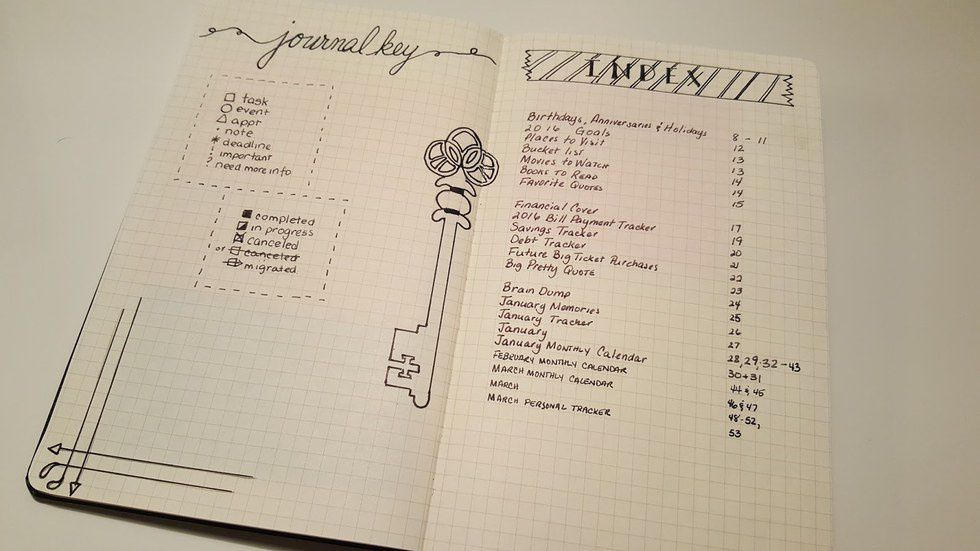
Now that you have your journal, flip it open to the back of the first page (this should be the left hand page of your journal). Here you can create a key filled with important symbols that you’d like to use while planning. Below are a few examples of what this page can look like; however, if you’re not yet sure of what symbols or colors you want to use, you can leave this page blank for now.
3. Set up the Table of Contents.
Depending on how big your journal is, you should choose the amount of pages dedicated to the table of contents appropriately. My journal has 120 pages and is on the smaller side, so I have dedicated two pages (front and back). I titled them “Important pages” since I do not think documenting every single page entry is necessary. Here you will write down the title of the page on the left hand side followed by the page number on the right hand side.
4. Set up a monthly spread for the current month.
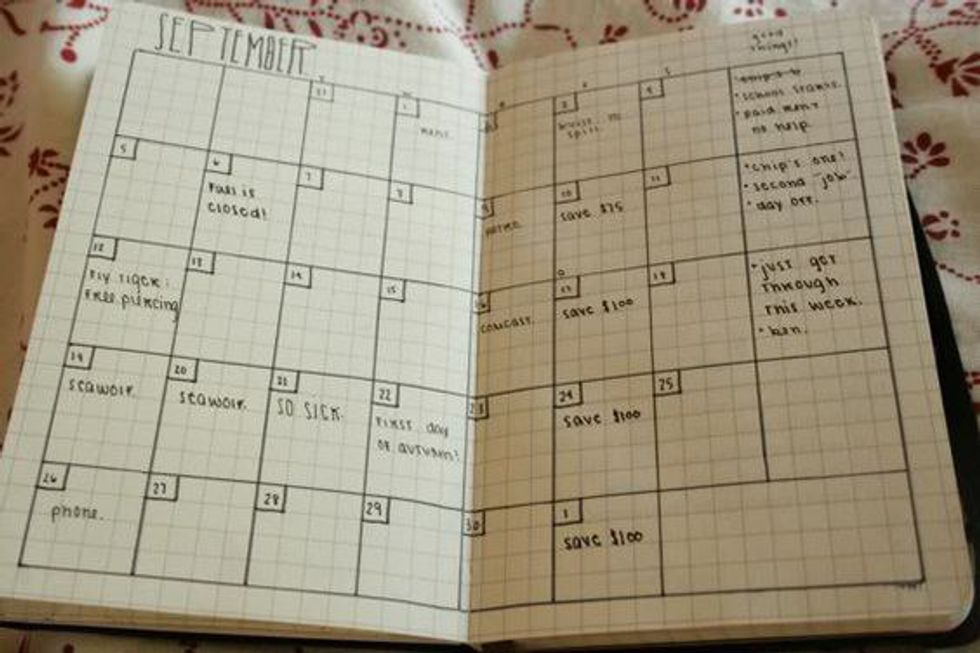
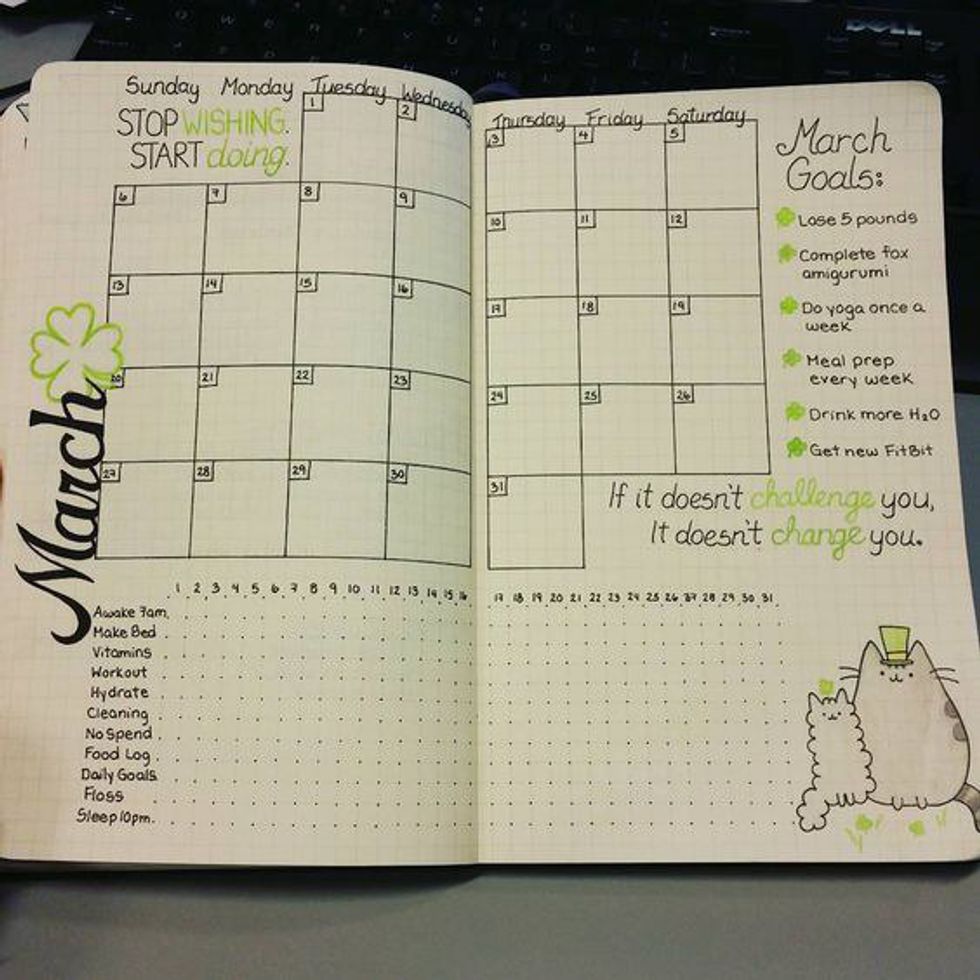
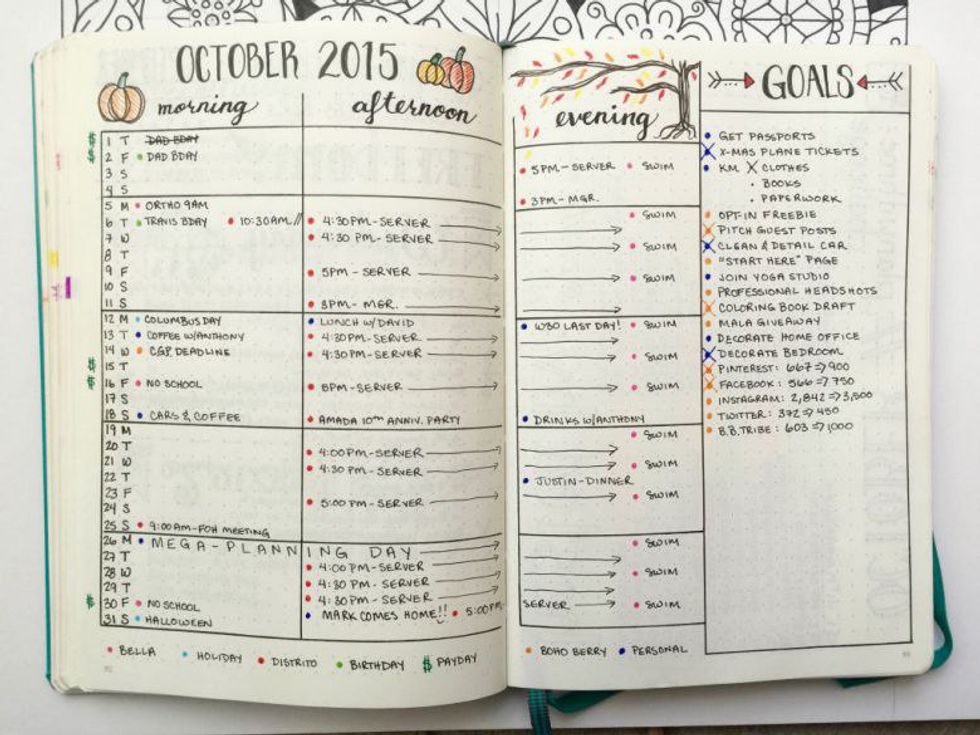
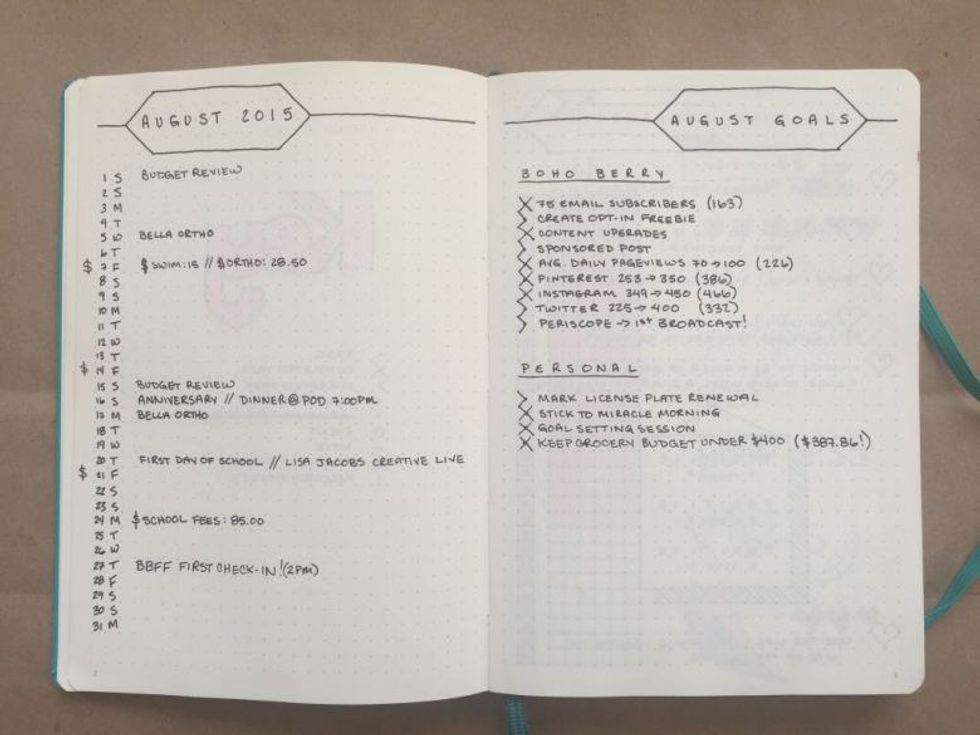
This is where your actual bullet journal begins. By having an overview of the month, you can see what important events and projects are coming up. Number the page and document it in your table of contents. Here are a few examples of what this can look like.
In my journal, my monthly spreads are very similar to the one above. I have the days and dates listed out on one page, since I do not have too many important things going on (however, I might change this layout to an actual calendar format when I enter college), while the page right after that is used to write out some of my monthly tasks and goals.
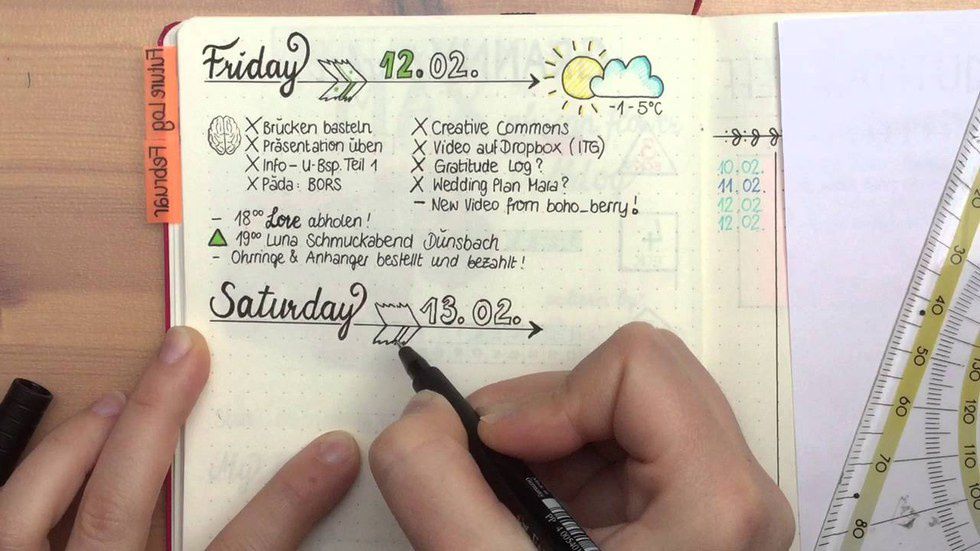
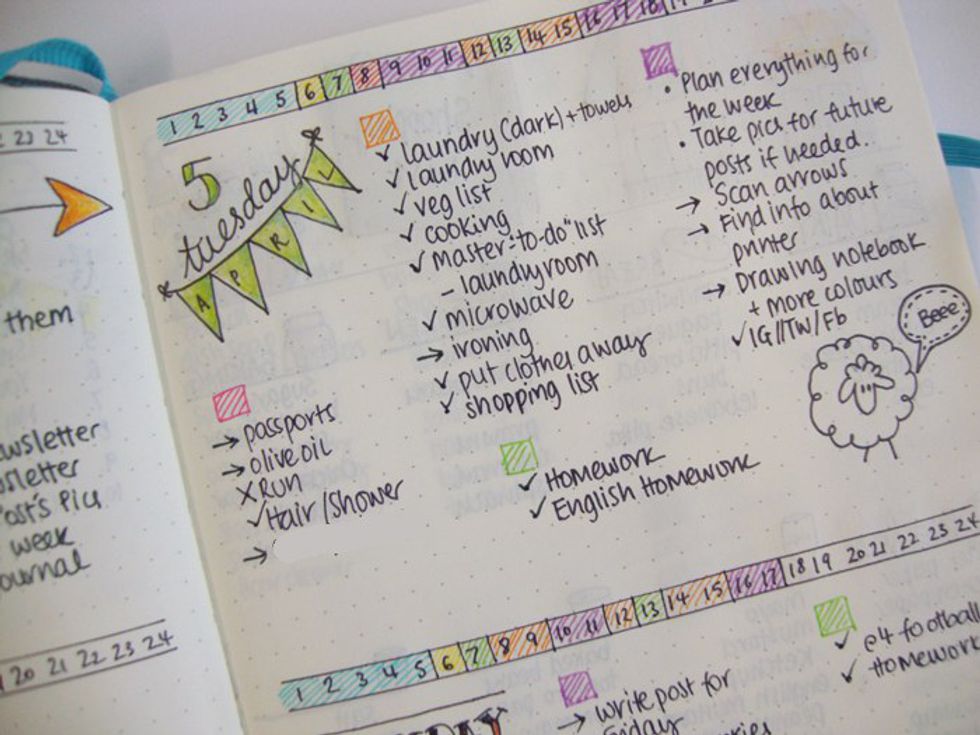
5. Set up a daily spread.
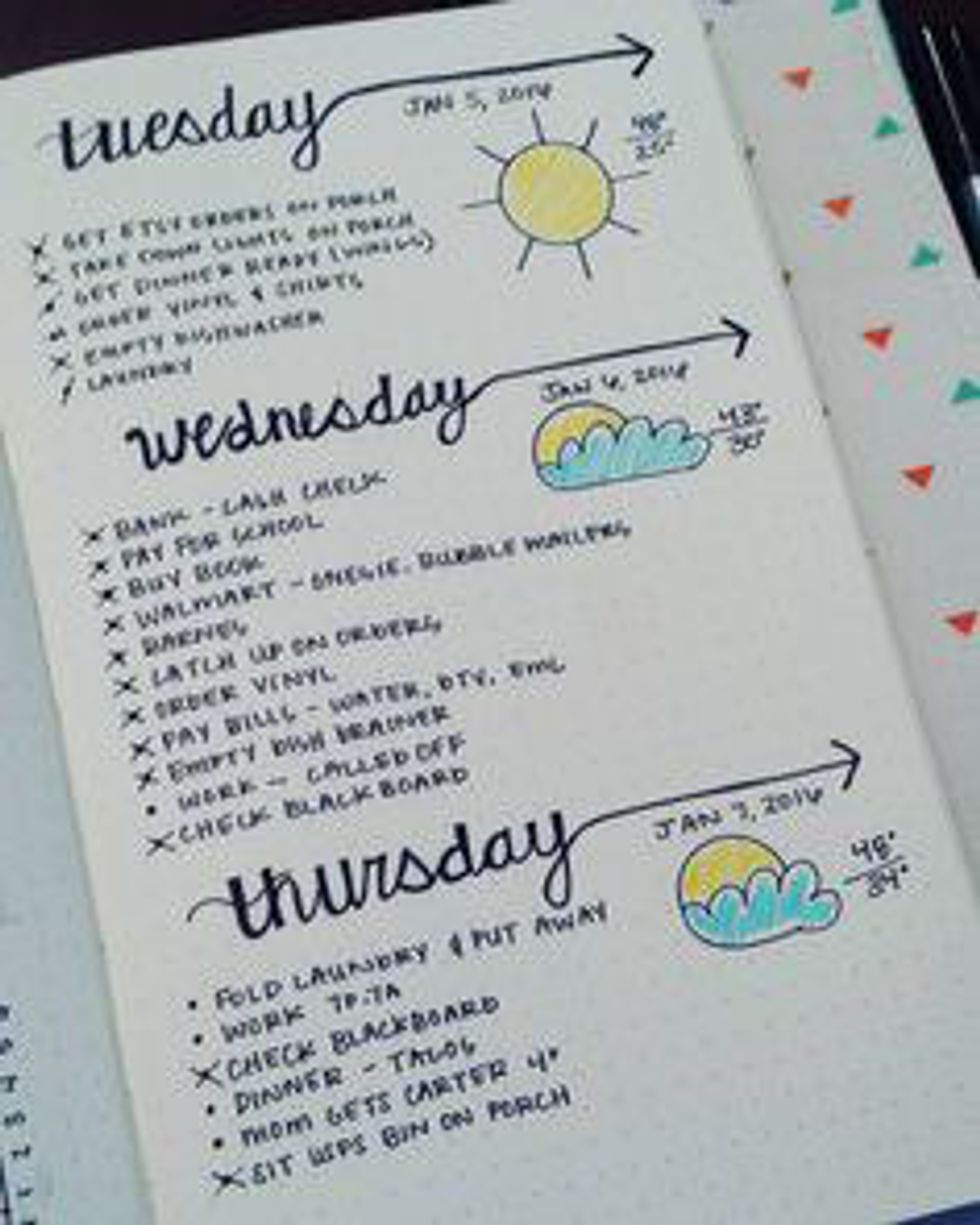
This is where the key created earlier comes into effect. List out your tasks for the day, making sure to label the important tasks. Number the page and document it in your table of contents if you want, I usually do not document daily spreads in the table of contents.
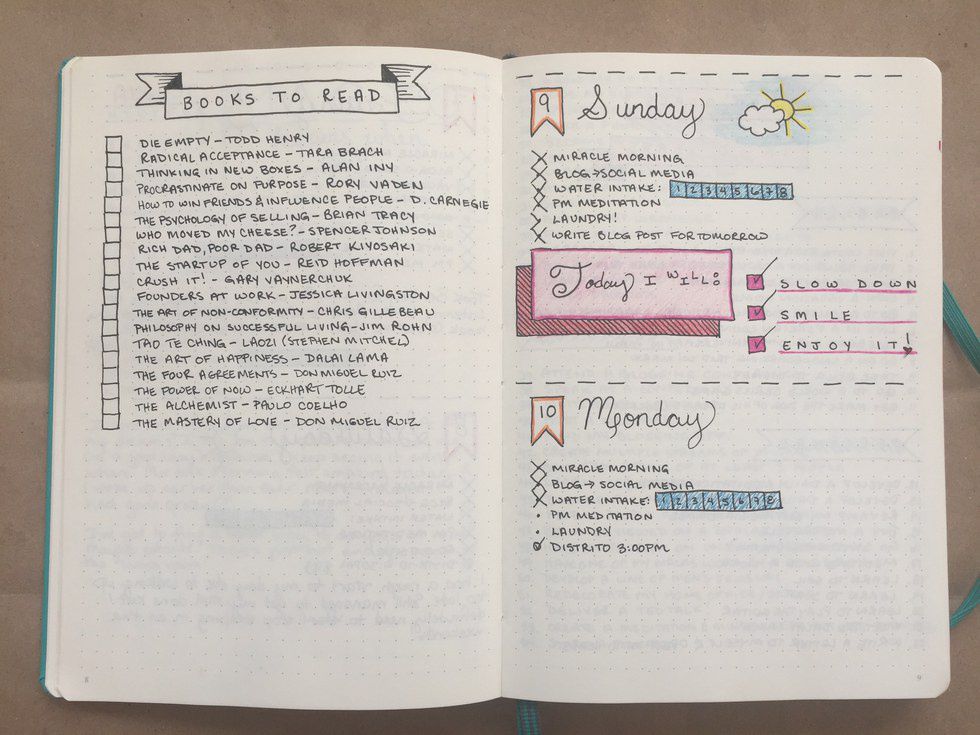
6. Setup pages.
These are the more fun and personalized pages. These range from lists to sketches to goal trackers to personal journal entries. Number the page and document it in your table of contents. Below are a few examples.
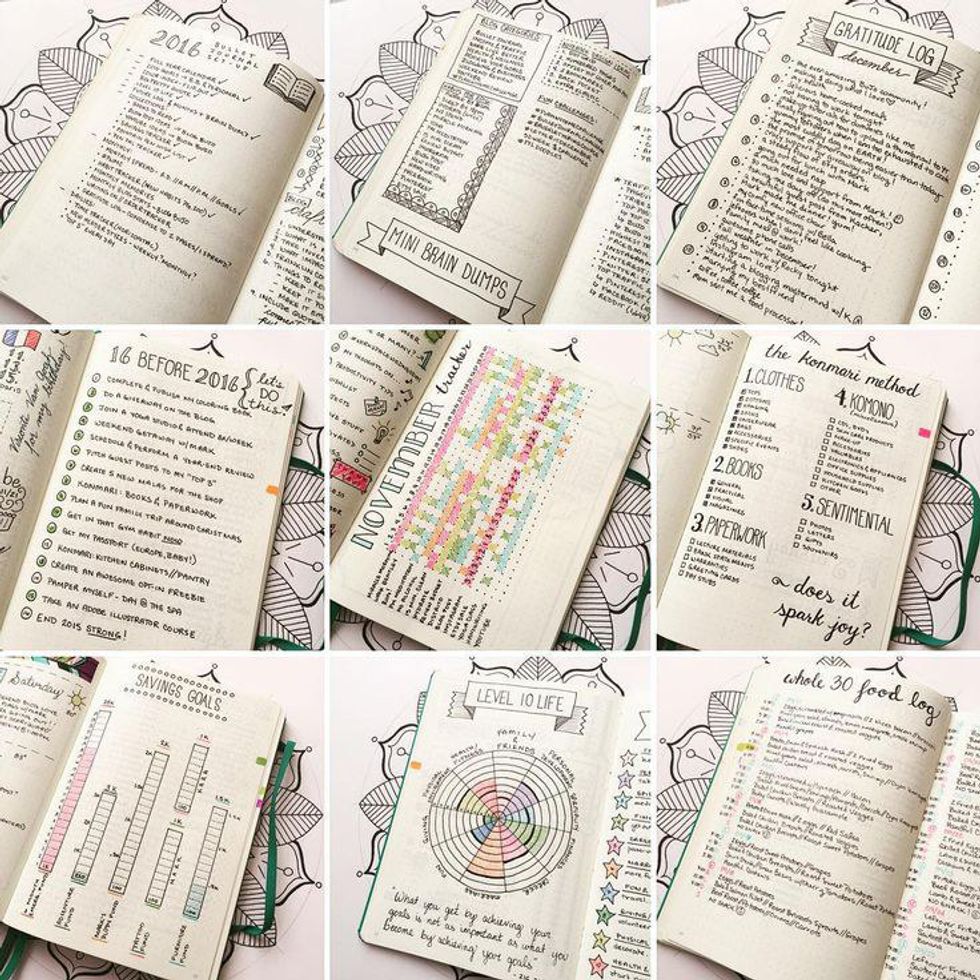
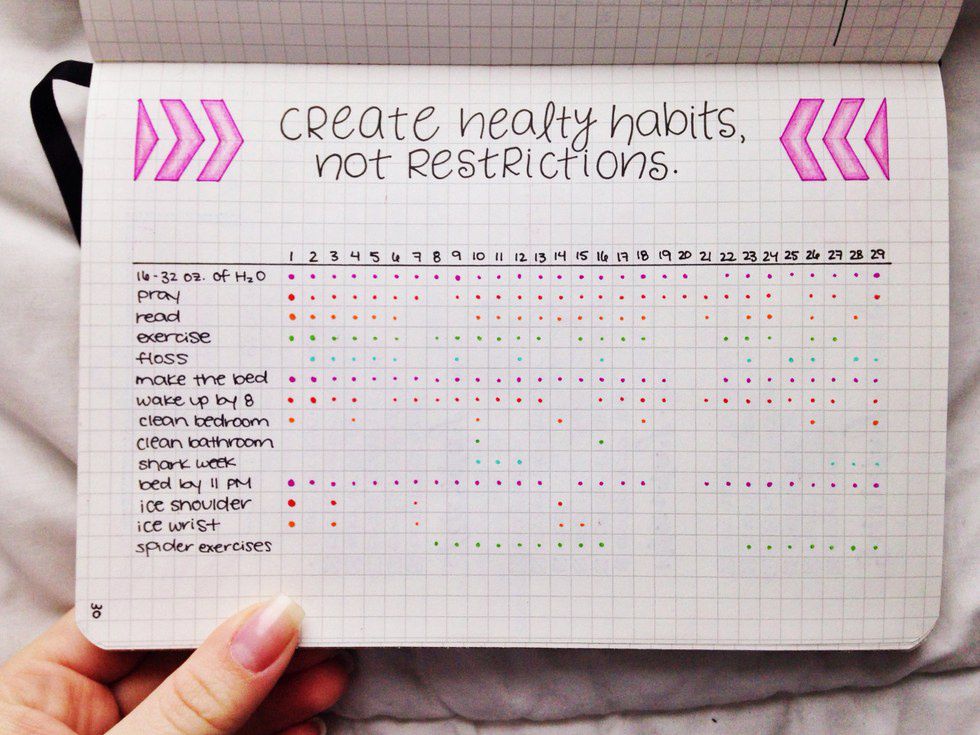

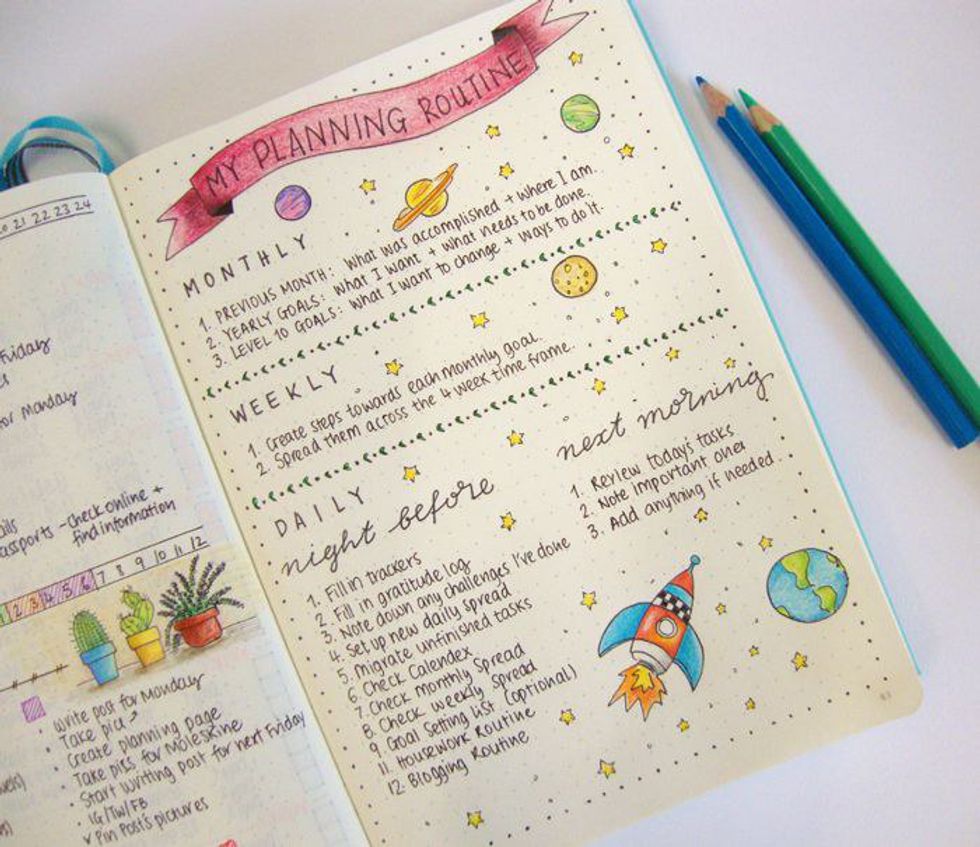
When you have your bullet journal set-up, you’ll find that it is an interactive analog system that helps you break away from the digital world and grasp the tasks at hand while you paint a bigger picture of your life with pages like goal trackers. If you are a student or individual that needs a way to organize your tasks, I highly suggest you try out bullet journaling!


