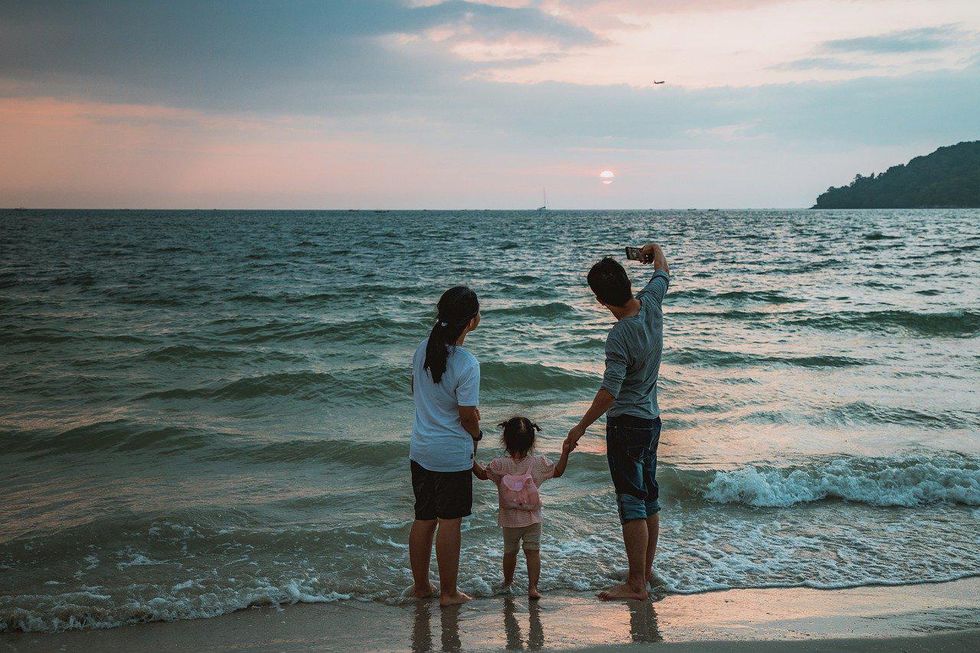
Whatever our best travel experiences may be, it's nice to have photographs that remind us of those times. But what if your travel photos need a few touch-ups?
For example, you finally got to visit the Eiffel Tower, but on a gloomy, overcast day. Or, you finally got to see the temples in Kyoto, but your photos are swarming with bystanders. Thankfully, all of these can be fixed with a few simple photo restoration and editing techniques.
If you want a professional to get the job done for you, get in touch with Image Restoration Center – they'll be able to perfectly restore your image for an affordable price.
If you want to DIY it though, here are five simple ways to make your travel photos even better. All of these can be done digitally using Adobe Photoshop. Just scan your photo, open the file using the program, and begin working your magic.
Crop Your Image
While it's advisable to get the angle of your shot right the first time, you can also turn to the cropping tool to change your image's viewpoint. Cropping can help you zoom in to a subject and make it the center of attention.
Before cropping, make sure to create a copy of your original image. Then, open the image on Photoshop, and type the exact measurements. If you're posting your photos on social media, type the exact dimensions they need to be. For example, Instagram sizes should be the following:
- Portrait: 1080 x 1350 pixels
- Landscape: 1080 x 566 pixels
- Square: 1080 x 1080 pixels
- Stories: 1080 x 1920 pixels
Remove Defects
If you have an old travel photo that has been sitting in storage, there's a good chance that it has gotten a few dust and scratches. Thankfully, these flaws can be easily removed digitally. Just follow these simple steps:
- Make a copy of your background layer (command/control + J)
- On the menu panel, look for Filter > Noise > Dust & Scratches
- Tweak the settings until you're satisfied with the effect. Be careful not to blur the image too much.
- If there are areas that still require correction, use a spot healing or cloning tool to paint over them.
Correct Exposure
When you're traveling, you don't always get the best lighting. If you find your images too bright or dark, you can easily make adjustments using Adobe Photoshop.
Follow these steps:
- On the menu bar, choose Image > Adjustments > Exposure.
- Adjust the sliders for exposure (adjusts the highlights), offset (darkens the shadows and mid-tones), and gamma correction (adjusts the image's mid-tones).
- Apply the adjustments.
Adjust Contrast
The best travel photos are those with high contrast. This refers to images with a full range of tones, from black to white, as well as distinct colors and textures.
Thankfully, there's an easy way to adjust the contrast of your travel photos using photo editing software. Simply follow these steps:
- On the menu bar, select Image > Adjustments > Brightness/Contrast.
- Adjust the brightness and contrast slider to get the desired effect.
- Click OK.
Remove Unwanted Items
Removing unwanted objects or people from a travel photo is a pretty advanced technique, but it's worth learning if you want to make your photos look polished professional. There are a few ways to do this:
Use The Spot Healing Brush Tool
The spot healing brush tool can be used to remove wires, debris, and other small objects. Here's how to use it:
- Create a new layer on the layers panel. Name it the cleanup layer.
- Choose the Spot Healing Brush Tool from the toolbox.
- In the Options bar, pick Sample All Layers.
- Paint over the unwanted object to remove it.
Use The Healing Brush Tool
Another tool you can use to remove unwanted items is the healing stamp tool. This tool enables you to select pixels that you want to remove. It also gives you more control compared to the Spot Healing Brush tool.
- On the toolbox, click on the Spot Healing Brush Tool. A pop-up menu should appear. Select Healing Brush Tool.
- Select the cleanup layer from the layers panel.
- On the options bar, choose Sample > Current & Below.
- Position your cursor on an area you want to use as the source of pixels that will hide the unwanted object. For example, position the cursor on the background of a bystander.
- Paint over the unwanted object.
Add Your Finishing Touches
Once you're satisfied with your image, it's time to save your work. On Photoshop, it's good to have a .psd copy of your file so you can go back and retouch your image later on, in case you see more issues you'd like to fix.
By making use of the techniques listed in this guide, you can make your travel photos look 10x better!


