When I was in middle school, I started getting into the world of makeup. Granted, I wore nothing but black eyeliner and a little bit of mascara, but as I got older, I started experimenting more and more. I ventured into the wonderful world of YouTube and started searching makeup tutorials until I found what I was looking for. I started learning the process of putting on makeup and applying it in my own way and finally, I found my style. I started trying things for myself and watching videos for ideas, rather than as a learning process. Now, several years later, I'd consider myself to be pretty close to expert level.
I started wearing a full face of makeup when I got to high school, around my sophomore and junior year. Now, it was completely unnecessary, but I was going through a rough time with self-esteem issues and makeup really helped me build my confidence and get a better grasp on who I wanted to be as a person. My friends started asking me to do their makeup for school pictures and dates and prom, and all of a sudden I was getting bombarded with questions on what does this do? How do I use this? Where did you buy that? How much is it? etc. I'm hoping this article can help out anyone who has any questions on makeup products and how to use them!
First things first: we gotta start with skin types. There are typically three types of skin types--dry, combination, and oily. Dry skin types are people who have dry skin (it's that simple). This means that your skin doesn't produce excess oil, leaving the skin smooth and dry. Combination skin is next. People with combination skin will find that they have dry patches of skin in some areas and oily patches in others. These oily patches usually occur in what we refer to as "The T-Zone". The T-Zone is the center of the face (the center of the forehead, down the nose and around the nostrils, and sometimes even on the chin). Then there's oily skin, which will feel greasy to the touch and appears shiny in the sunlight. Now, you can have a wide variety of any of these skin types. My particular skin type is Combo-to-Oily, meaning that sometimes my skin is oily and sometimes it's combo (I get dry skin on the outer perimeters of my face like my jaw and cheek area, but still get oily in my T-Zone). But learning your skin type is the first step in learning how to use makeup. Most products for the face are catered to a particular skin type (foundation for oily skin, foundation for dry skin, etc.), so if you know your skin type, you can get started with delving into the wonderful world of cosmetology.
I'm going to take you through my step-by-step process when I do my full face of makeup in the morning. Just remember, you don't have to wear as much (or as little) as me and you don't have to wear any at all. Makeup was created to enhance the natural features of someone's face--not cover them up. But makeup has changed a lot over the years and I'm a firm believer in doing whatever you want to do with your own body. Makeup in expression and it want to wear your makeup a certain way, then go ahead and do it! As long as you're happy, that's all that matters. Always remember, you're beautiful exactly the way you are!
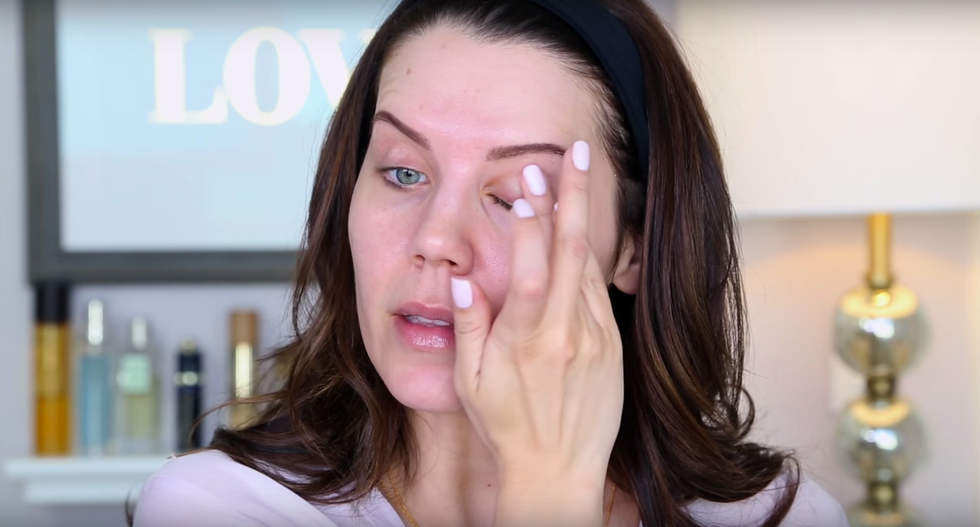
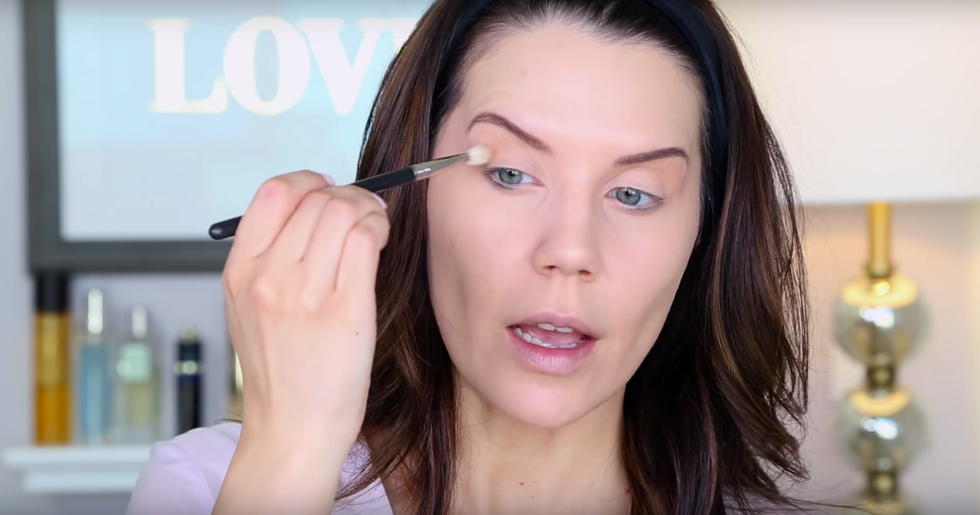
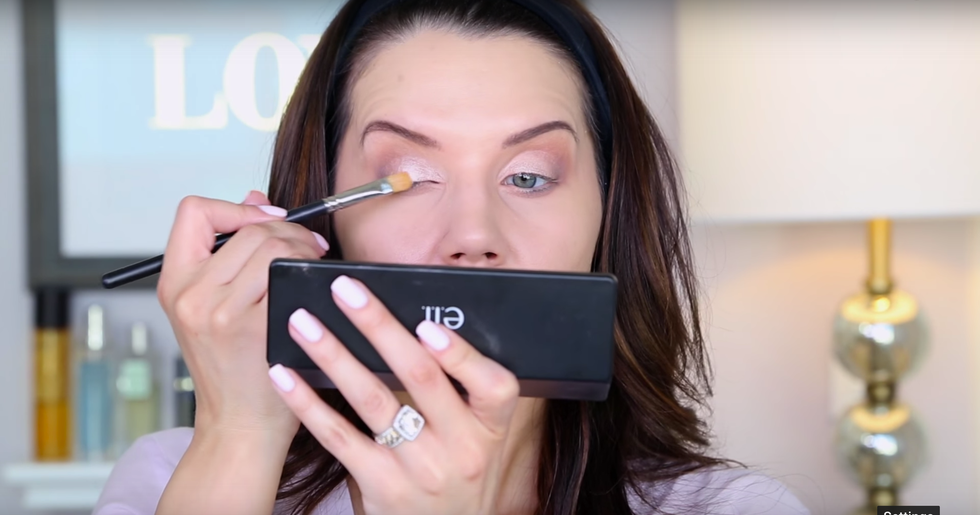
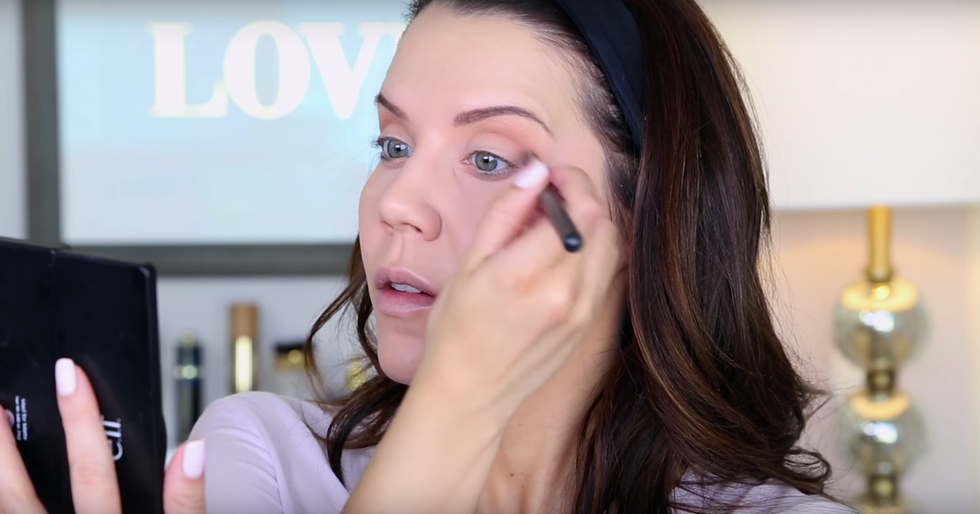
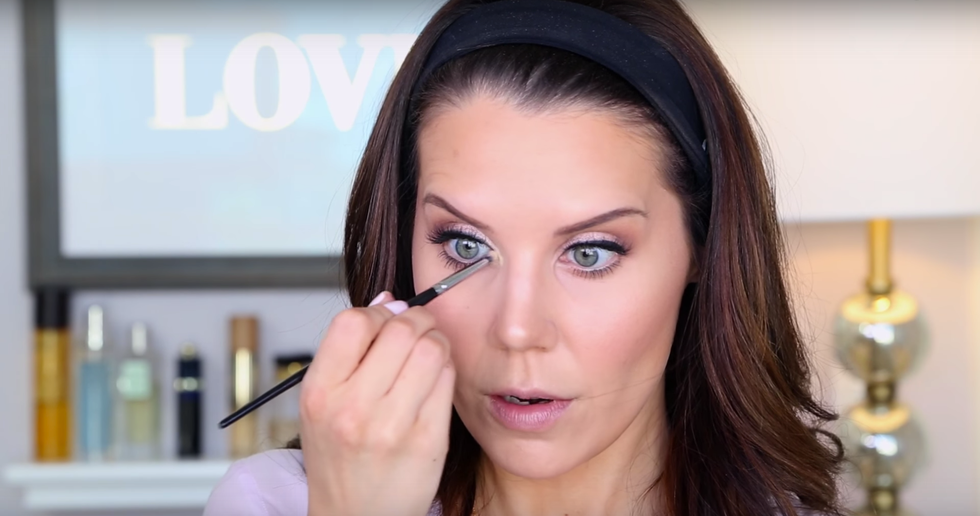
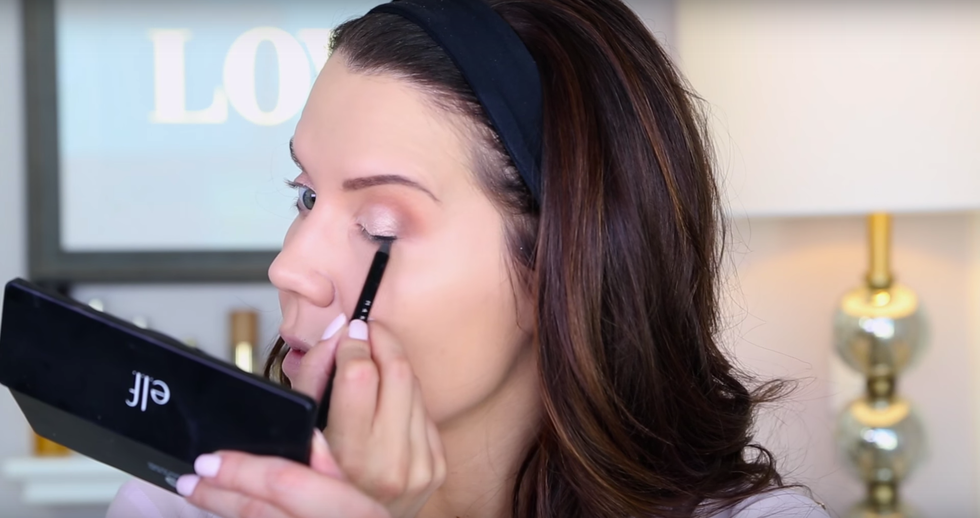
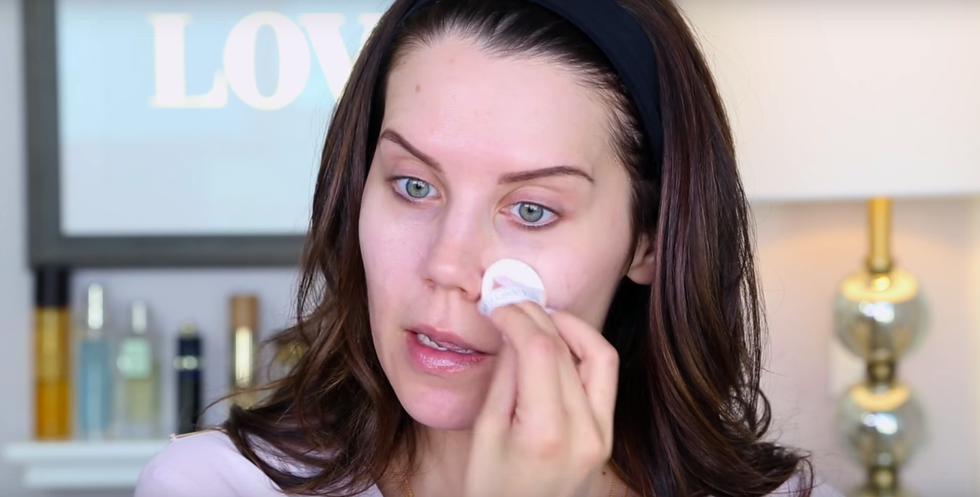
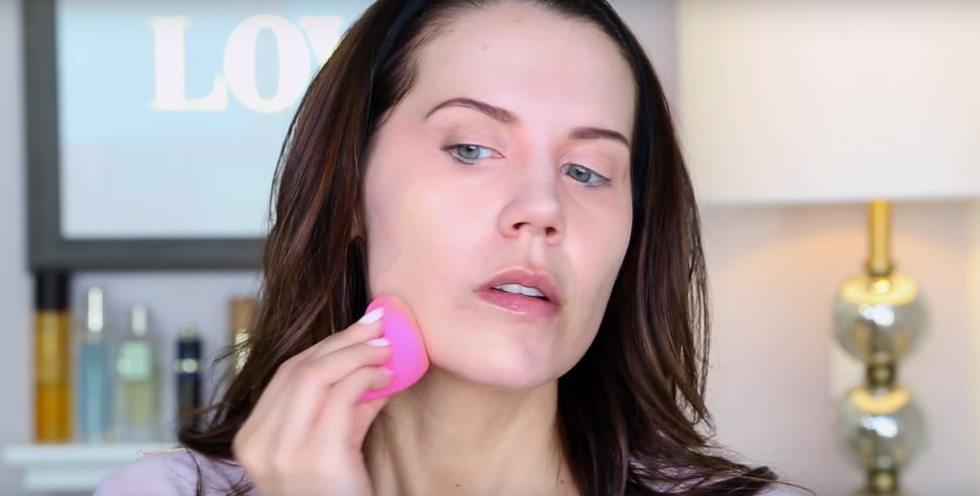
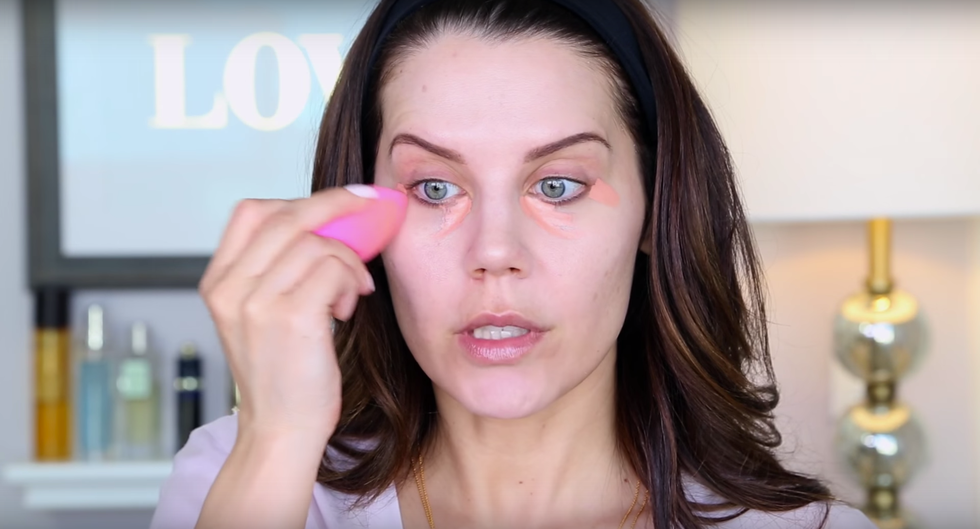
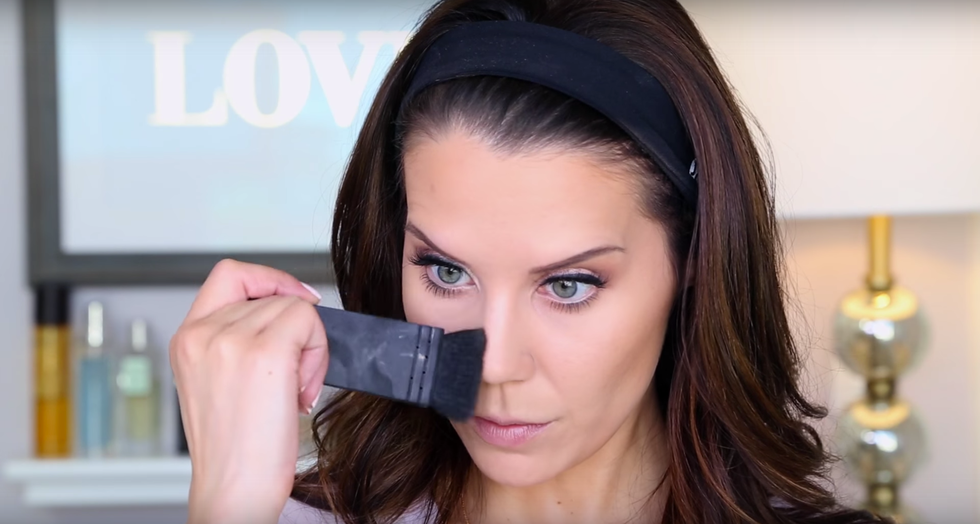
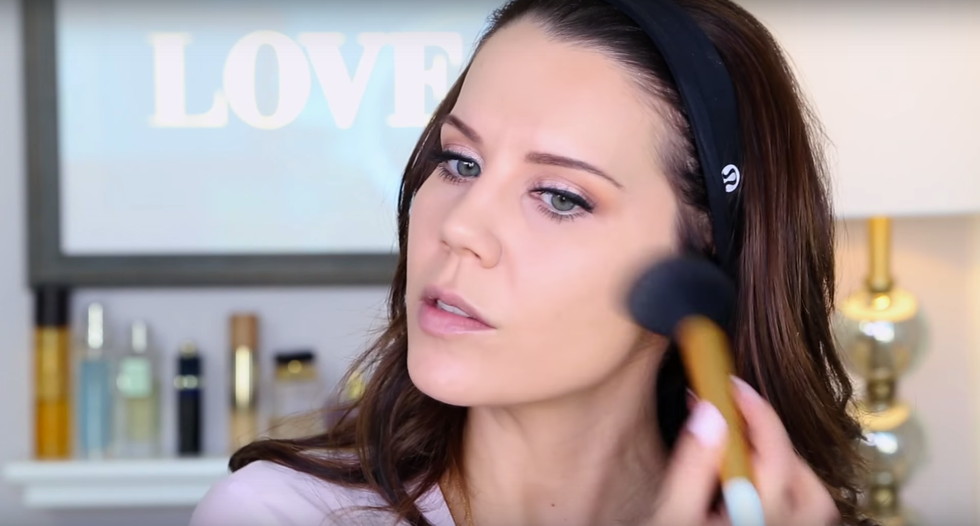
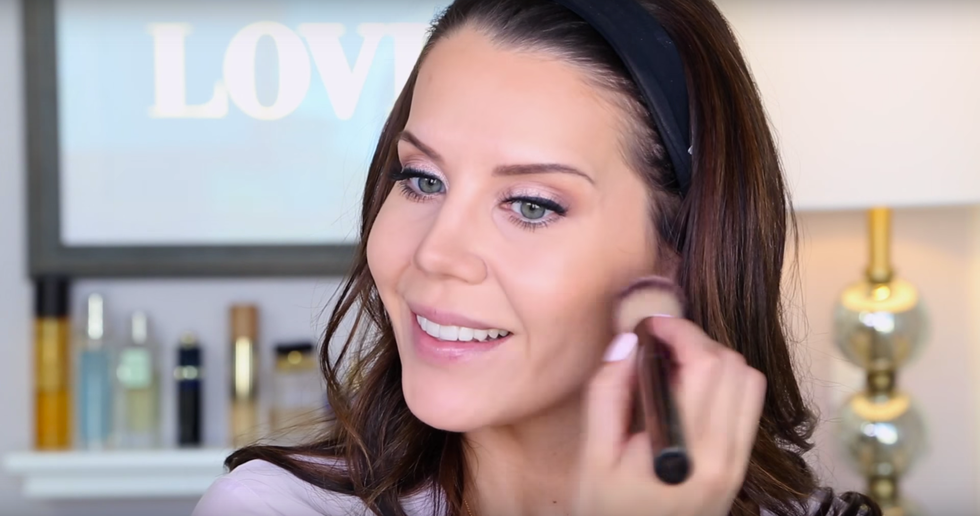
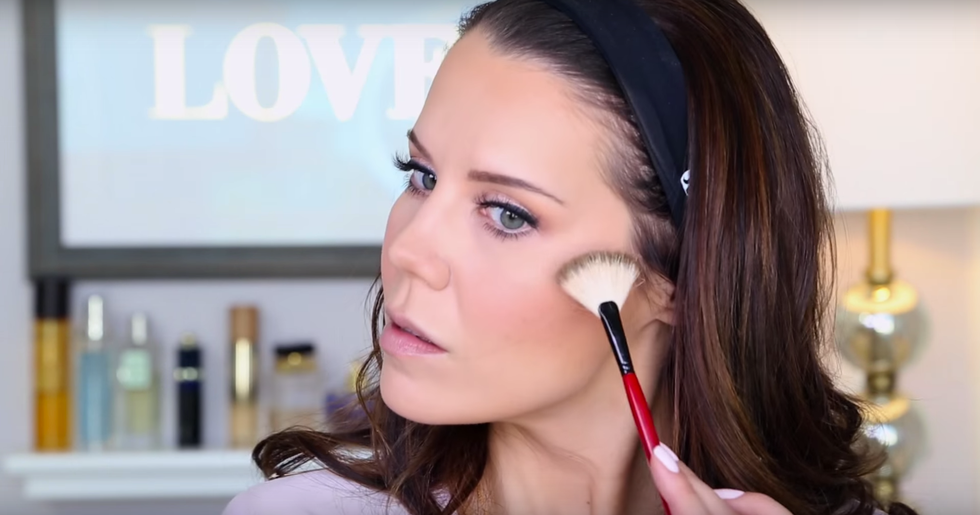
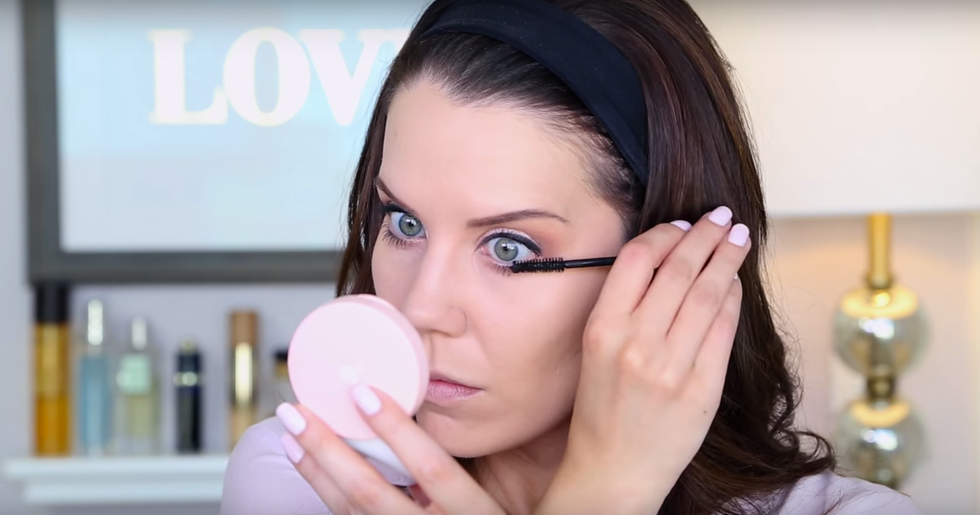
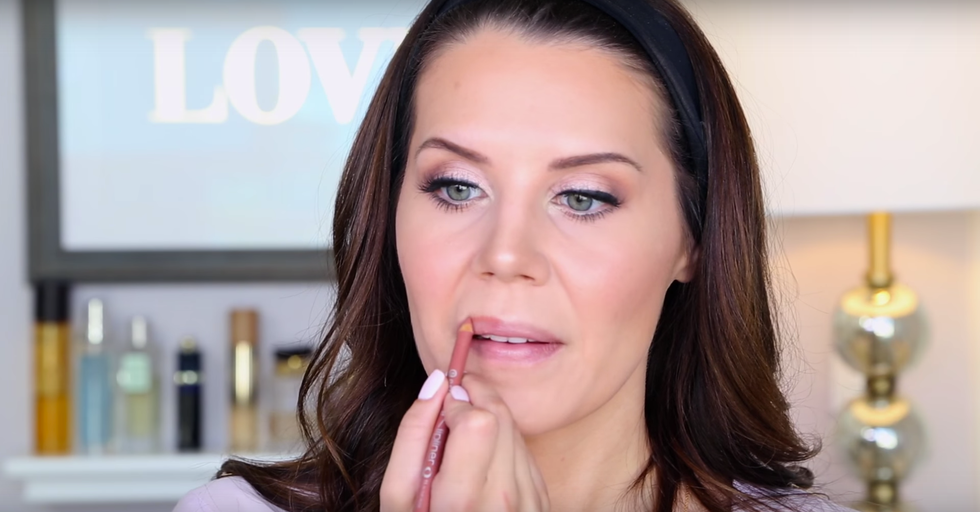
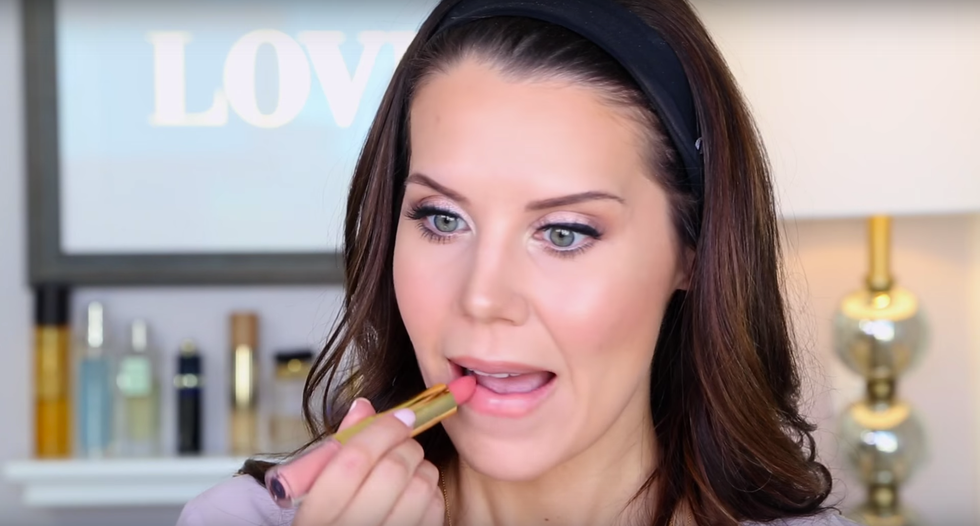
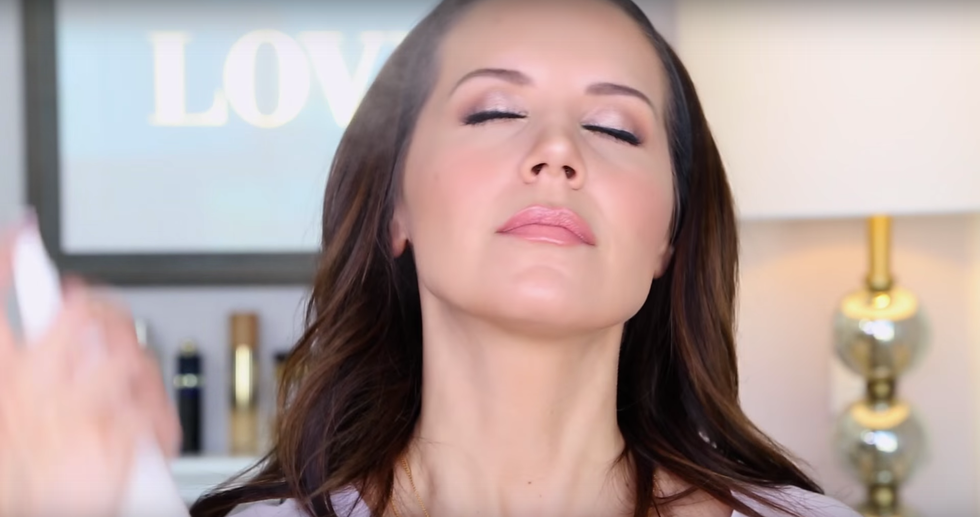
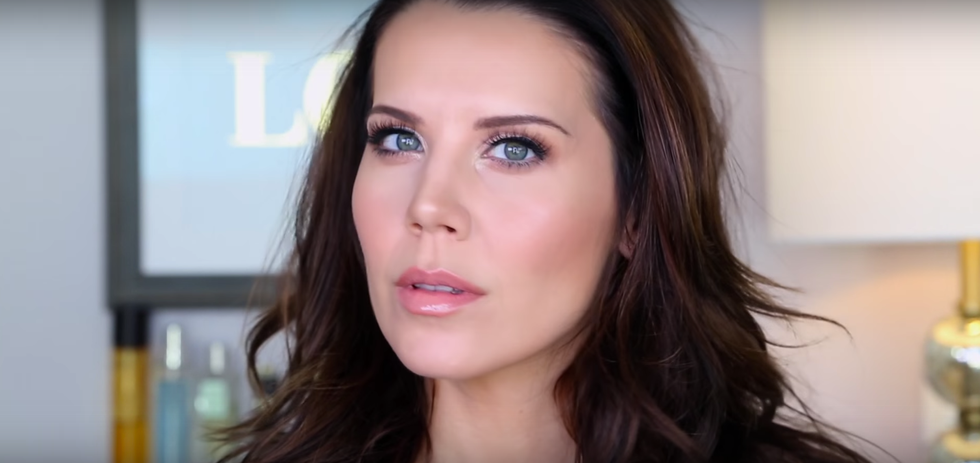
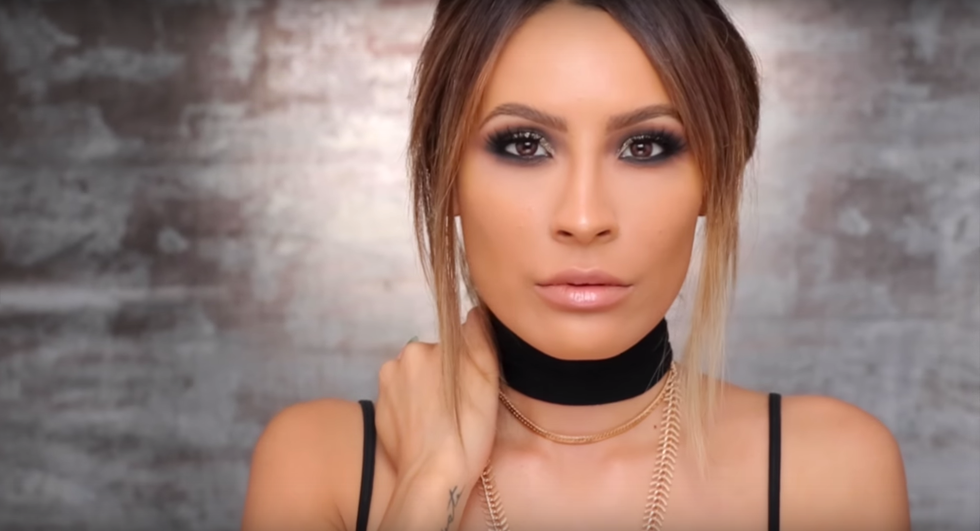
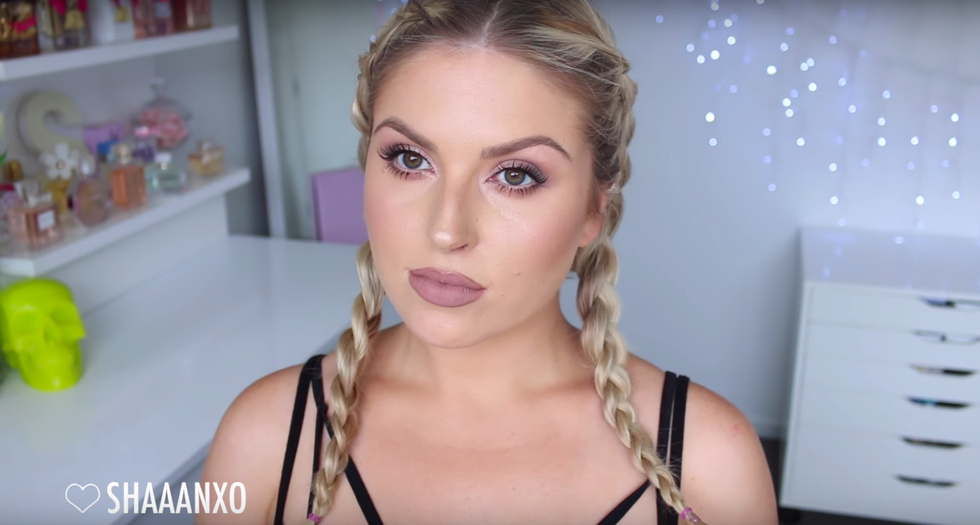
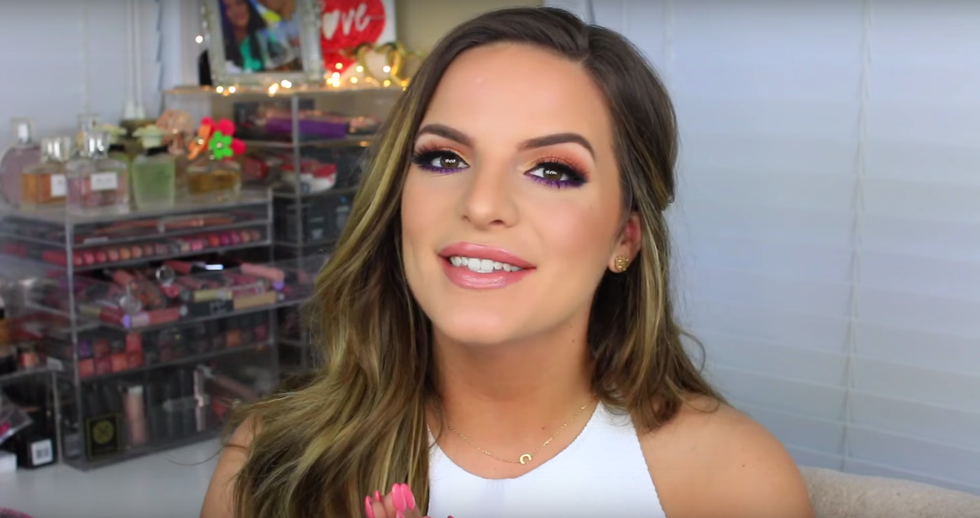
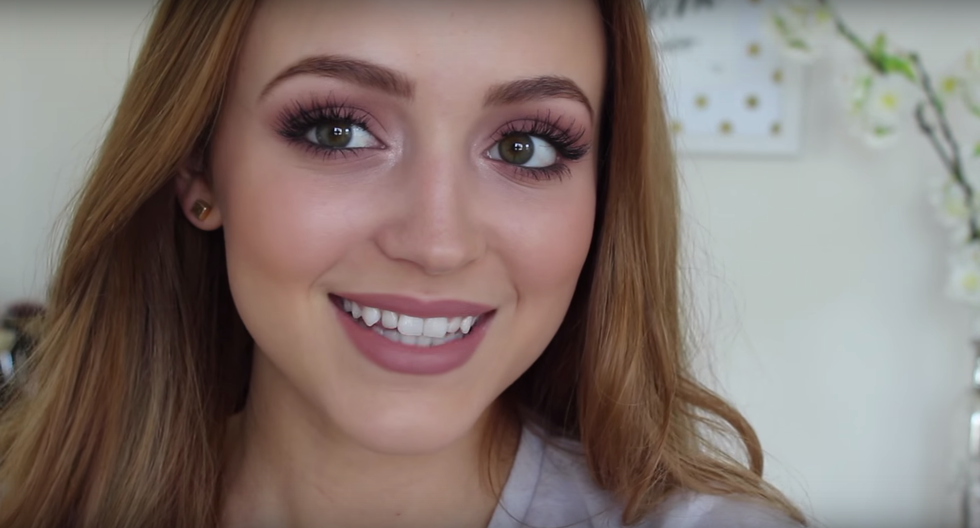
I'm going to use screenshots from one of my favorite beauty vloggers, GlamLifeGuru (Tati), to help demonstrate some of my points! Tati does her makeup in a different order than I do though, so be warned the makeup may look different in certain pictures!
EYES:
Now, this was something I didn't use to start with. When I started watching tutorials, almost everyone started with foundation and the face products first. I mimicked that for a few years and then when I started getting my own individual style, I started doing my eye makeup first.
Step 1: Eyeshadow Primer - Eyeshadow primer is the first thing I put on my eyes. I use the Urban Decay Primer Potion and I have for years now. This is a personal preference of mine and it's my favorite in particular. There are dozens of other types of primers from dozens of different companies. I apply this all over my eyelids with my finger and make sure I spread it evenly from my lash line up to my brow bone (right underneath my eyebrow). This provides a tacky base for the shadows to stick to, ensuring that they will last throughout the day.
Step 2: Setting the Primer - This is a completely optional step. I've found that setting my eyeshadow primer makes everything else so much easier later on. I use Wet N Wild Creme Brulee eyeshadow, but honestly, any skin toned eyeshadow or translucent powder or face powder will work. Basically it just gets rid of the tackiness and makes blending so much easier.
Step 3: Crease/Transition - The first color I usually put on my eyes is the crease shade, sometimes called a transition shade. Basically, this color is just there to help me define my eye socket, or crease, so I can see how high up I'm bring my shadows or how far out I'm taking it. Usually, I use a light brown or soft pink shade to do this, but it honestly depends on the look. This shade is meant to mimic a shadow in the crease, which is why you'll want to use something matte (meaning it has no shimmer or shine to it). This shade is usually a lighter shade and not something that would stand out too much on your skin tone if worn alone. This can be tricky to find at first, especially if you're a beginner, but just remember to keep trying and everything will come together. Also, if you don't have a very defined crease, or a crease at all, you can always create one for yourself. Take your brush, usually a fluffy blending brush, and place it on your eyelid and use light pressure until you find your eye socket or bone area--that is where your crease is.
Step 4: Lid Shade - Again, the order I go in is personal preference. The lid shade is the primary color that is going to be on your lid. It's typically a light or bright shade that accentuates the eyes. For instance, I have hazel eyes (green/brown) and I like using gold and champagne colors to bring out the green in my eyes. Find colors that you like and you think would look good on you and experiment! You'd be surprised at what shades you like on yourself. The lid shade is applied to the entire eyelid area, but does not go up as high as the crease. You'll want to stop applying this color where you applied the crease shade.
Step 5: Outer V Shade - This is the darker shade that goes on the outer corner of the eye. It typically comes in about one-third of the way across the lid. If it helps, when you look at your eyes in a mirror, one-third is from the very outermost point of the eye to the edge of the iris (the colored part of your eyes). This is usually a deeper and darker shade, like a dark brown or even black in cases of smokey-eyes. I like to take this shade a little bit into my crease to make my eyes appear larger and to help the shades blend easier.
Step 6: Browbone Shade - This shade goes above the crease and underneath the eyebrow. This shade is usually a light shade, it could be shimmery or matte (personal preference), and is used to lift the brows to appear higher and more arched. It's also used to act as an eraser of sorts if you accidentally bring your crease shade up a little too high. I have incredibly pale skin, so I use a nearly white shade almost every day. I usually take my blending brush and run it lightly through my crease one more time to make sure everything is blended.
Step 7: Inner Corner Shade - This is usually the whitest and brightest shade of the eyeshadow look. It goes on the inner corner of the eye (near the nose) and is used to make the eyes look bigger and more awake. I take the shade onto my lid, just a little bit, because in my opinion, it helps blend everything together. I also bring this onto my lower lash line in the same area.
Step 8: Eyeliner - There are several different types of liner: liquid, gel, or pencil. I used gel when I first started using makeup, but I have now switched to liquid liner and pencil. Pencil liner is the most common and comes in every different shade. I usually only apply pencil liner in my water-line and tight-line (the lower and upper lash lines, respectively). Liquid liner is what I used to do a winged liner look, and my personal favorites are the NYX Matte Liquid Liner and the NYC Liquid Liner. Gel eyeliner is used with a brush and could be used for either a simple line across the eyelid or could do a wing, also. Eyeliner is personal preference, so my recommendation is to experiment with the different types of eyeliner and see which one you like best!
Now, there are other steps of the eyes that I haven't done yet (mascara, lower lash line, etc.), but that's because I do that part later on, after all of my makeup is on.
FACE:
Step 9: Primer - This is another optional step. Like I mentioned earlier with skin types, there are primers for specific skin types. There are a plethora of glowing and illuminating primers for dry skin, and mattifying primers for oily skin. I usually use NYX primers because I find that I like them best. Primers go on underneath face makeup to help it last throughout the day and to keep it from wearing off or getting creased during the day. Primers are also personal preference, so test a few out and see how you like them!
Step 10: Foundation - Matching your foundation shade is going to be difficult at first. My advice is to NOT test on the back of your hand or on your face at all. Match the shade to your neck, because when you apply it to your face, you don't want to be able to see a clear and present line where the foundation begins and stops. Now, sometimes this means that your foundation shade won't match your face at all--but that's okay! Foundation goes all over the face (avoiding the eyes, of course, unless you decided to do your foundation first) and is used to even out the skin tone so that everything is all one shade. Depending on how full coverage you want the foundation to be, it can also cover up blemishes and imperfections in the skin too. Foundations come in light, medium, and full coverage. I typically wear medium-to-full coverage because with my oily skin, I have acne every once in awhile. Again, try different foundations and find one that suits you!
Step 11: Concealer - Concealer can be used for several different things. I use it under my eyes to highlight and cover up my dark circles. I use a shade or two lighter than my skin tone for that particular step. I also take my concealer in the center of my forehead, down the bridge of my nose, the center of my chin, and occasionally over my cupid's bow (the area between the nose and the top lip). Concealer is also used to cover up blemishes and other imperfections that weren't adequately covered up by foundation. Sometimes, when I don't want to wear a full face, I only wear concealer alone.
Step 12: Powder - Now powder is not something everyone will need. Personally, I need it because of my oily skin, but people with dry skin may not need it at all. So, keep that in mind! I like to use a lighter shade of powder (usually a shade or so lighter than my skin tone) underneath my eyes and everywhere I put concealer. For the rest of my face, I use a loose powder as opposed to a pressed powder (again, personal preference) and I use a translucent shade since they don't make loose powders in "pasty-white-girl". Translucent powders are my favorite to use, but be aware that they can get very messy.
Step 13: Contour - This is another optional step that I only do when I'm feeling like being extra. Contour has become incredibly popular over the last few years or so, and is used to enhance the sharpness of someone's face. Contour typically goes under the cheekbone area to lift the face and slim the face. It can also be taken along the jawline and chin area, up around the temples, and even down the sides of the nose to slim. Contour's purpose is to slim the area, so people who apply it to their nose are attempting to make the nose look slightly smaller. You can make the contour as dark or as light as you want. This shade is typically a member of the brown family, but has an almost ashy undertone to make it look more like a natural shadow.
Step 14: Bronzer - Bronzer is used to warm up the face and give a nice, healthy looking color to the skin. Since I'm so pale, I often have problems finding shades that don't look orange on me, but one of my favorites is the Too Faced Chocolate Soleil Bronzer in the shade milk-chocolate (these powders smell like chocolate, BONUS!). Bronzer is applied to the perimeters of the face to warm up the skin and give it a sun-kissed look. I apply it to my cheeks, up around my temples and forehead, and also around the jaw area very lightly.
Step 15: Blush - Blush is applied to the apple of cheeks to liven up the face. Blush makes the face appear more alive and gives it a healthy flush. I apply blush to my cheeks and sweep it up my cheekbones, heading back towards my temples to make my face look a little bit more angled. This is just something I started doing recently, but I actually prefer the way it looks on my face now, so I do it more often than not.
Step 16: Highlight - Another thing that has become super popular in the last couple years is highlighting. Highlight is an incredibly shimmery powder that goes on the highest points of the face, such as: the tops of the cheekbones, down the bridge of the nose, the center of the chin, underneath the brow, and the inner corner of the eye. Highlight is one of my favorite things to put on because it catches the light and makes the whole face look elevated and healthy.
BROWS:
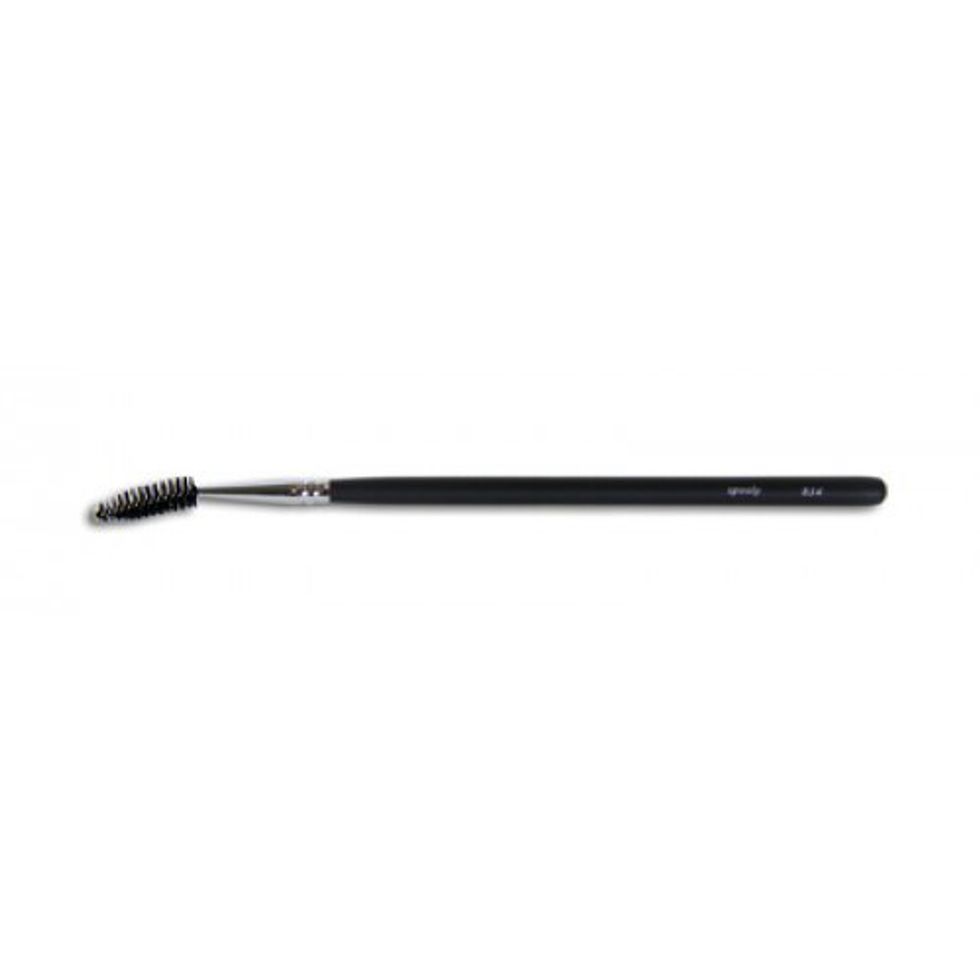
Step 18: Combing Through the Brows - I use a spooly to do this and all I do is brush the hairs of my eyebrows into the specific shape I want my brows to be. This makes it easier for me to see where my brows need to be filled it.
Step 19: Brow Powder - For brow powder, I use the NYX Brow Duoin the shade brunette. I take a small angled brush and apply the powder in the places where my eyebrows are the most sparse, meaning where they have less hair. This helps to make my brows look fuller and more put together. Eyebrows frame the face, so I always tell people to take care of their brows.
Step 20: Brow Pencil - This is an extra additional step that I do to make my brows look sharper. I use the NYX Brow Pencil in the shade brunette and go mainly along the tops and the bottoms of my eyebrows to make them appear more crisp and defined. I also use it to add a tail to the end of my brow and make it a little bit pointier.
Step 21: Brow Gel - The final step to brows is for me to set them in place using brow gel. It's pretty much just mascara for your eyebrows.
EYES (PART II):
Step 22: Lower Lash-Line - I usually attempt to replicate what I did on my upper lid on my lower lid. This means I usually use my transition or crease shade on the lower lash line, the darker shade in the outer corner of my eye, and my inner corner shade on the inner tear duct of my eye. This just helps to make the eyes look bigger and it ties everything in together.
Step 23: Mascara - Pretty simple stuff. Mascara is used to darken the eyelashes and make them stand out more to make the eyes pop out more. Mascara's come in different shades, but the most commonly used is black.
LIPS:
Step 24: Lipliner - Lipliners are used to trace the lips to help the makeup artist see where to stop applying the lipstick shade. They're most commonly used in pencil form and come in a wide variety of shades. I tend to use shades that either match my lip shade or that match the shade of the lipstick I'm planning on wearing. I line my lips and I don't overdraw much, only sometimes on the outer part of my upper lip because my lower lip is much fuller than my upper lip. This is a just a thing I do for my particular lip shape, so just remember that it's all a matter of how you want your mouth to look.
Step 25: Lipstick - Lipstick is pretty simple and probably one of the easiest steps. Choose a shade that compliments your makeup look and apply it whenever you feel like it. You can do a sheer lipstick, a glossy shade, a matte shade, a liquid lipstick--anything you want. My personal favorites are mauve and neutral shades that are very similar to the color of my actual lips. But, I do love a good bold color every once in awhile.
FINISHING TOUCHES:
Step 26: Setting Spray - This is another personal preference of mine, but I like to set my face with a little bit of setting spray before I head out my door to finish off my day. This just helps to make the makeup last even longer, while also getting rid of any excess powder that may still be on the face. It also helps all of the makeup to sink into the skin and gives it a nice airbrushed effect.
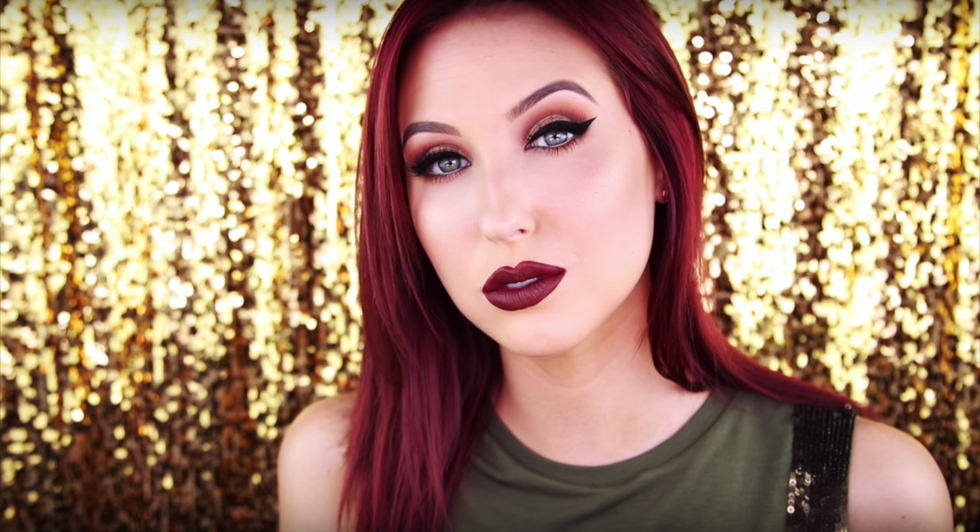
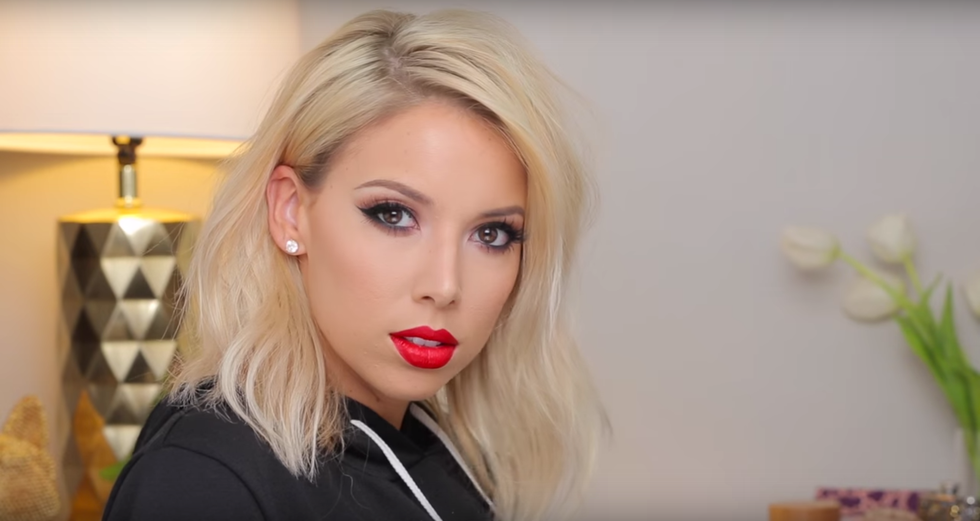
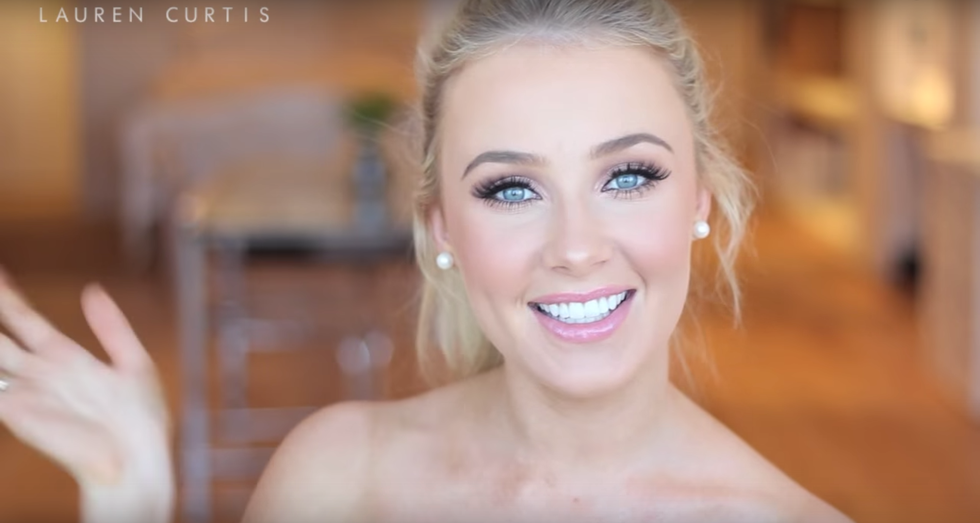
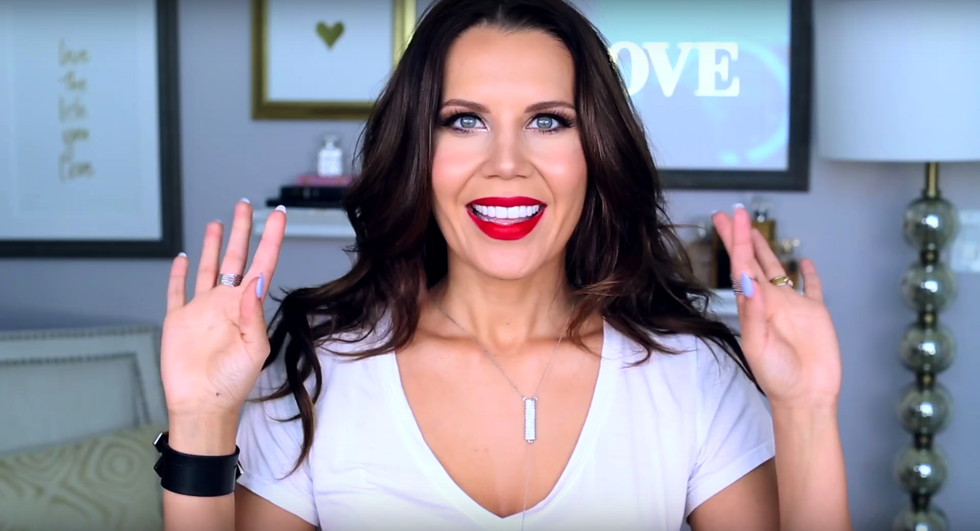
So that's it! This is how I complete a full face of makeup every day. Remember, you don't have to wear this much makeup (or any at all) if you don't feel comfortable with it. Start off small if you want to, and work your way up to more if you feel like you're ready! Below, I'll also list some of my favorite makeup artists below that really helped me get started! All of these people are who I watched when I got into makeup and they really helped me to know what I learned today!


