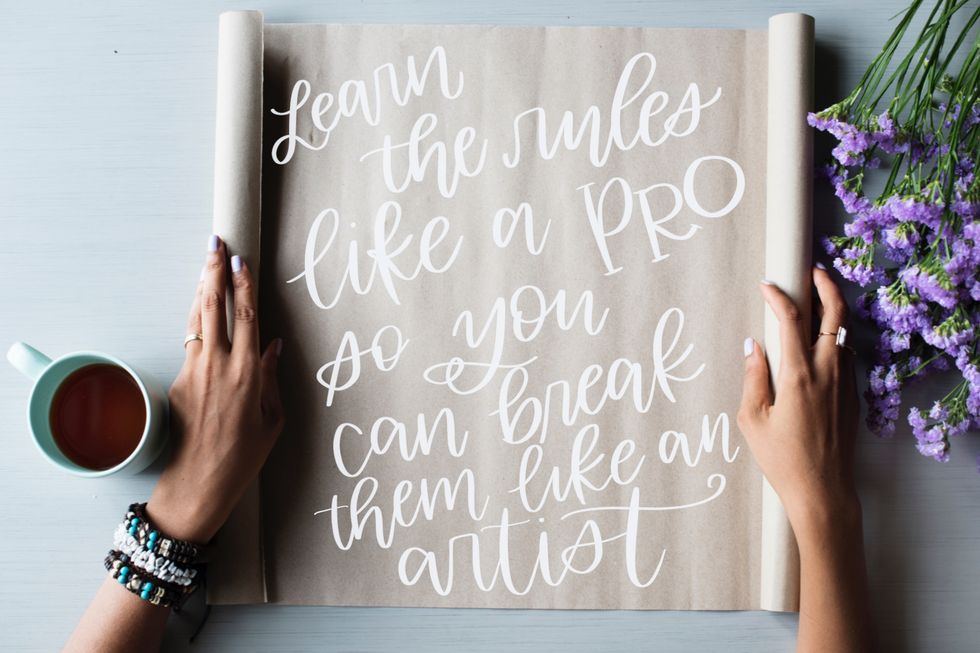
This week, I sat down with my friend Bethany Custer to talk about hand lettering. Bethany has her own hand lettering business, eden + vine, where she does a variety of custom hand lettering. I asked Bethany for some tips for anyone wanting to get into hand lettering, and this is what she had to say!
Before you get started, you have to make sure that you have the right materials. Fortunately, that list isn't too long. All you really need is a pen and paper. Bethany recommends the Tombow Fudenosuke Brush Pen Set and the Tombow Dual Brush Pen along with the Rhodia Classic Black Notepad. The pen set comes with both a soft and hard tip pen to create extra-fine, fine or medium strokes, while the dual brush pen has both a flexible brush tip to create medium or bold strokes and a firm fine tip. The most important thing about the paper you're using is that it's smooth, as rough paper will destroy your brush pens. Once you have these materials, you can get started with hand lettering in these four steps.
Step 1: Decide which lettering style you want to use.
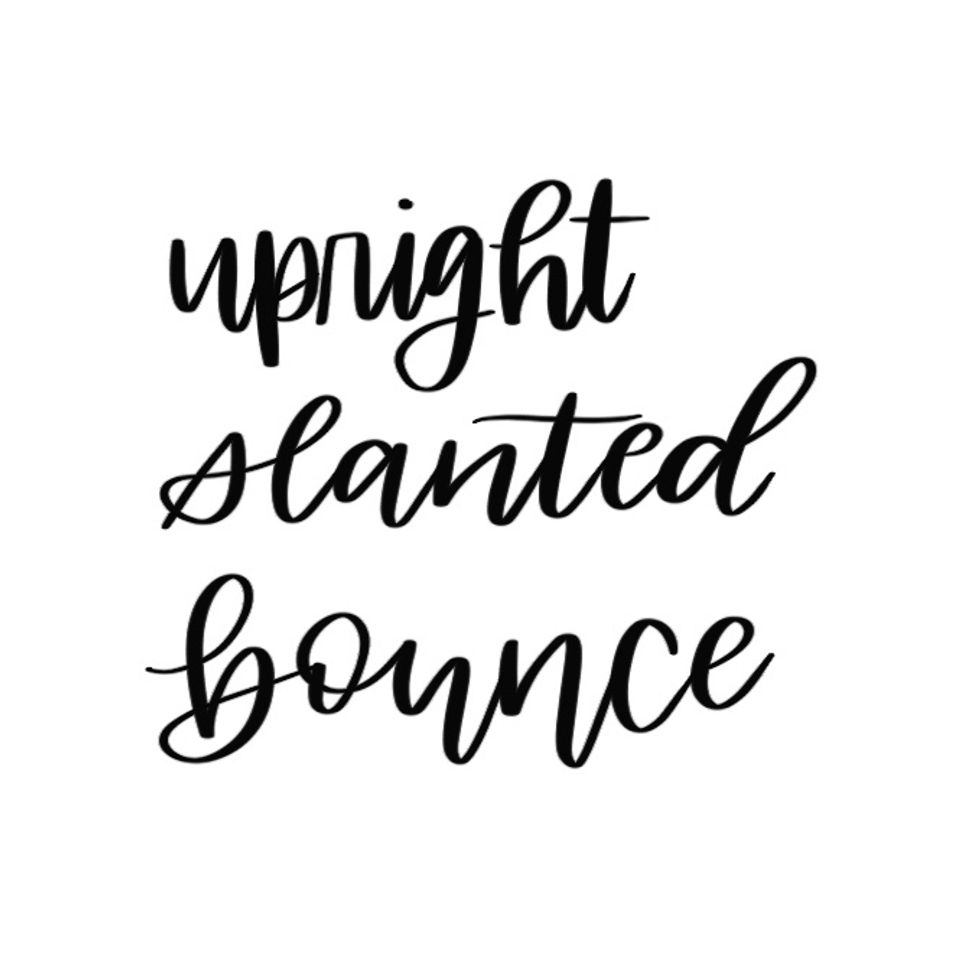
There are three styles of hand lettering: upright, slanted and bouncy. Picking a style is a matter of preference and something that you can experiment with until you find what's right for your project.
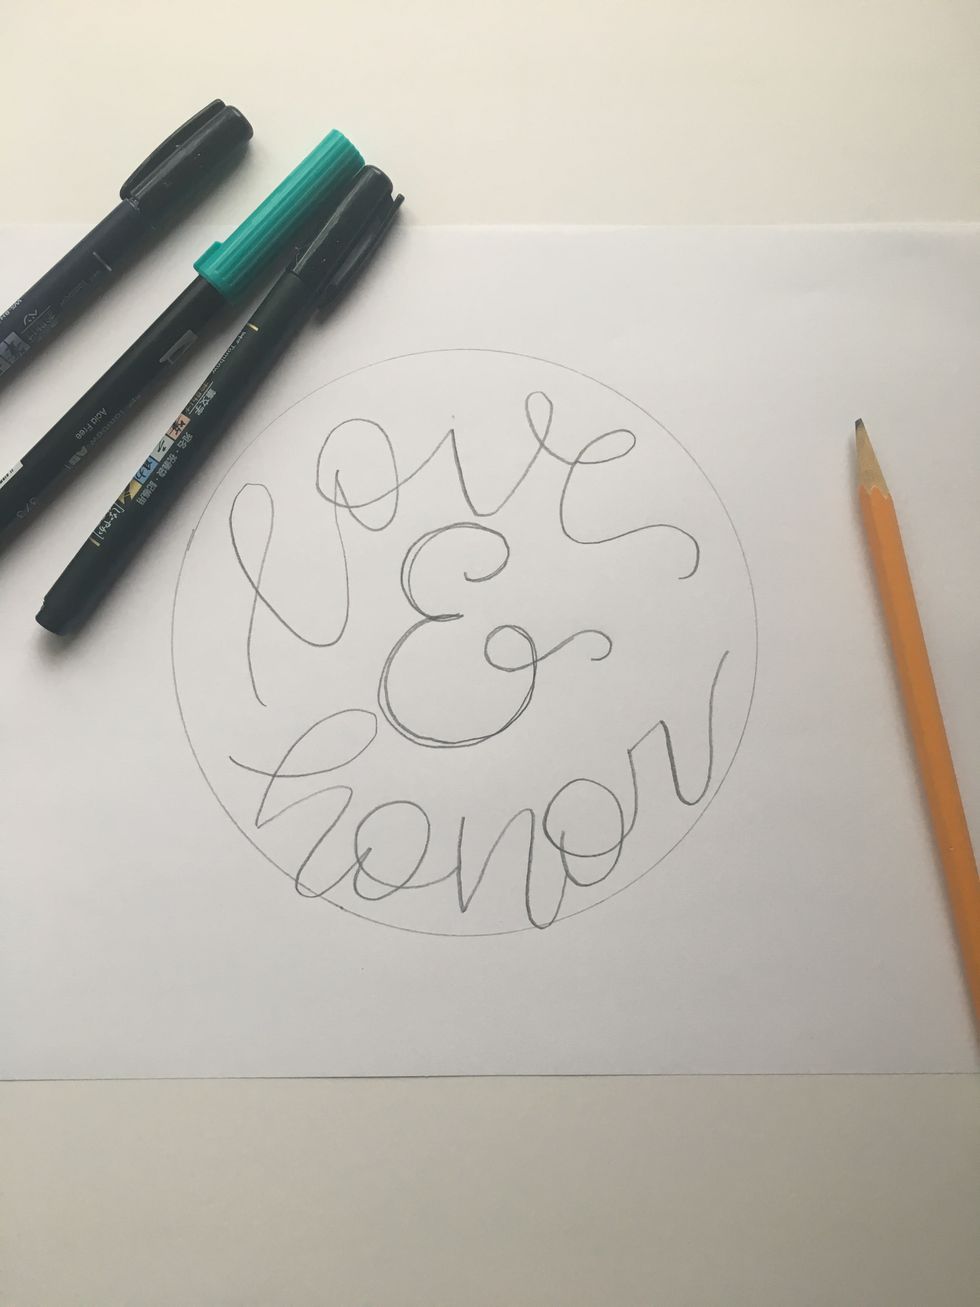
Step 2: Sketch a rough layout of the words.
This is where you can get creative. You get to decide what words you want to stand out and can turn a quote from someone else into something of your own!
Step 3: Start lettering!
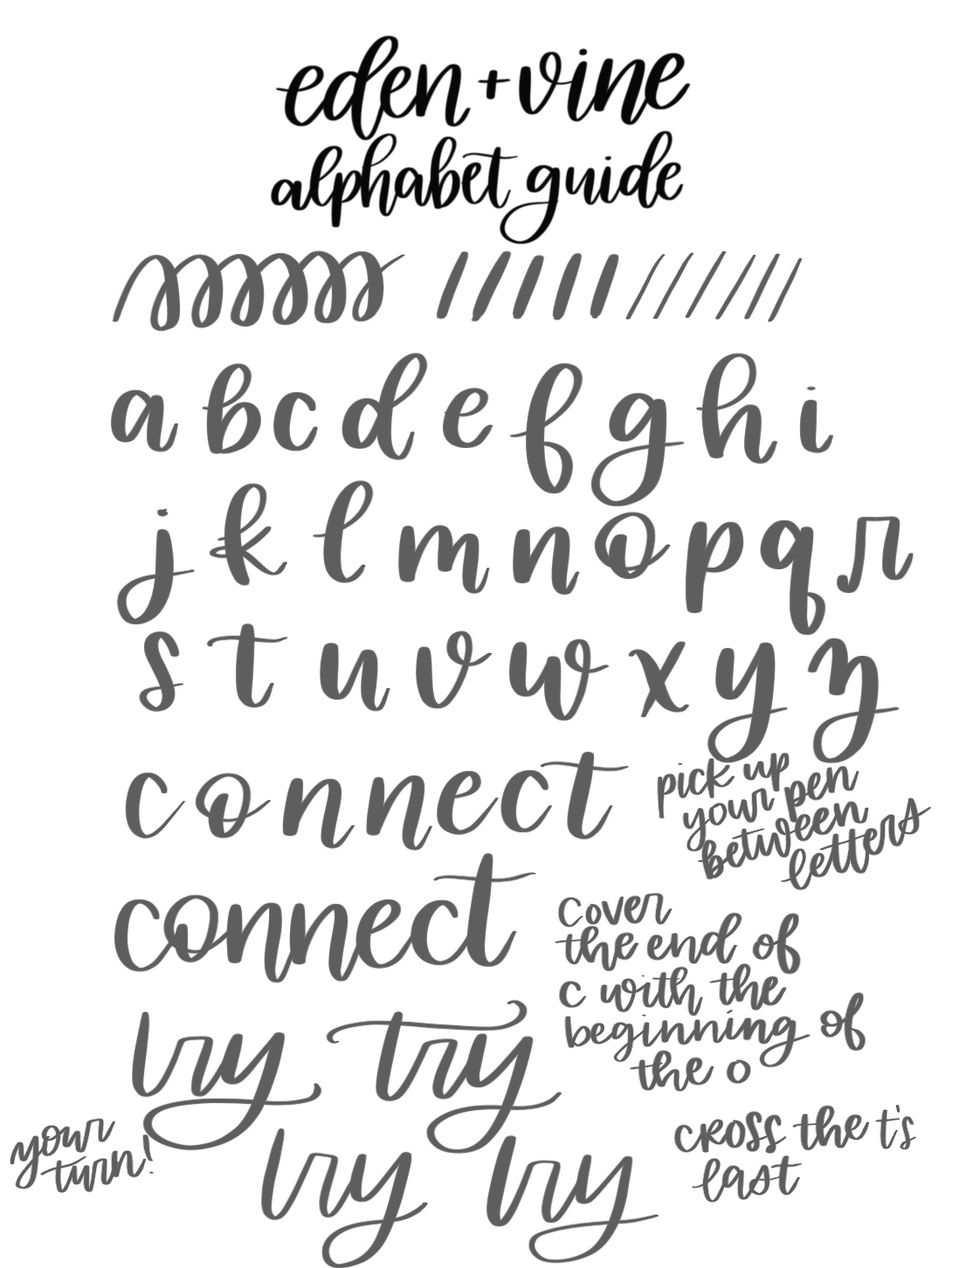
To create the letters, don't do it all in one long stroke as you would if you were writing in cursive. Rather, you combine a series of strokes. A lot of hand lettering is muscle memory, so by practicing every day, you'll train your hand to remember these strokes.
Similarly, to combine letters (to create words), pick up your pen between letters. To connect them, let the first stroke of the next letter overlap with the end of the last letter.
You can also check out this YouTube tutorial from Loveleigh Loops to see brush hand lettering in action!
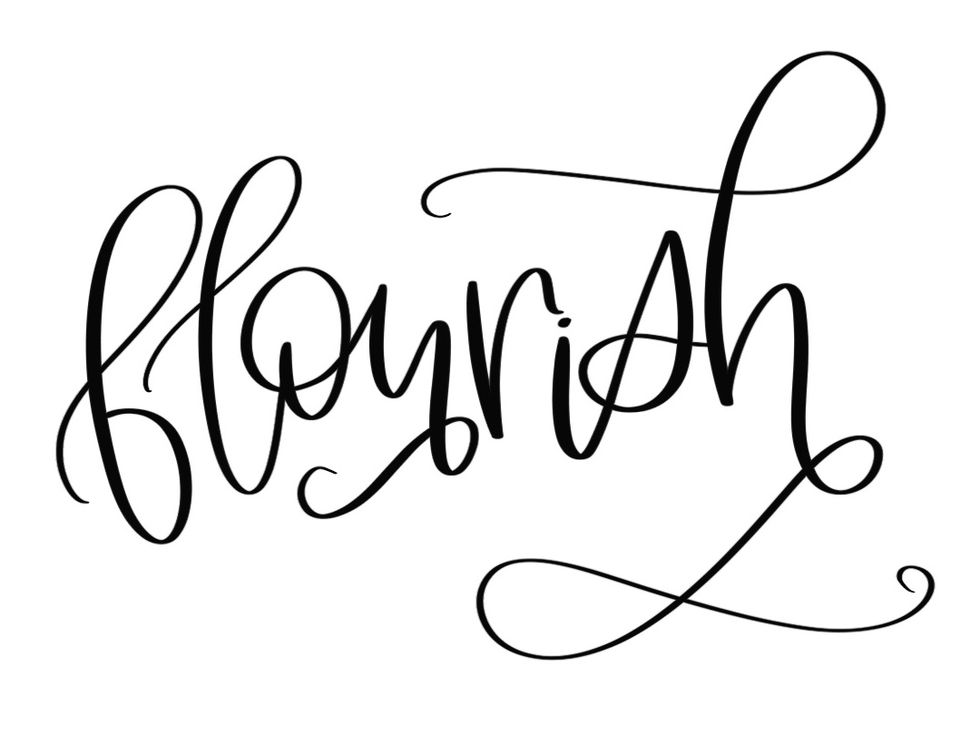
Step 4: Decide if you want to add any flourishes.
Adding flourishes is the final step to creating your hand lettering masterpiece. As shown on the 'u' and 'h' above, flourishes add a little bit of extra elegance and can be used to balance out your word or quote.
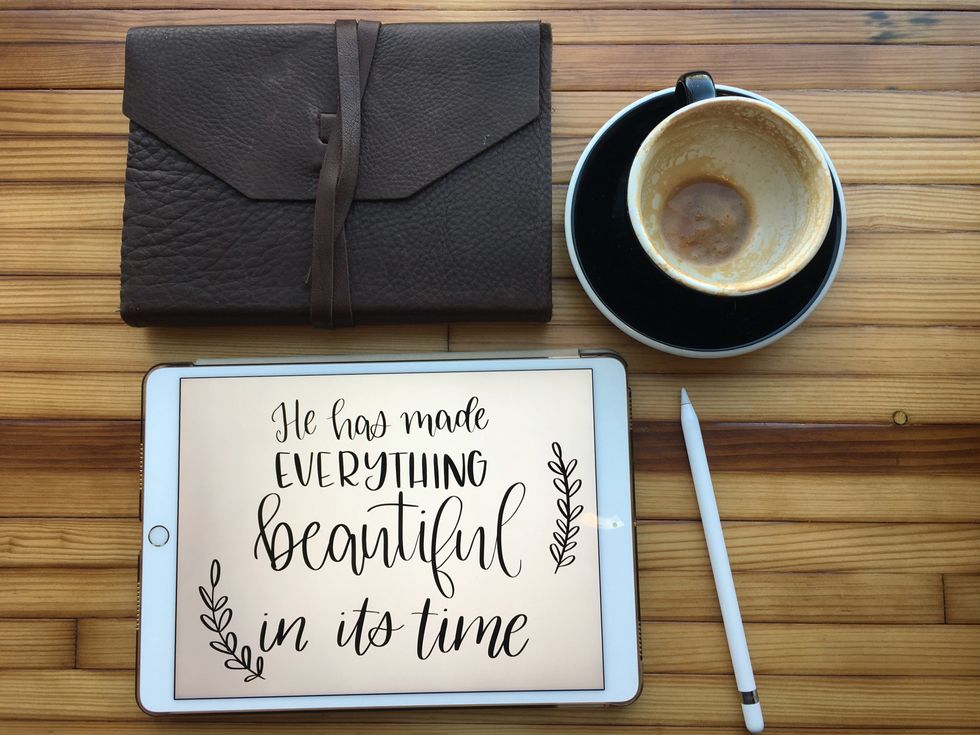
Hand lettering on your iPad.
If you have an iPad, you also have the option of using your Apple pencil for hand lettering. Download the Procreate app and you'll be able to take your hand lettering wherever you go!
Once you learn all the basic rules of hand lettering, you'll have the chance to really let your creativity shine or, as the quote above says, break the rules like an artist. You'll be able to experiment with different styles, mixing print letters with cursive letters and adding flourishes until your work of art is just right.
For more hand lettering inspiration, check out eden + vine on Instagram, Facebook or her website!


