Recently, I went on one of the longest hunts of my life. Not an actual hunt—please don’t come after me with protest signs and pitchforks—but a hunt through grocery store after grocery store, scouring the aisles for a good cookies-and-cream-flavored ice cream in a suitable size for my freezer (read: not a half-gallon). I pursued this hunt because I am obsessed with all things Oreo, and I needed that ice cream.
I did eventually find it—thank you Kroger—but while I was searching, this recipe for Oreo cupcakes held me over quite nicely. If you’re a student at the University of Michigan-Dearborn, you might know these cupcakes from a few of the bake sales over the last semester: they’ve become pretty popular. So popular, in fact, that I made six dozen of them for the last bake sale I donated to and they were still gone well before it ended.
Now, this recipe isn’t originally my recipe. I did tweak it just a bit though, and apparently there’s something to the way I make it that really makes these a hit, so I’m going to take you through my process. It’s a bit of work, but it’s completely worth it in the end!
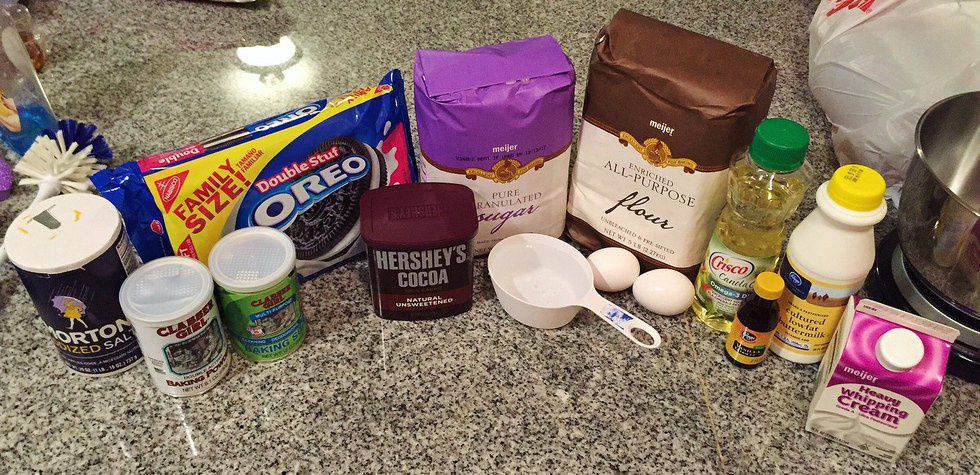
A beautiful ingredient spread! We're going to pretend you don't see my dishwashing stuff and that this is a real, professional picture, okay? Okay.
For the cupcakes:
½ cup unsweetened cocoa, sifted
1 cup hot water
1 cup buttermilk
2 cups sugar
2 large eggs
½ cup vegetable oil
1½ heaping tsp. vanilla
2 cups flour
2 tsp. baking powder
1 tsp. baking soda
½ tsp. salt
½ cup heavy cream
14 Double Stuffed Oreos, finely crushed
For the frosting:
1 8 oz. package cream cheese, softened
2 Tbsp. butter, softened
½ tsp. salt
1 heaping tsp. vanilla
3 cups powdered sugar
6 Double Stuffed Oreos, finely crushed
I double the above frosting recipe so I can put a nice big swirl of frosting on top of each cupcake. Sometimes I even triple the recipe, because I tend to get a little overzealous with my frosting.
Before we even start, some tips from my kitchen:
1. You can crush your Oreos in a food processor or blender the day before—just make sure you store them in a Ziploc bag until you’re ready to use them.
2. You want your eggs to be at room temperature, so let them sit out for at least a good half an hour before you crack them open.
3. Before you measure out your flour, stir it around with a spoon. Then scoop it into the measuring cup using that spoon. This ensures that the flour is light and airy, for one thing, and for another, that you don't use too much.
4. I recommend getting all of your dry ingredients together in batches: you’ll need to put your flour, baking powder, baking soda, and salt together. Stir all that up. Set your sugar aside in a separate bowl, because you’ll be adding it on its own.
5. Try boiling a bit more than a cup of water and then measuring it straight out of your pot, teapot, or kettle.
6. Measure out your buttermilk in advance, too—you’ll have to cool down your mixture fairly quickly, and you don’t want to leave it sitting while you measure. You can also do this with the heavy cream (just don’t mix the two up! I leave my heavy cream in the fridge until I need it).
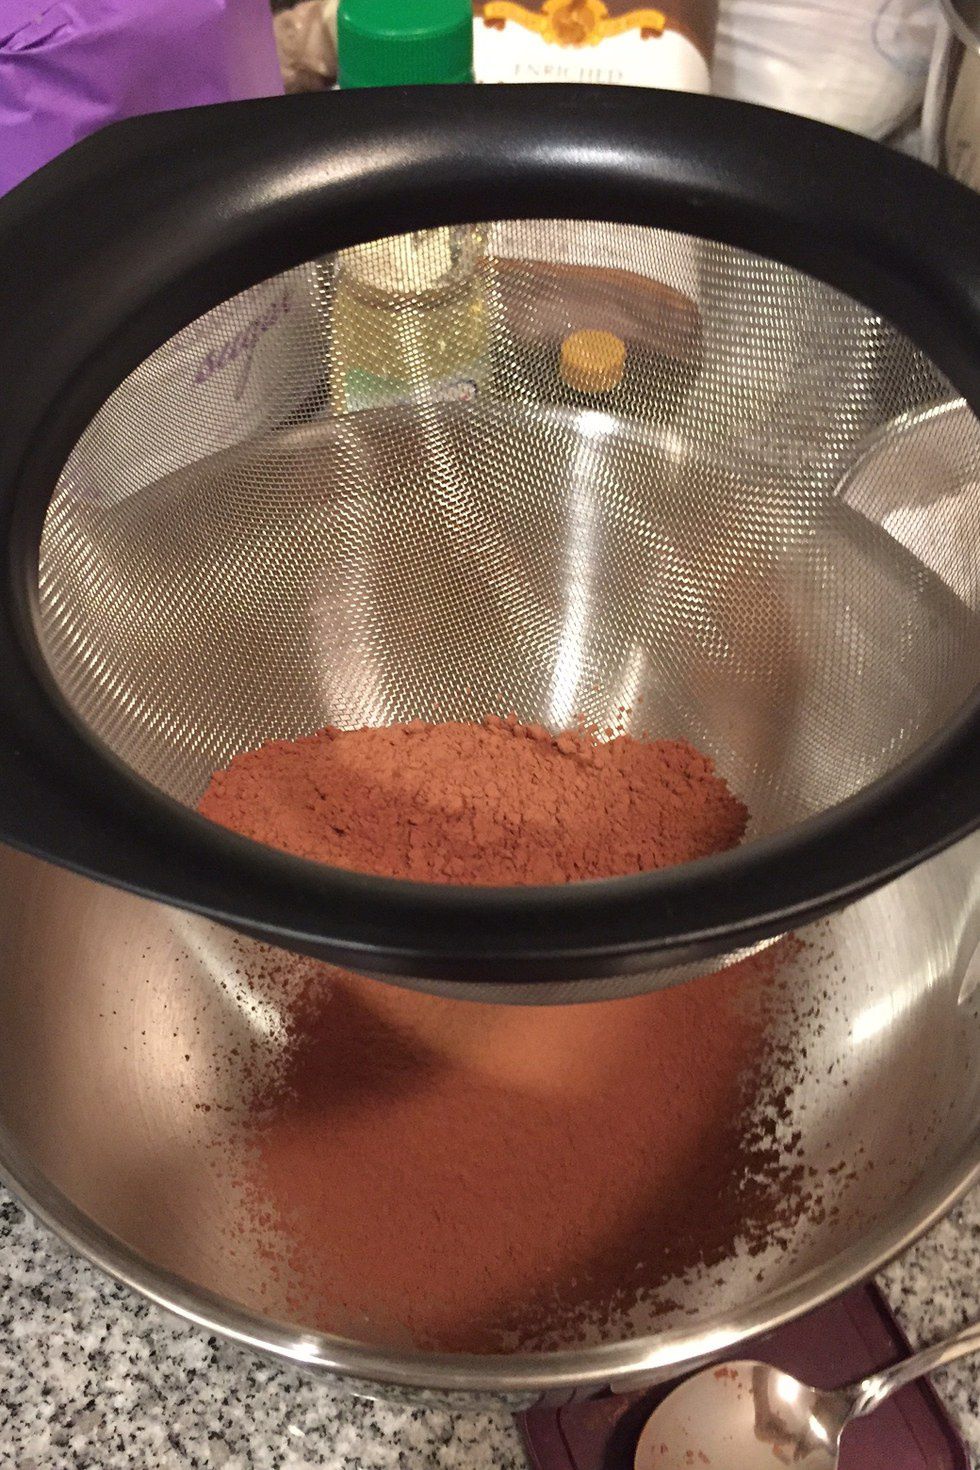
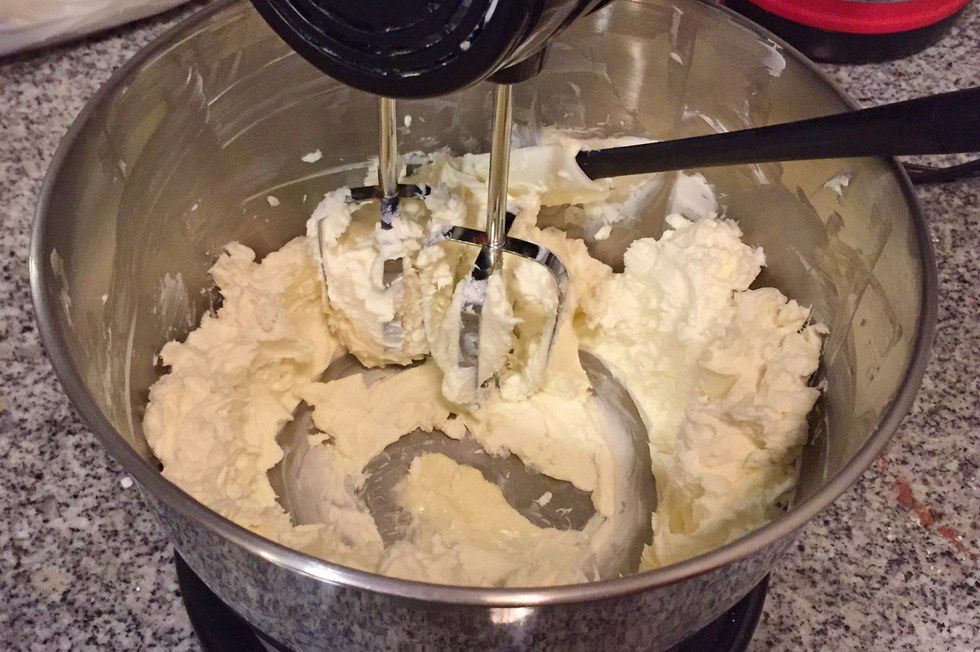
Phew! Okay, so, let’s get baking. Preheat your oven to 350 degrees Fahrenheit. Spoon one-half cup unsweetened cocoa powder into a half cup measuring cup, and put it through a sifter into a fairly large bowl—something that can hold at least an entire bag of popcorn without it spilling over the edge. The bowl I use is a bit big, but my next smallest bowl is the one for my mixer, which I’ll need later for the frosting. Plus, you really want to do these cupcakes by hand (trust me: mixing these with a mixer will result in a much firmer cupcake than you want).
While I’m measuring my cocoa, I have just over one cup of water in my kettle on the stove. It doesn’t have to be quite boiling, but it should be pretty steamy. Carefully measure one cup of hot water out and add it to your cocoa powder. Whisk these together until the cocoa powder is completely dissolved.

Next, add the buttermilk, whisk it a little to distribute it through, and then add the sugar and whisk again until it’s dissolved.
Add the eggs, oil, and vanilla, and whisk everything together again. When I mentioned one-and-a-half “heaping teaspoons” in the ingredients, here’s what that means: you know how you can add a bunch of liquid to a spoon and it’ll still stay on it because of surface tension (kinda like in that penny-and-water experiment all our teachers had us do in elementary or middle school)? Do that. If it overflows into the bowl, that’s okay! Don’t go wild, but I find it gives it just a little extra something. Also, if you’re worried about getting shell in the batter, crack the eggs into a different bowl and then put them into the batter.
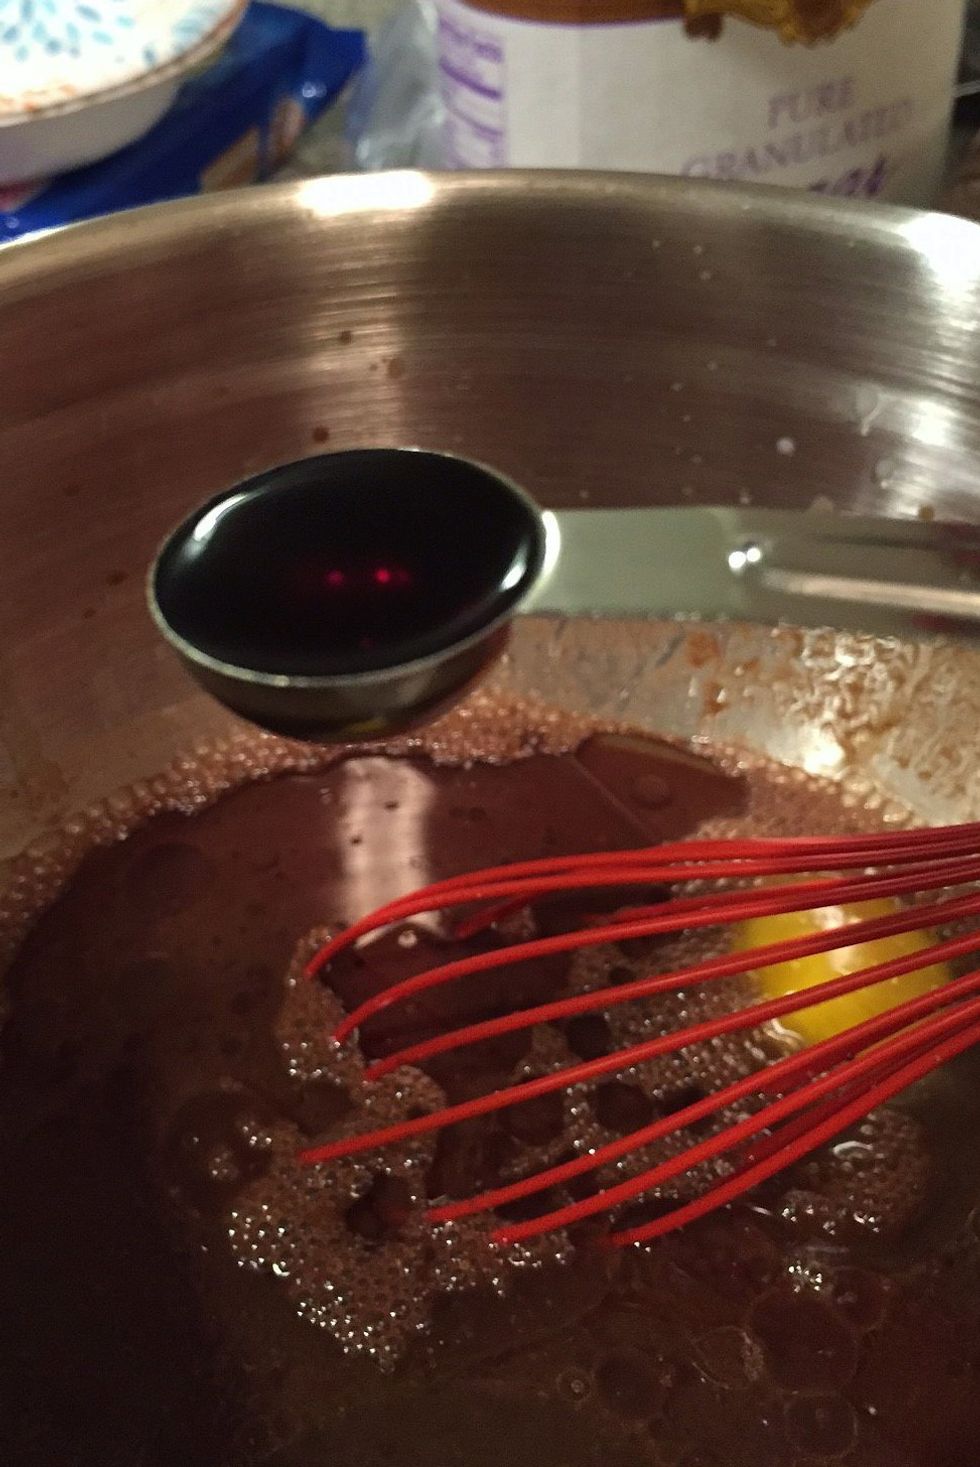
This is roughly what I mean by a "heaping teaspoon," though I'll ask you to remember that taking a picture while holding a spoon brimming with vanilla extract is difficult, so it can actually be a little more than this.
After all that is combined, whisk in the flour/baking powder/baking soda/salt mixture. You can do this in two or three additions if that’s easier. Whisk until you don’t see any lumps... or at least, not many lumps. You'll be mixing it more in a minute, anyway.

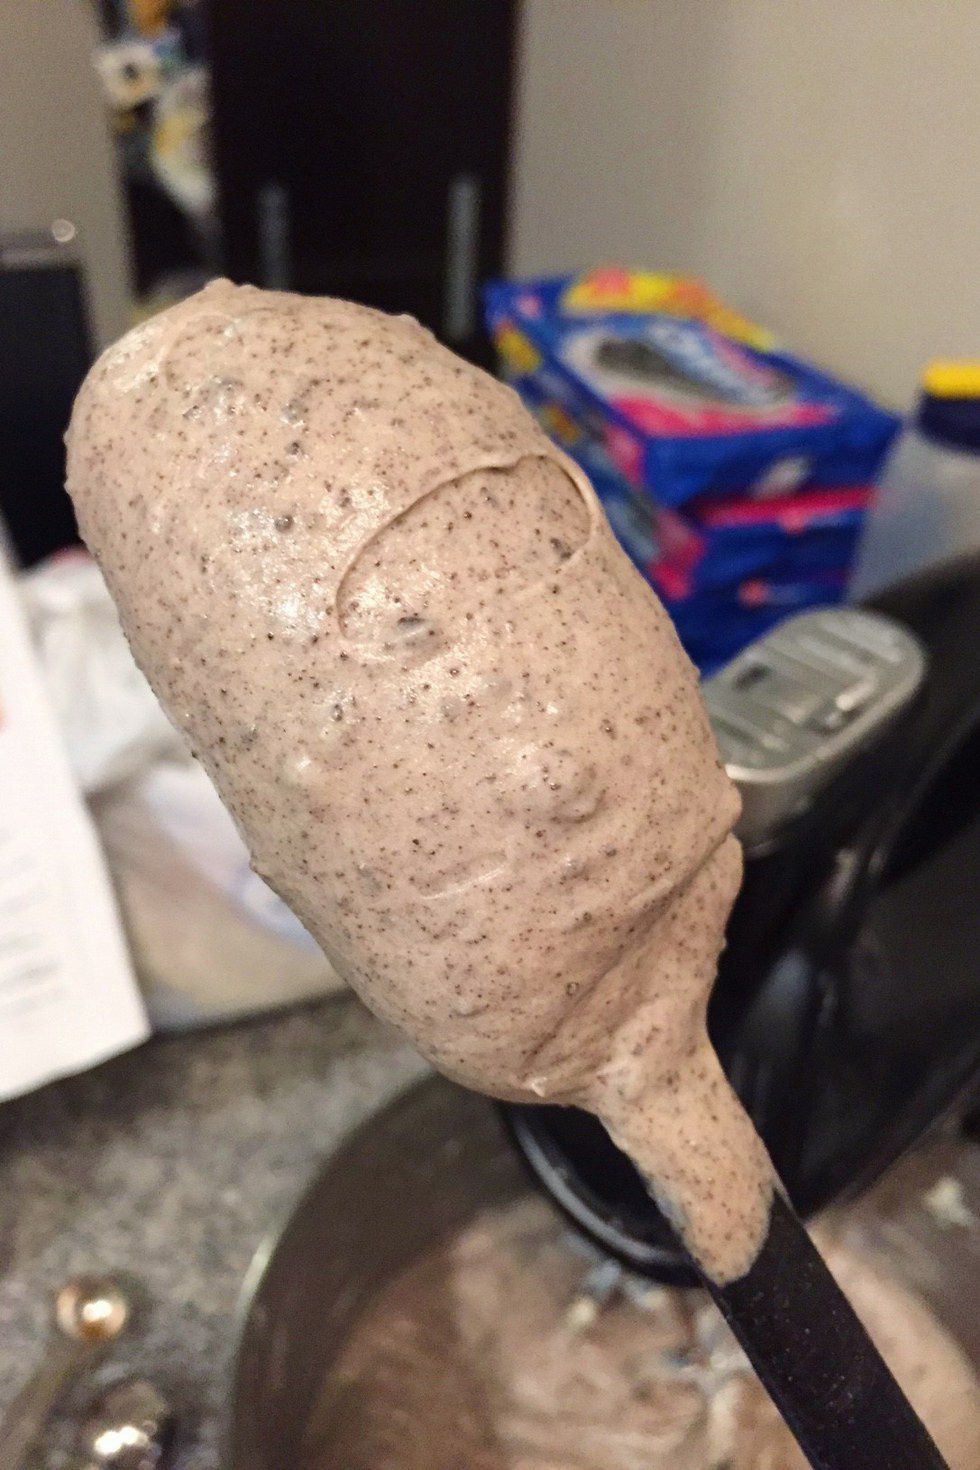
Your arm is probably starting to hurt, but you’re almost done with this part. Whisk in your heavy cream, and finally the crushed Oreos. Your batter is going to be a bit thin, but that’s okay.
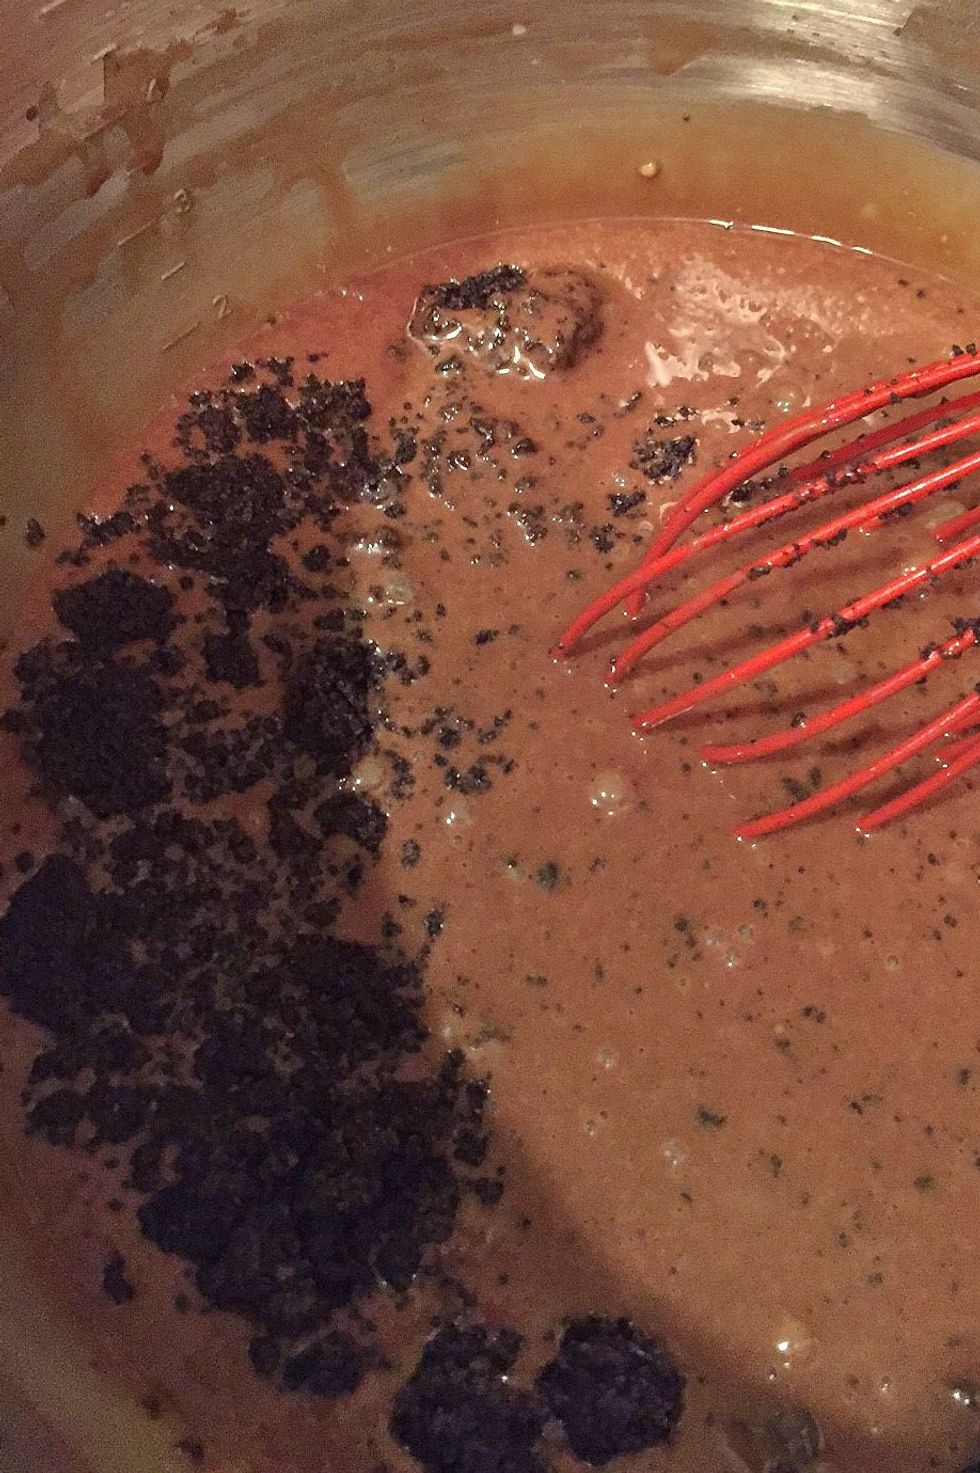
I was still mixing in the Oreos here, but I wanted to include this picture because there are some people who think that the cupcakes are just really good chocolate cupcakes. While they're not wrong, there are Oreos in the batter, and this is proof!
Before you start scooping your batter into your cupcake pans, put out the butter and cream cheese for your frosting so that they can soften up.
To get the batter into my cupcake pans more easily, I use an ice cream scoop. It actually works quite well: you can get a lot of batter into the scoop, and when most of it is gone, you can just use the little spring lever to get the last bit out of it without getting too messy. It is really important that you don’t overfill your cupcake liners—no more than two-thirds full. I usually find a happy spot somewhere between one-half and two-thirds.
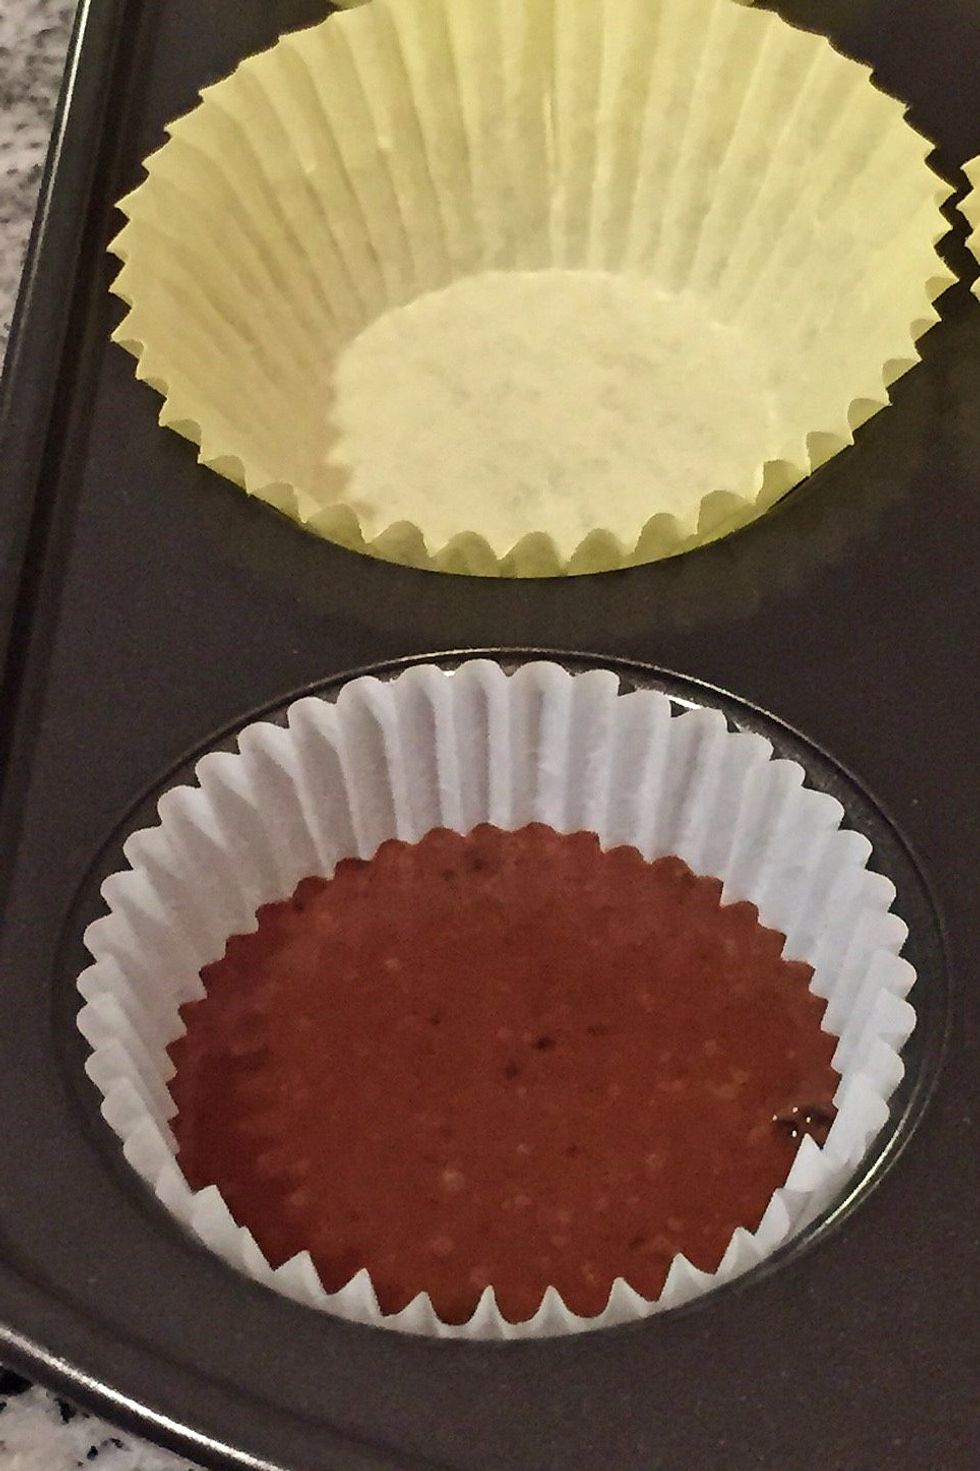
Warning: not too much more than this! These cupcakes really bake up, and you do not want these to get crispy edges. Believe me.
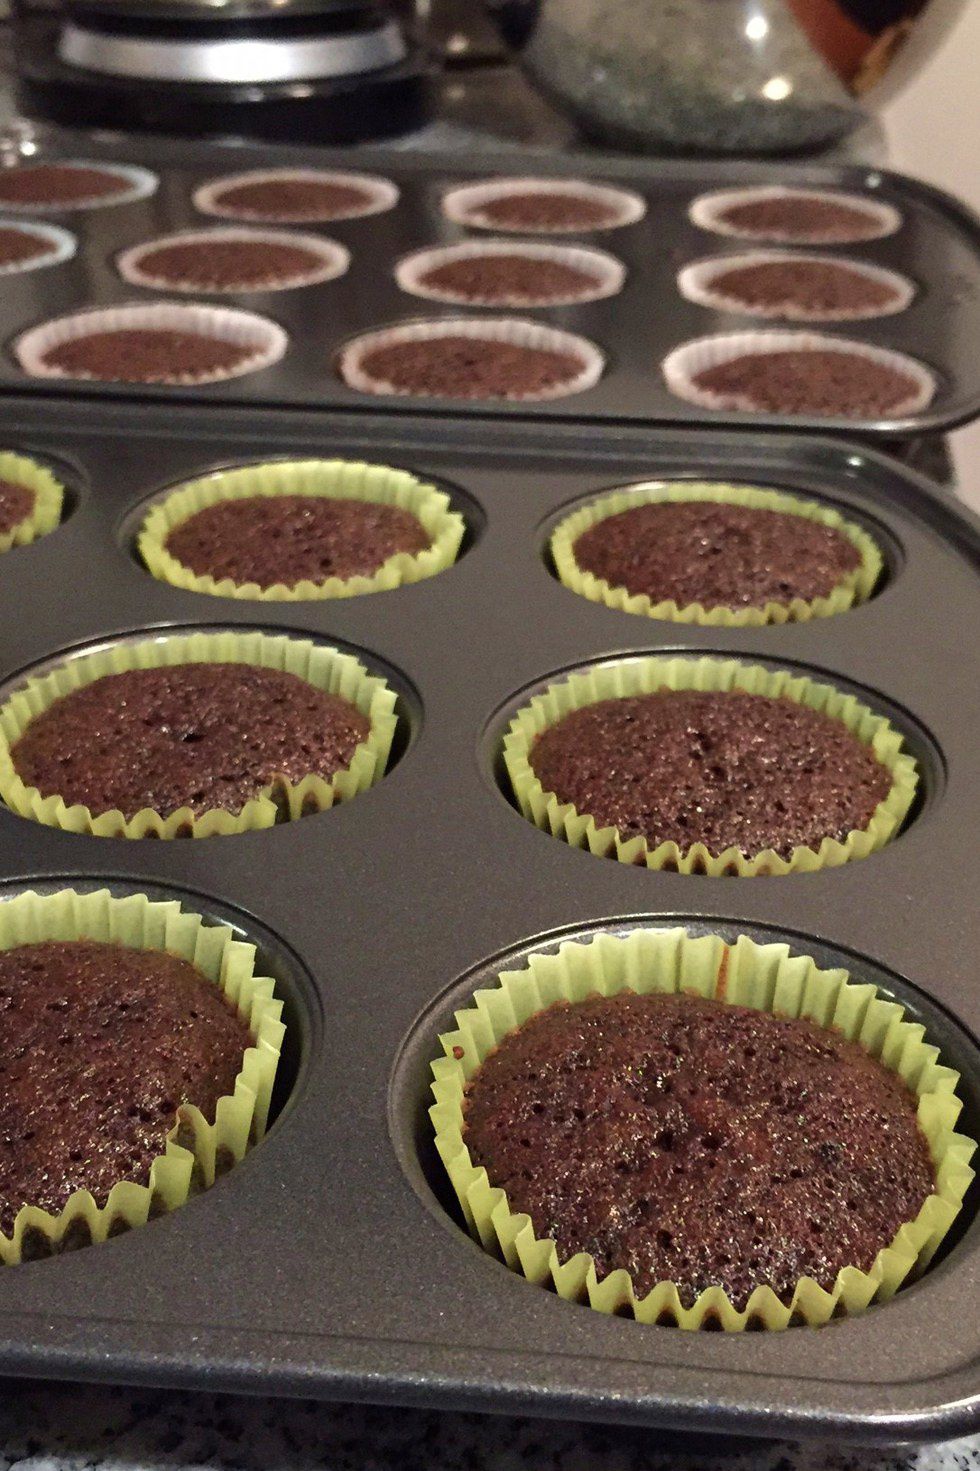
As long as your oven is big enough for it, you can do 24 cupcakes at once. Pop those into your preheated oven. The official bake time is 18-22 minutes, but my oven bakes warm, so I usually go for about 15 minutes. I also flip the trays about halfway through the bake time because I have a hot spot--somewhere that's a bit warmer than everywhere else--in the back of my oven. Turning the trays ensures that the cupcakes bake evenly. At the end of your bake time, test one of the ones in the middle of your tray with a toothpick. As long as it comes out at least mostly clean, you’re good to go.
Take them out of the oven and let them cool to room temperature—or at least to just sort of warm—and then pop them in the fridge. Whenever I make this recipe, I get just about 40 cupcakes out of it, so be prepared to share.
You will need a mixer for the frosting. While your cupcakes are chilling in the fridge, beat your softened butter and cream cheese together until smooth. You won't need to go above medium speed for this; I actually never go beyond my mixer's lowest setting. Keep in mind that I'm making a double recipe of frosting, so if you're following my pictures and it looks like you don't have enough, that's probably why.
Okay, so this doesn't look smooth, exactly, but it's better than when it started. I will also note that I did mix it a little more after I took this picture.
Add vanilla—again, heaping teaspoons!—and salt and mix it up again. It will look smoother now. With your mixer on low, add your powdered sugar slowly, a cup or less at a time, otherwise it will explode in a sugary poof all over your face, your clothes, and your counter.
I speak from experience.
Last but not least, add in your crushed Oreos. You’ll probably want to do half at a time if you’re doing a double batch of frosting. Mix until well-incorporated.
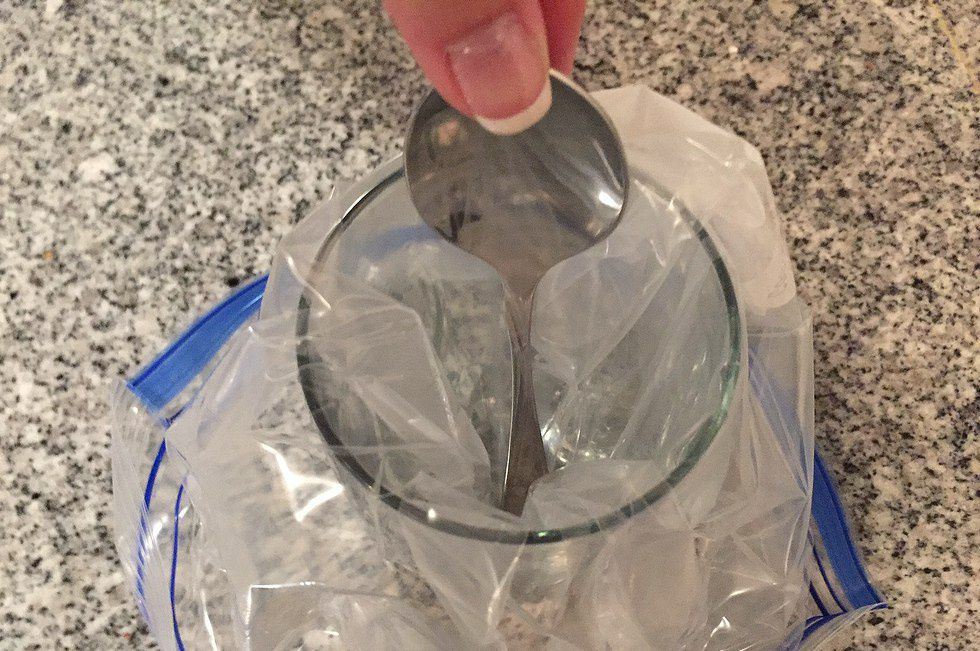
If you’re spreading your frosting onto your cupcakes, then spread away, top with an Oreo if desired, and chill for at least 30 minutes! If you’re piping your frosting like I do, there’s a really easy way to do it without professional tools. Set a large glass on your counter and put the corner of an open gallon-size Ziploc bag into it. Use the handle of a spoon or something similar to push that corner all the way down to the bottom of the glass, like so:
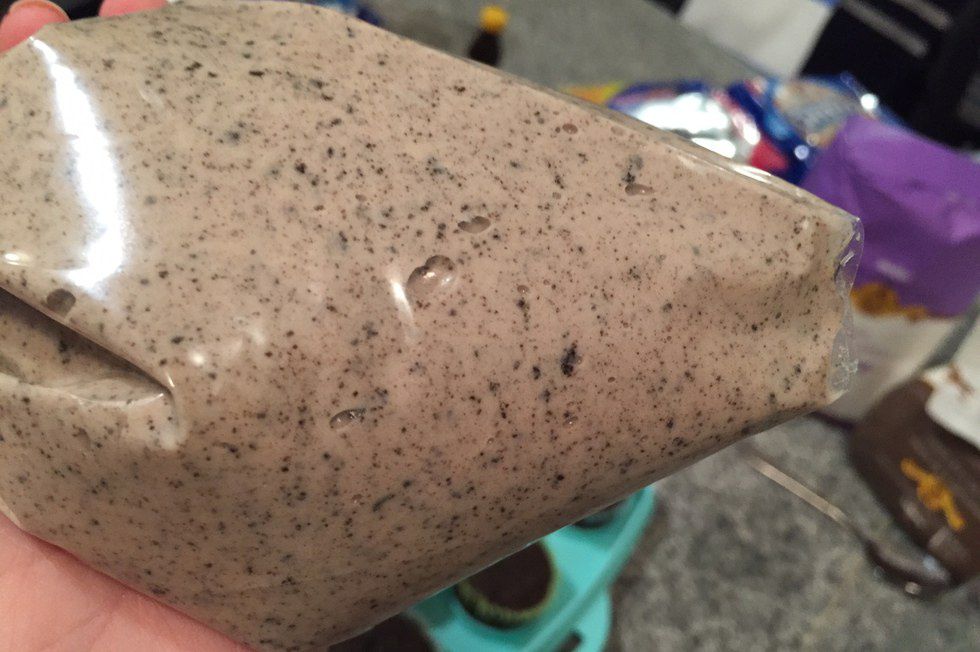
Fold the excess bag over the edge of the glass. Then, using a rubber scraper, load that bag up with frosting, almost to the top of the glass. Try to smoosh the frosting down as much as possible so you avoid air bubbles. When your bag is full, pull it out of the glass, twist it shut (and tie it with a twistie—those things you use to close up bread bags—if you want to), and snip off the corner of the bag. The more you cut off, the bigger your frosting swirl will be.
Size absolutely does matter here! This is going to be a BIG swirl!
The easiest way to pipe it on is to start at the outside edge of the cupcake and work your way in and up.
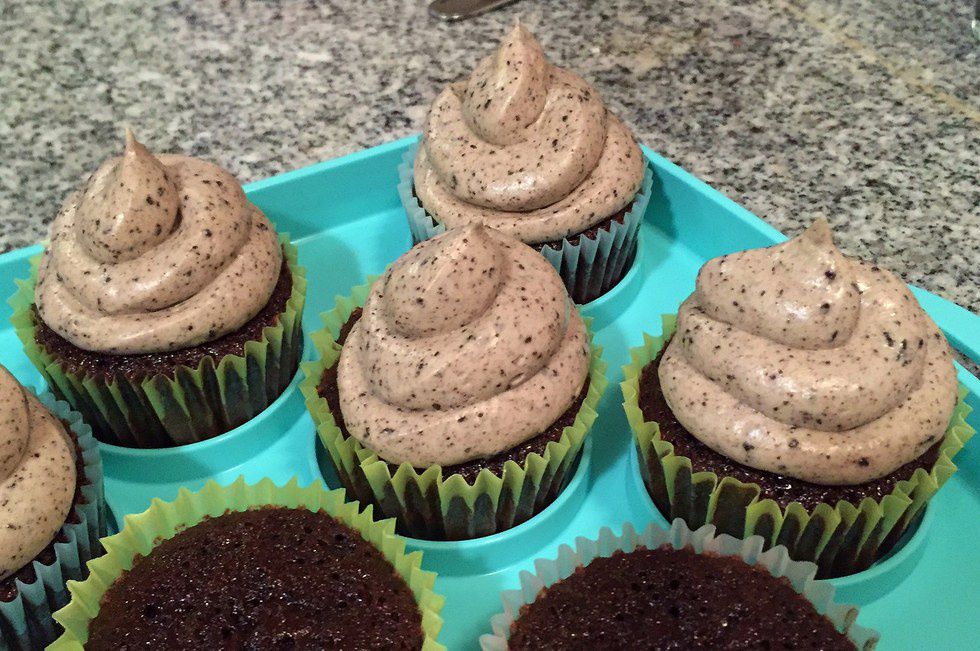
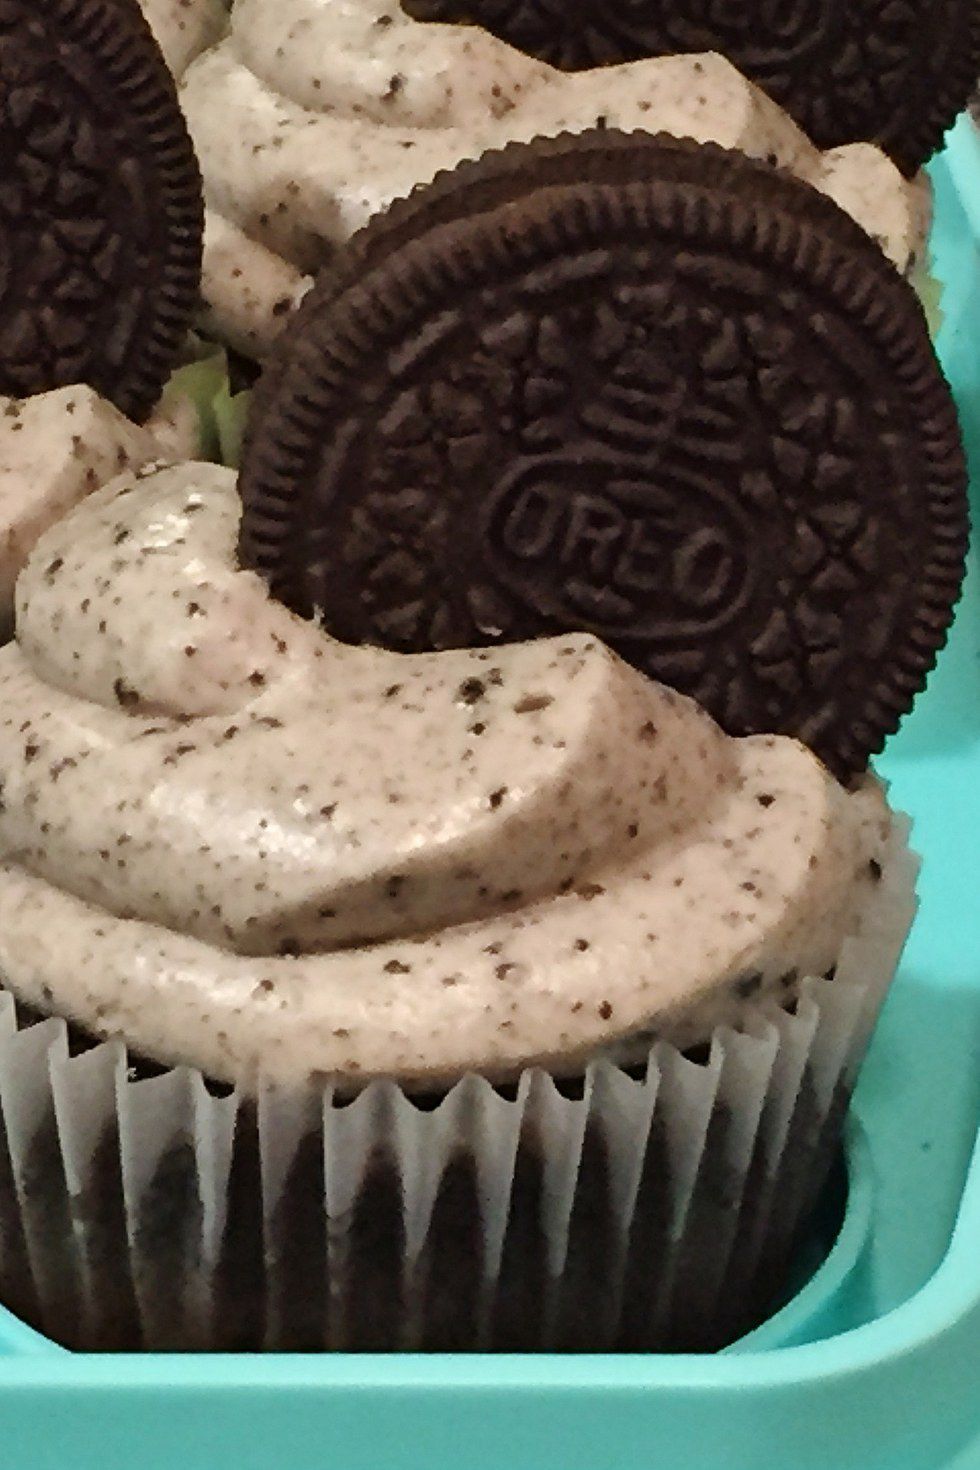
Garnish with an Oreo and let them chill in the fridge for at least 30 minutes before going face first into the tray offering them to your friends. Store these babies in your fridge.
And those are the cupcakes that have gotten me offers of friendship, housing, and even marriage (I'm pretty sure that last one wasn't serious, though). I hope you love them as much as I do!