If you're anything like me, you probably adore DIY projects and videos. Then again, if you're also like me, you're stuck in your college dorm on a nickel and dime budget, realizing the only useful things you have are a small gluestick and some unused chopsticks from your last Take-Out splurge. Never fear fellow craft lovers, for I may have supplied you with small activities to keep you busy until your next break! After manysuccessful (and some not-so-successful) attempts at projects, I can now show you 10 DIY projects on a college budget. Enjoy!
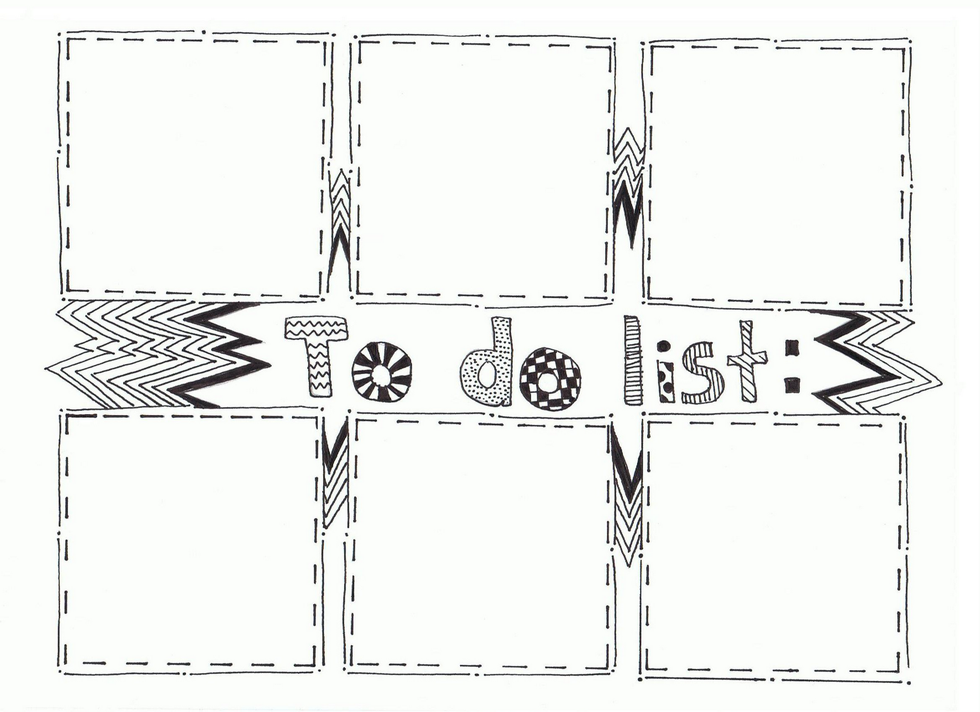
1.) Rotating To-Do list
For this project all you need is a fairly large piece of cardboard, some printer paper (or any paper really), markers, Post-It notes, tape or glue, scissors, and some Command Strip hooks. You could probably get your hands on some cardboard if you kept some of your boxes form Move-in day or recently ordered something from Amazon (and who hasn't done that?). Simply cover the cardboard with the paper of your choosing, this may require some creative cutting, and either glue or tape the paper to each other and the cardboard. Now cut a hole in each corner of the cardboard for the hooks to go through (this is what you'll hang the list up by). Now use those markers and decorate it however you like. Personally, I made columns of each weekday with a small "notes" section at the bottom. Once you're satisfied, simply fill your board with Post-It notes of reminders to yourself and hang up your beautiful creation.
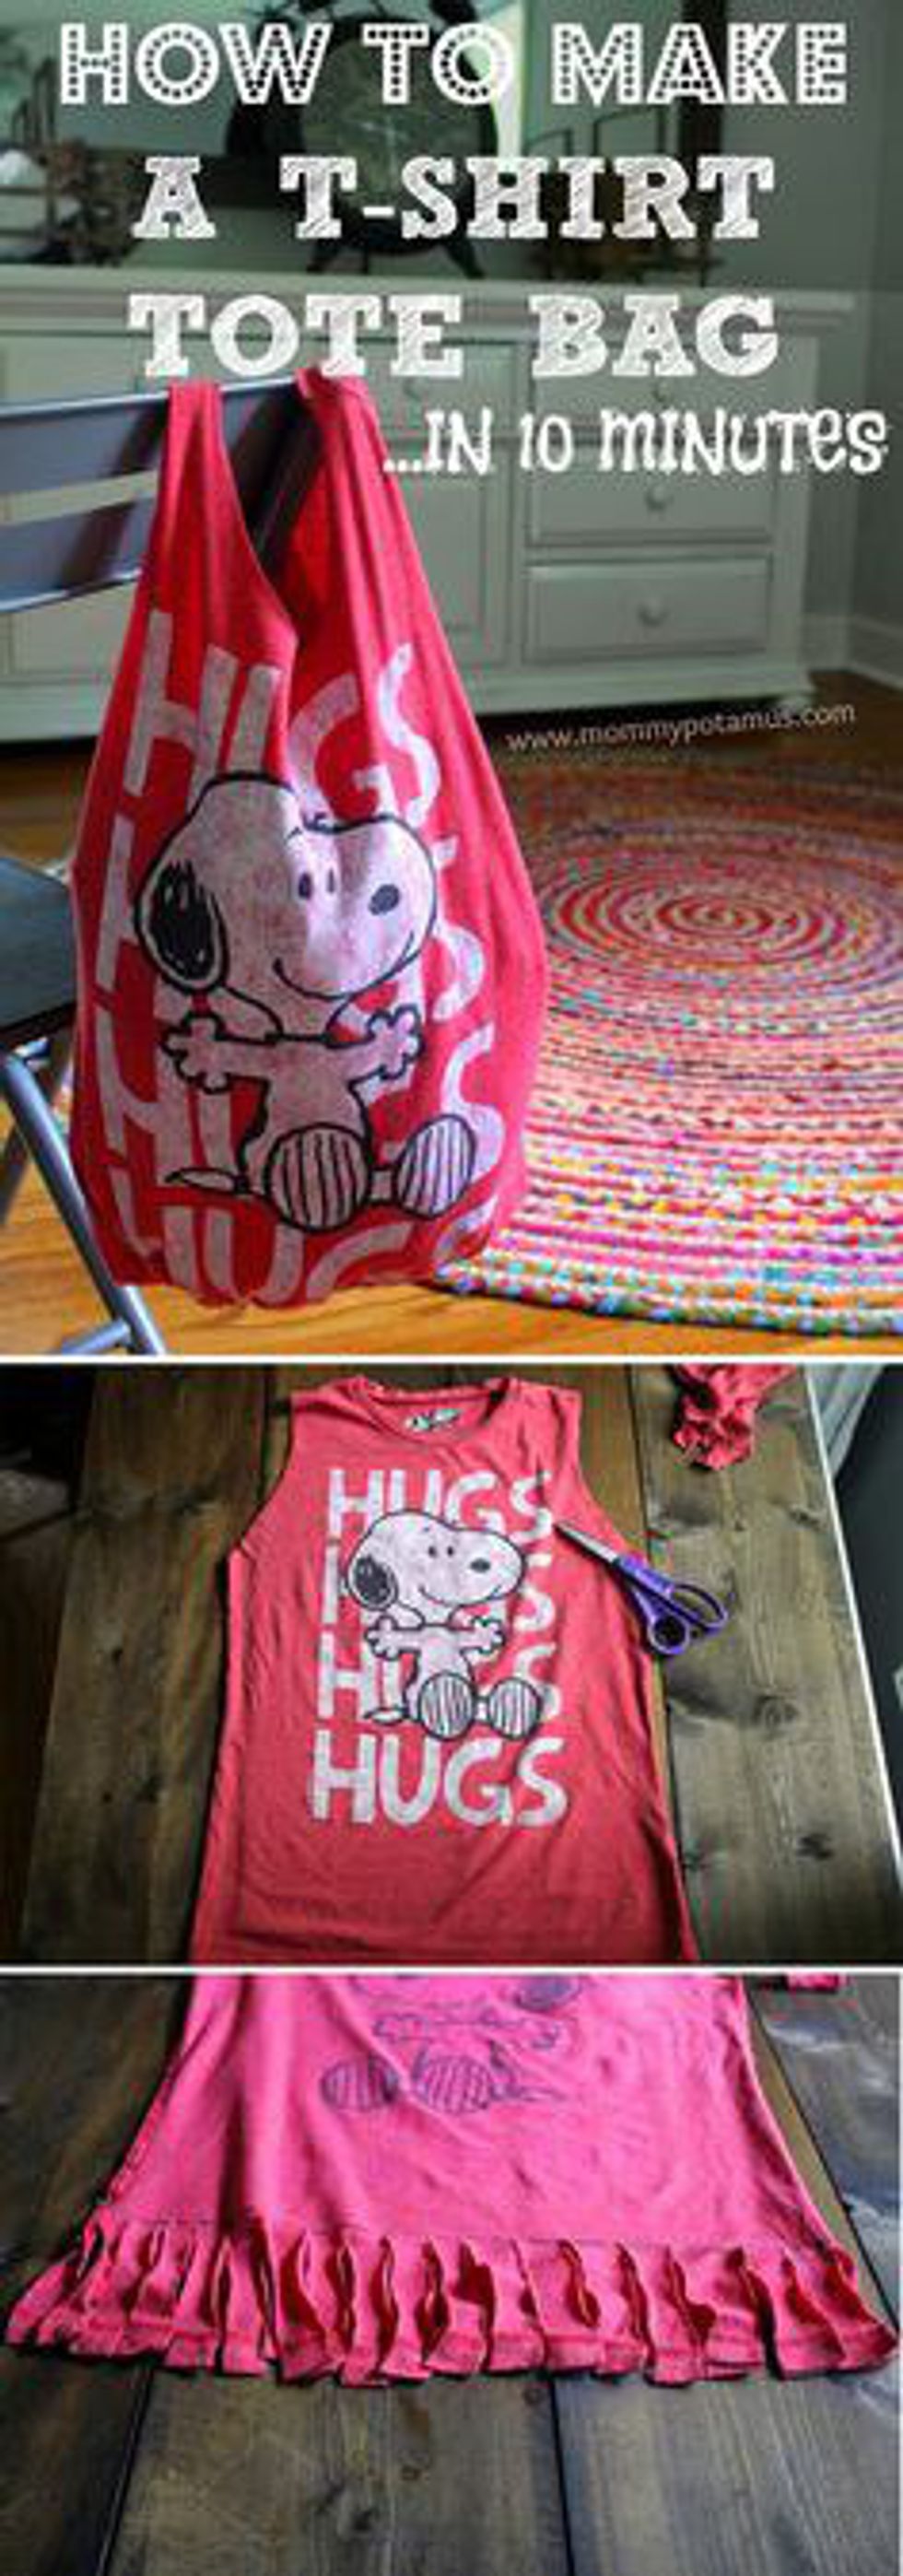
2.) T-shirt tote bag
All you need for this lovely craft is an old T-shirt and a pair of scissors. Lay your T-shirt out and cut off the sleeves and the neckline (try to cut in a more oval shape than circular). Turn your shirt inside-out. Use a book or something of the like to judge how deep you want the bag to be and draw a line from one side of the shirt to the other. This will be the bottom of your bag. Now cut strips (1-1.5 inches thick) up to the line you just drew. Starting at one end, tie the strips together in knots all the way across to the other side. You will still have holes between each knot, so to fix this problem take the right end from the first knot and tie it to the left end on the next knot. Continue this pattern for the rest of the ties and then flip your bag back right-side-out. Tah-Dah! Now you have a fabulous new tote bag that's also T-shirt stretchy!
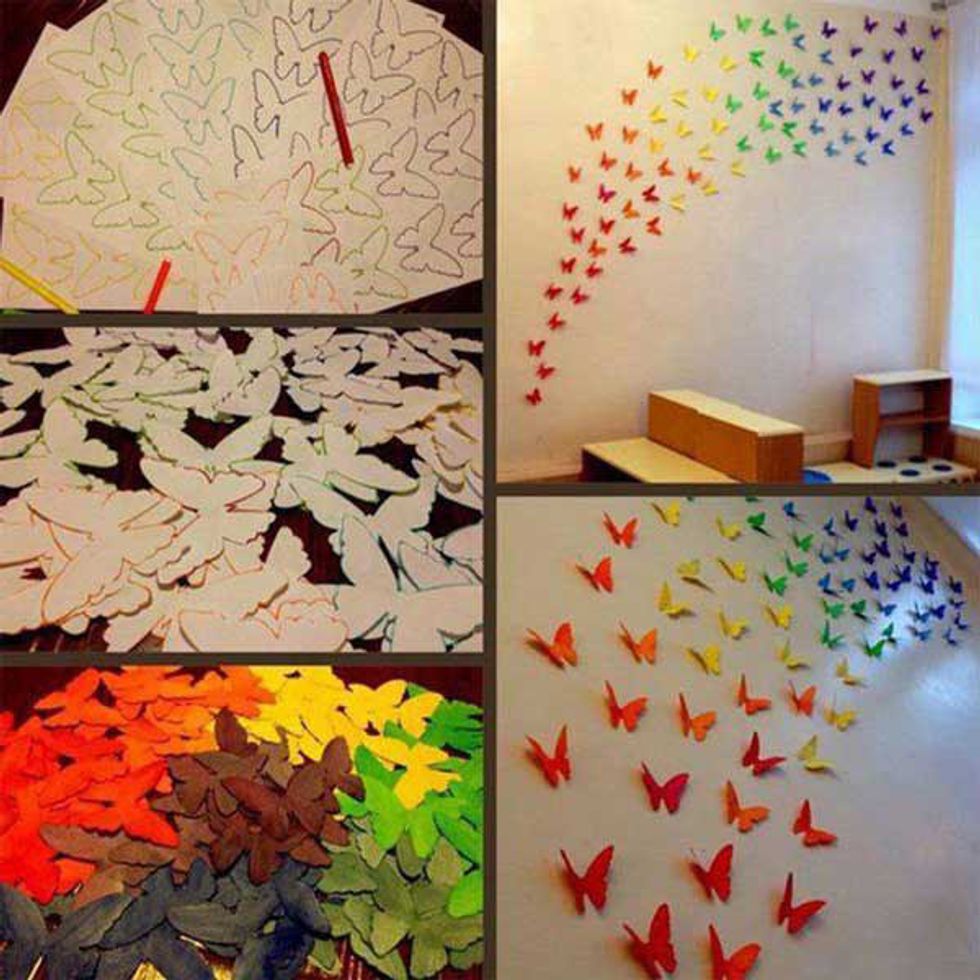
3.) Butterfly Wall Art
For this artistic project, all you'll need is some print out butterflies, markers, scissors, and tape. Print out a few papers of butterflies and proceed to cut them all out. This may get frustrating and time-consuming, but it's worth it. Color all of the butterflies shades of the rainbow and then fold the wings back slightly. Stick them on the wall with some tape in whatever manner you like and voila! You have yourself an eye-catching masterpiece.
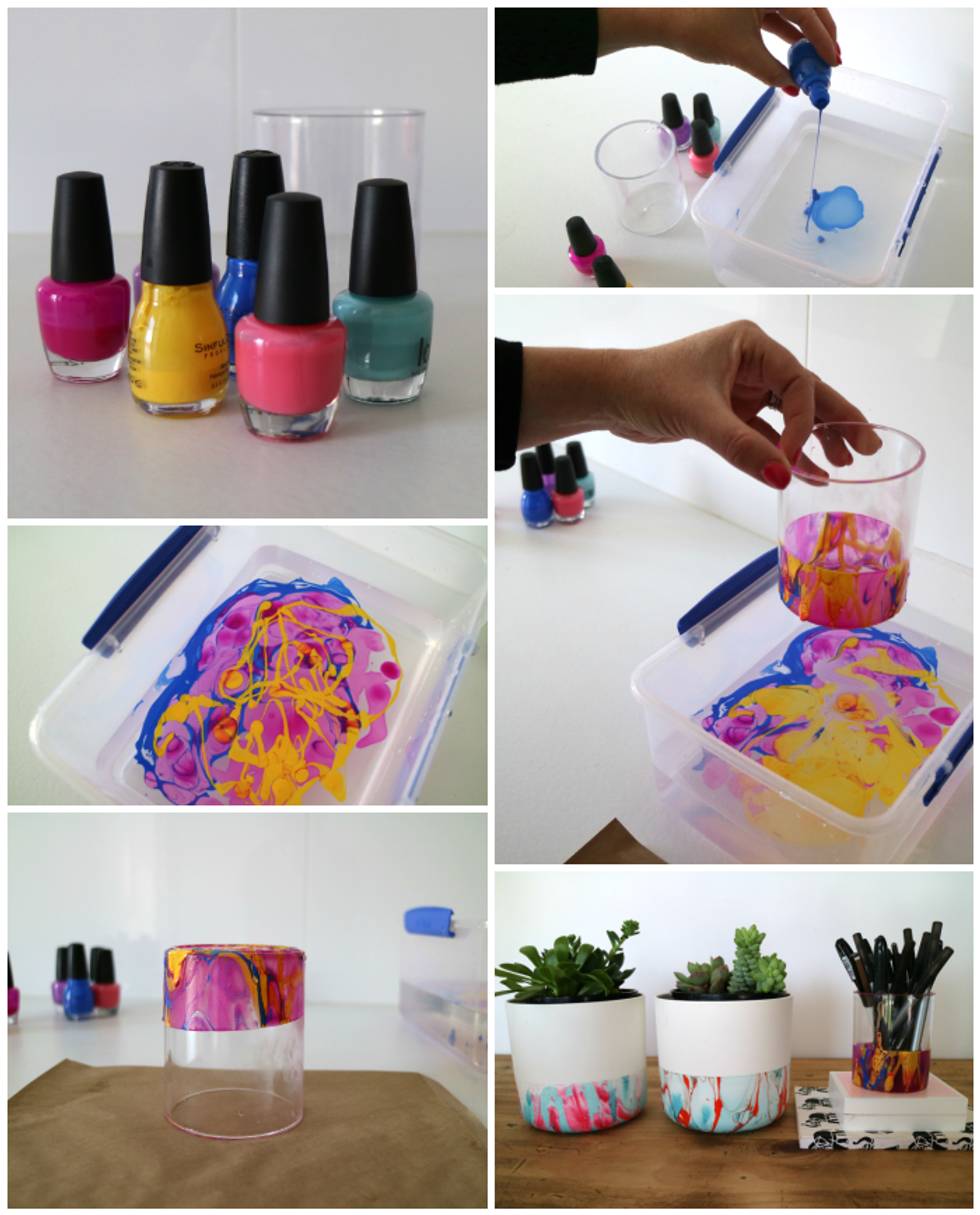
4.) Nail Polish Marble Glass
This one is a lot of fun. You'll need a large plastic container (I used one of my plastic drawers), water, nail polish, and a glass or two.Fill a plastic container half-way with tap water and drop some of your chosen nail polish into it. If you're using more than one color nail polish, swirl the colors up in the water (You can use anything you don't want to get paint on. i.e. a pencil, stick, toothpick, etc). Then simply dip your glass into the paint and water as far in as you want and pull it back out. Set the glass upside down to dry and you're done!
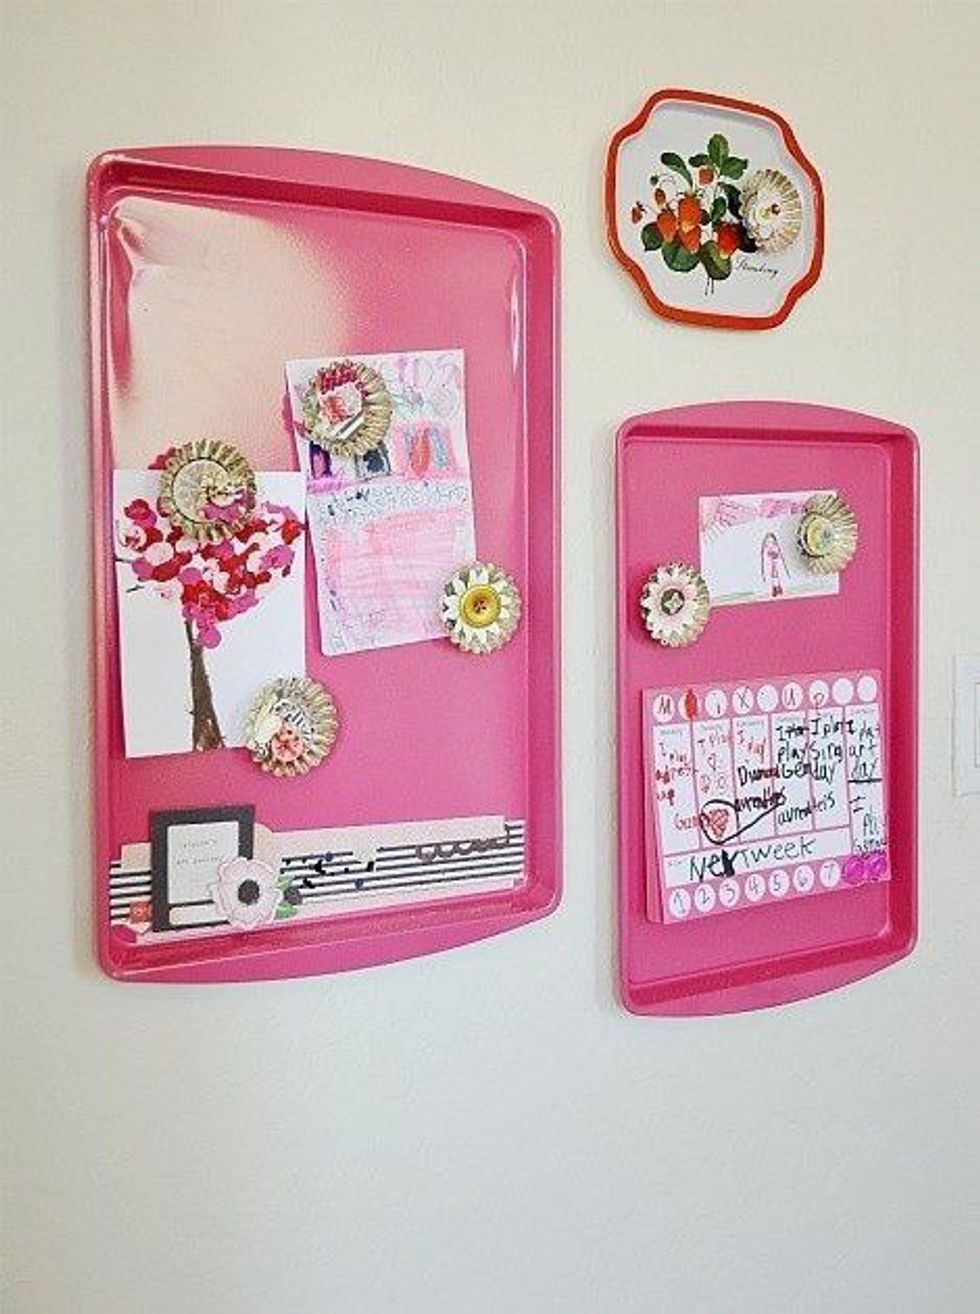
5.) Tray Magnetic Board
This project may be far fetched for some of you who don't have a full functioning kitchen in your dorm (I got lucky) but it's still adorable and super easy. Buy some pretty spray paint at the store and color your tray. Let it dry for a day and then plop some magnets on it and hang it up. If you can't spray paint, another option could be to cover it with designed paper.
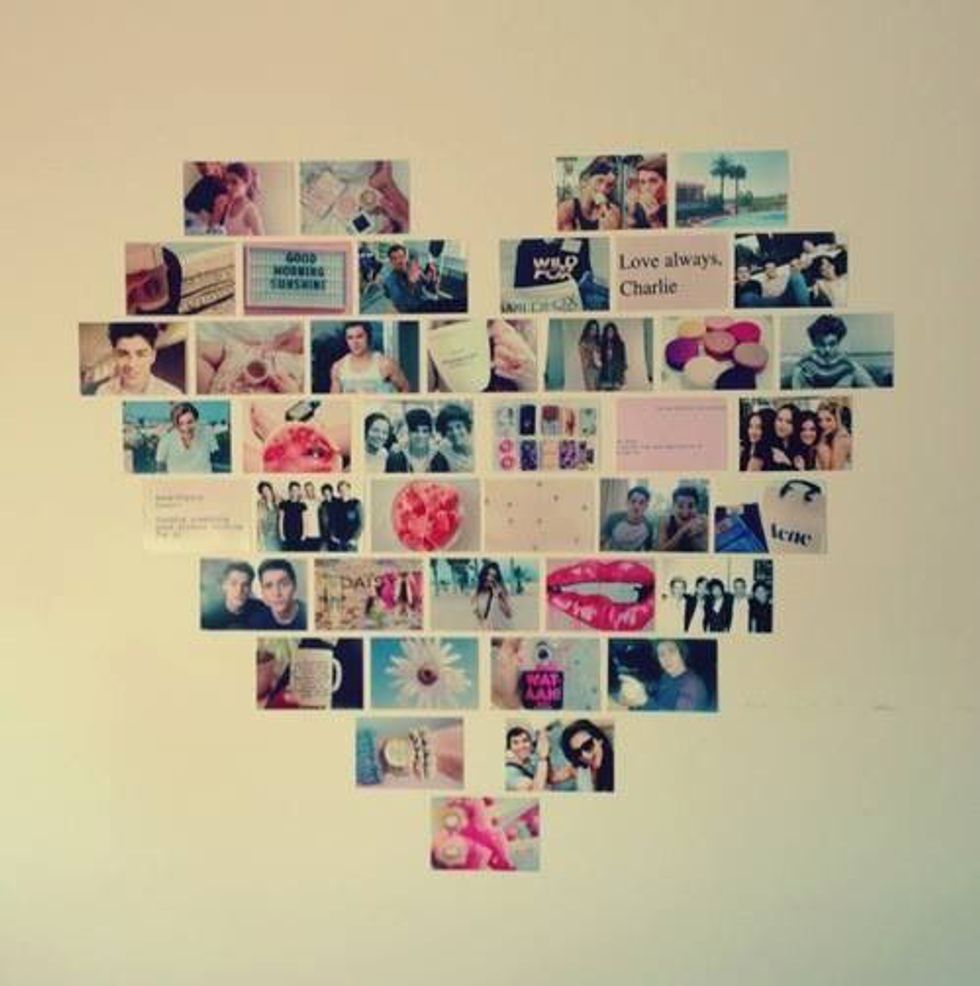
6.) Photo Wall Art
This one is almost so easy it shouldn't even count as a DIY. If you're anything like me, you probably brought an entire album of pictures with you to college but had no idea how to show them all off. Well, I found a way to do just that. Take some time to lay your photos out on the floor first to make any changes in your design. Then stick some tape or Command strips to the back of the photos and transfer them from the floor to your wall. Bam! You're roommates will be jealous of your gorgeous walls.
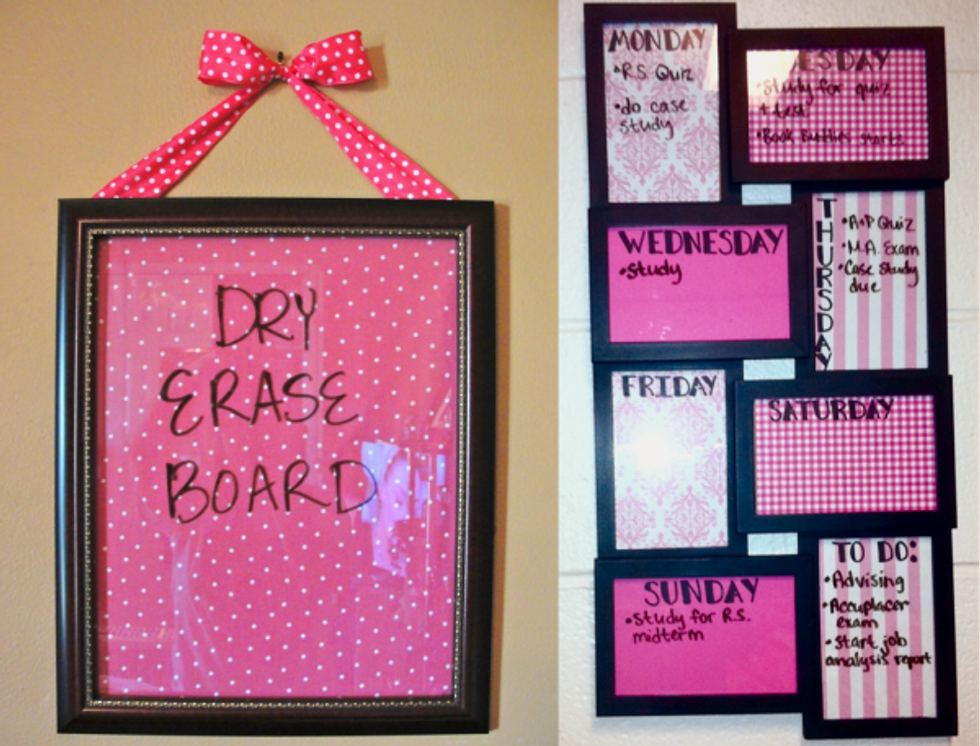
7.) Portrait Dry Erase Board
For this craft you're going to need some designed paper, a dry erase marker, and a frame. Just place the pretty paper where the photo would go in the frame, close the back, and you're done! No, really, that's how easy this is. The best part about this project is it allows for a lot of freedom and creativity. You could hang up the portrait or keep it sitting at your desk. Either way, it looks amazing!
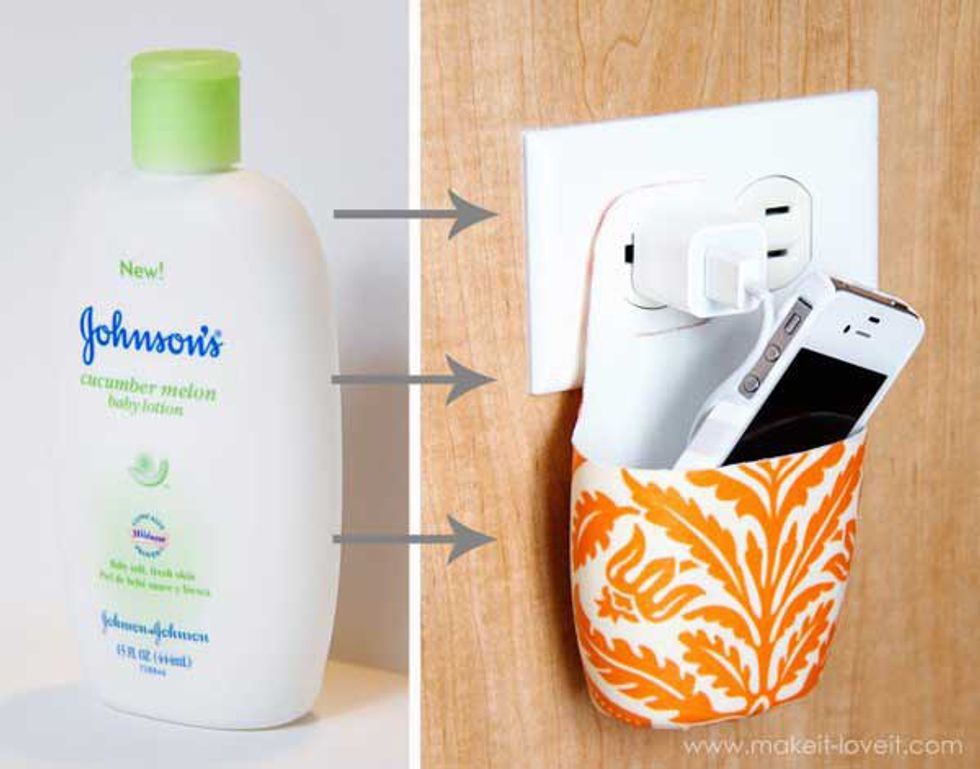
8.) Bottle Charging Station
This craft requires nothing but an empty bottle, scissors, and some creativity. Cut the top of the bottle off so the back is much higher (about 2 or 3 inches) than the front. Cut the corners as curves so as not to cut yourself and because it looks nicer. On the back, cut a large square out near the top the size of your outlet. Now that all you're cutting is done, you can decorate! You can use markers, nail polish, tape, or anything you want to design your new charging station. Personally, I covered mine in pieces of lace off of scraps of old clothes (used for other DIY projects).
9.) Soup Can Pencil Holder
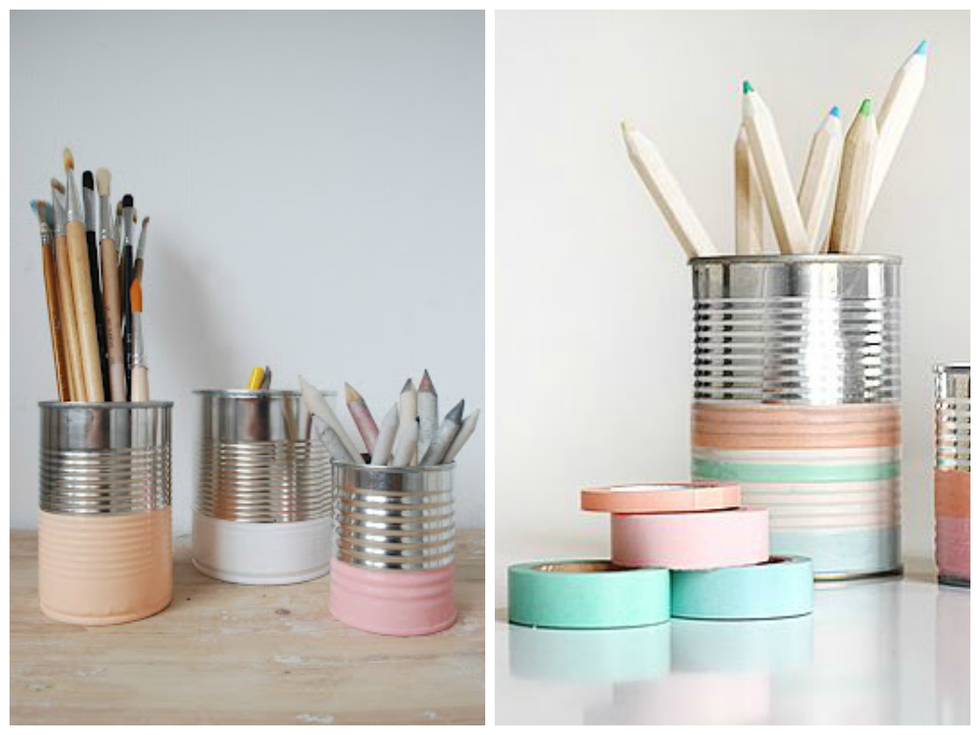
I can't tell you how many times I've eaten microwaved raviolis out of the can while cramming for a test and then throwing the can away after I was finished. After learning that that can could've ended up as an adorable desk piece, I vowed to never throw out another can again. This idea is incredibly easy and uses the same techniques as some of the projects listed above. Take an empty soup can and wash it out. Peel off the label (this is much easier is you let the can soak in hot water for a few minutes) and dry the can. Use the paint drop technique we learned for the Nail Polish Marble Glass project to decorate the can. Or simply cover the can with some designed paper and a ribbon and call it done. Either way this piece is pretty and helps you keep your desk from getting cluttered. It's a win-win!
I hope you enjoyed these nine crafts as much as I did. I encourage you to try all of them because they aren't just nice to look at, but they all serve to make life that much simpler. And in college, we need life to be as simple as it gets!


