Happy October! Let the sweater weather, leaves changing, pumpkin season begin! Well, I will be the first to admit that I am a Pinterest addict. I basically use it for everything! The majority of the decorations in my bedroom are all from Pinterest. So here are 8 simple DIYs that anyone can do.
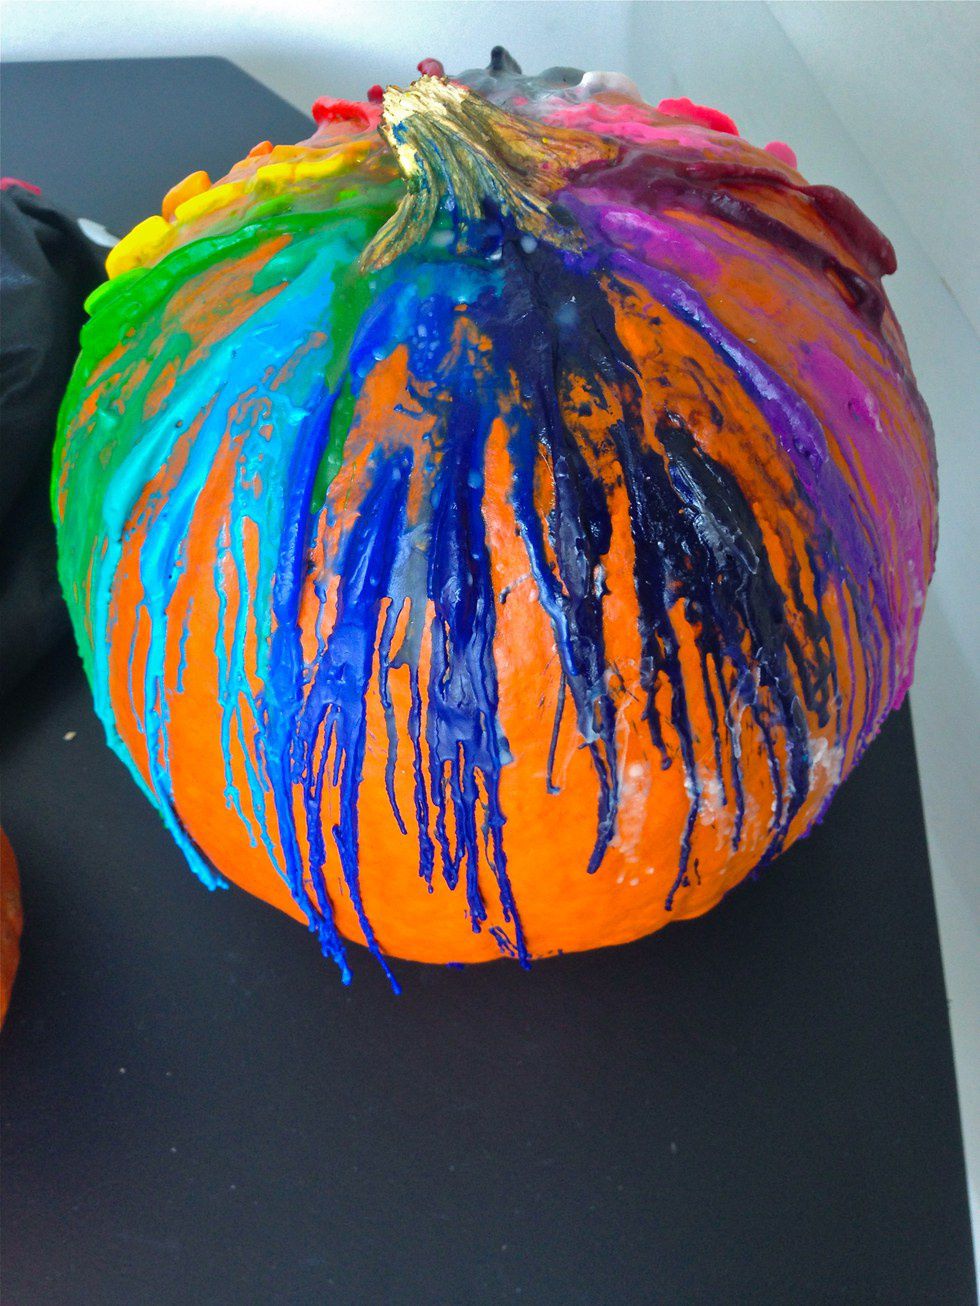
1. Melted Crayon Pumpkins
Materials Needed:
- Pumpkins
- Crayons
- Hair Dryer
You want to first break the crayons in half, and then place them in whatever color pattern you desire around the stem of the pumpkin. After you have done that, then take a hair dryer and use high heat to melt the crayons. When the crayons begin to melt the wax will drip down the pumpkin.
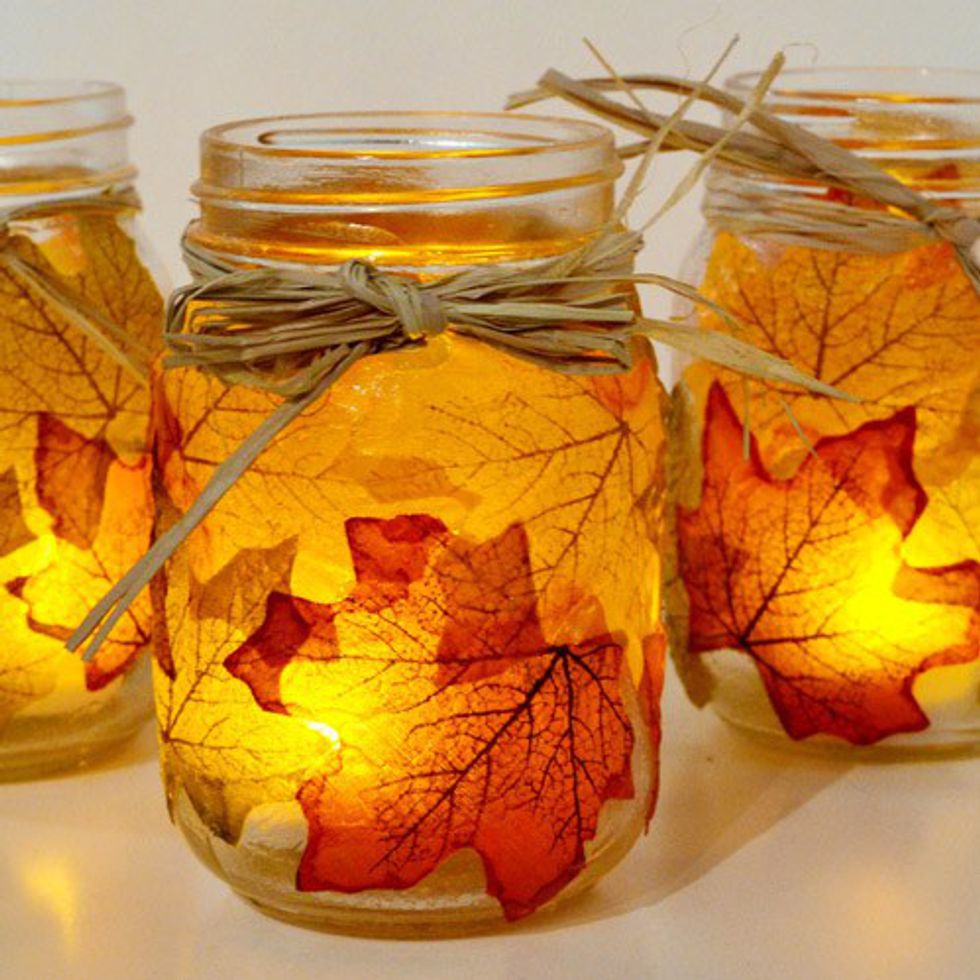
2. Autumn Leaf Mason Jars
Materials Needed:
- Fake or real leaves
- Mason Jars
- Paint Brush
- Mod Podge
First, place the leaves over the mason jar in a thin layer of mod podge and then place the leaves on the mason jar however you want. Nex,t place another layer of mod podge over the leaves and let dry. If you want, you can tie a bow around the top of the jar.
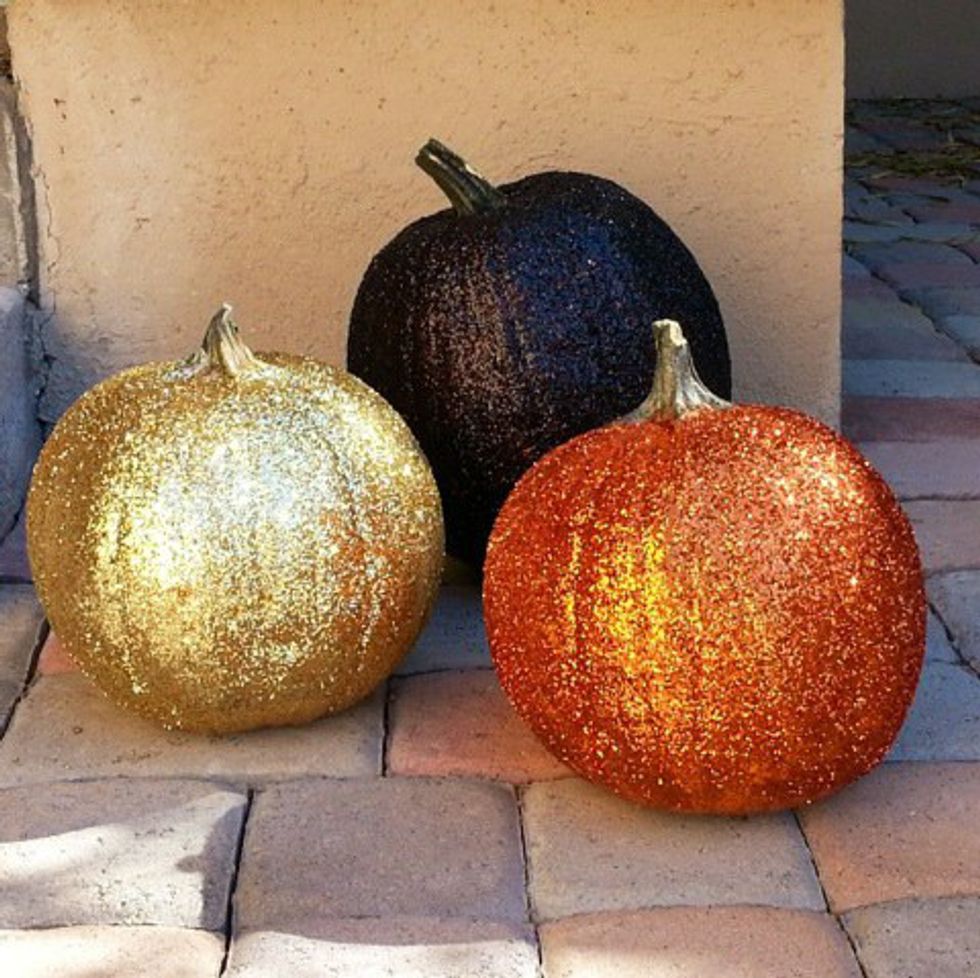
3. Glitter Pumpkins
Materials Needed:
- Pumpkins (real or fake like styrofoam)
- Glitter
- Glue
- Paint Brush
First use the paint brush to apply the glue to the pumpkin. Next sprinkle the glitter on to the pumpkin. Let the first layer dry and then apply more glue and sprinkle on some more glitter and let dry over night.
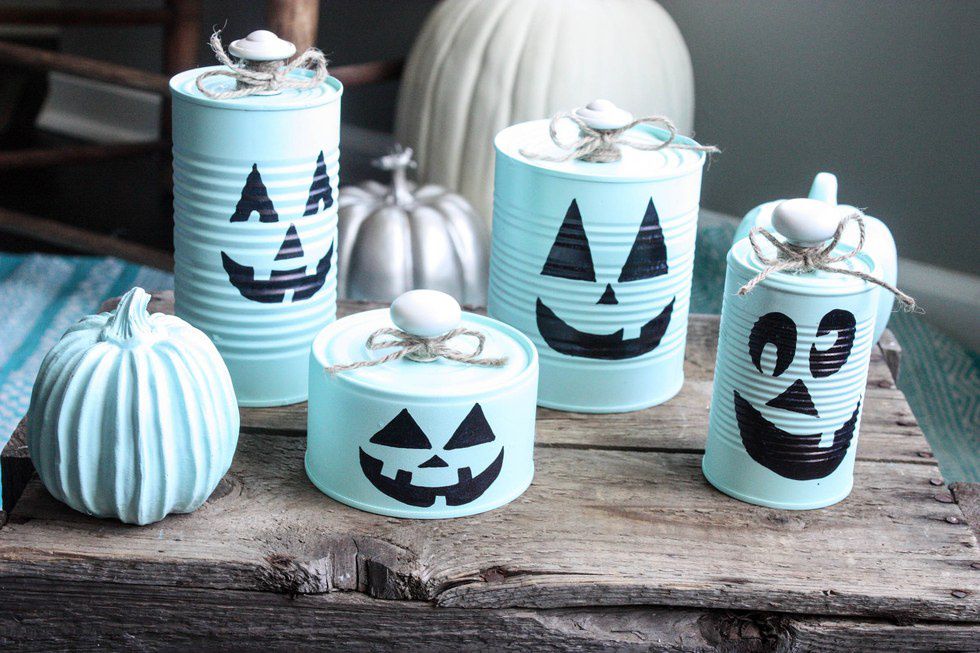
4. Tin Can Pumpkins
Materials Needed:
- Tin Cans
- Paint
- Paint Brushes
- Door Knobs
If you don't feel like getting real pumpkins, you can use tins cans to create one. Take a tin can and paint it whatever color you desire. You might have to do multiple layers paint for the color you want. Next take a black paint and create the pumpkin face of your choosing. Then with the door knob, you can use what ever size, hot glue it to the top of the can and let dry. This will be the stem of the pumpkin. Then you can tie bow around the door knob if you choose to.
5. Mason Jar Candy Corn
Materials Needed:
- Mason Jar
- Balloons (orange, yellow and white)
- Glue (optional)
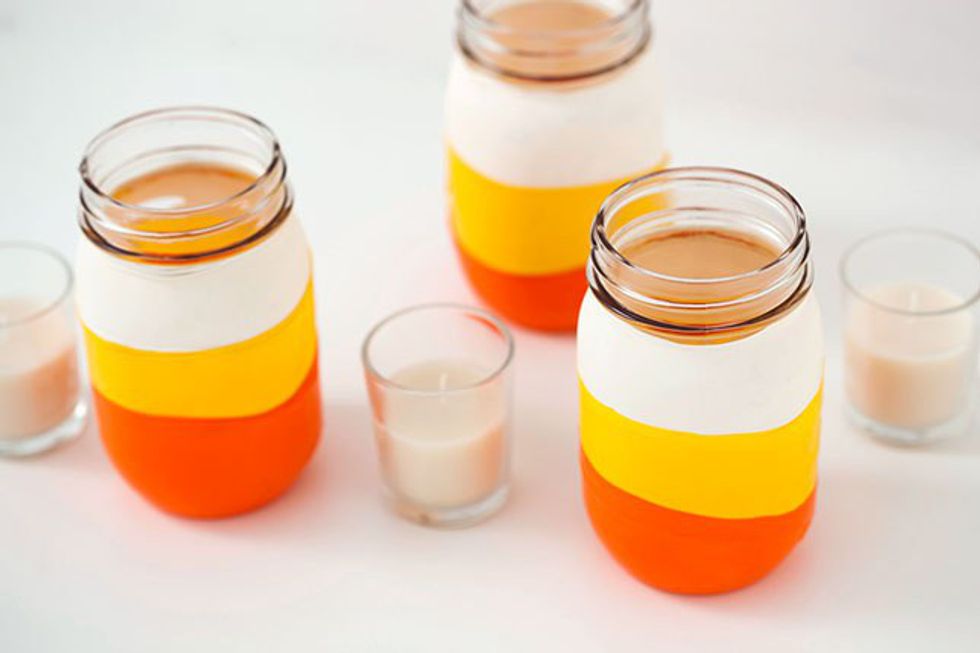
First, cut the ends off the balloons. Next take the mason jar, and place the balloon over the top of the mason in order of the candy corn colors. You can start with orange on the bottom and work your up and vice versa. You can glue the balloons on to the mason jar to make sure they stay but that is totally optional. Then you can place a candle inside the mason jar or put what ever you want inside.
6. Twig Candle Jars
Materials Needed:
- Glass Candle Jar
- Twigs (from outside or craft store)
- Glue
- Candle
If you are into the really earthy kind of look. First, put a layer of glue on the jar. Then place the twigs around the outside of the jar. Let dry over night. You can place little candles inside of the jar.
7. Pumpkin Candles
Materials Needed:
- Pumpkins (real, safer)
- Candles
- Knife
- Spoon
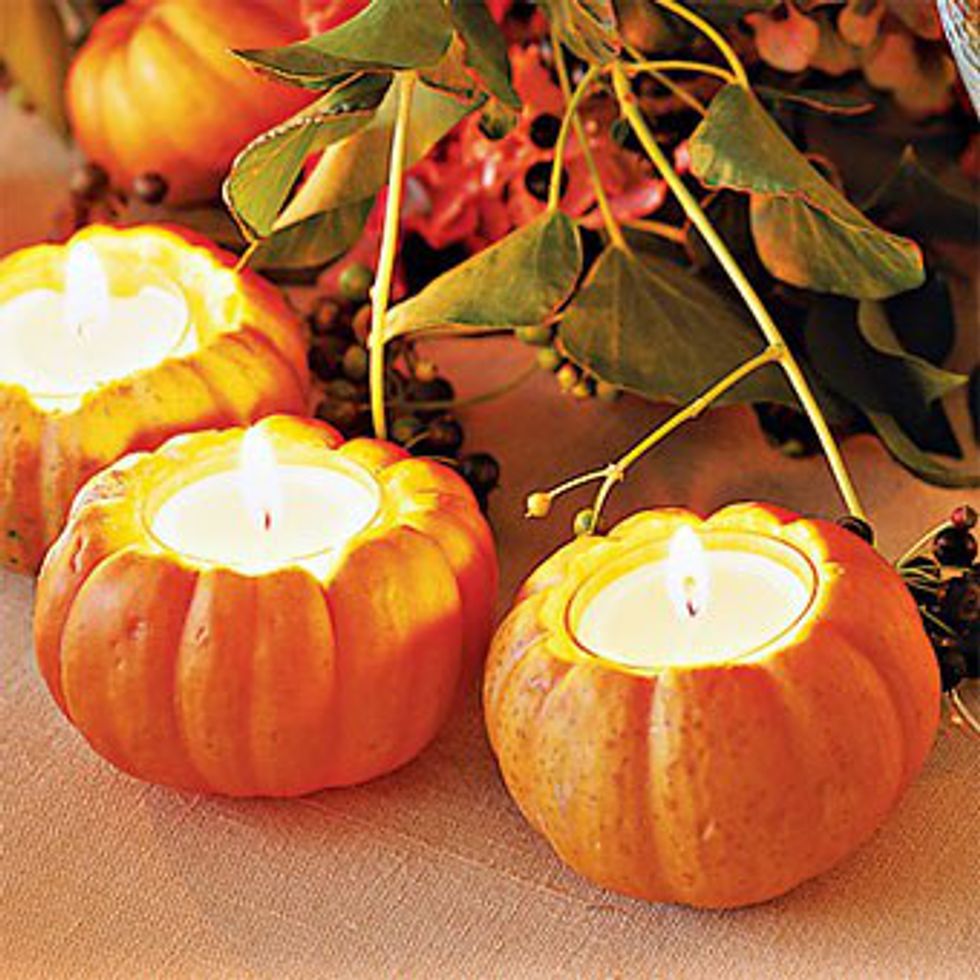
First take the pumpkin and cut out a hole around the stem. Remove the stem and crave out a little hole that will able to hold a tea candle. Then scoop out the seeds with the spoon or leave some in to give the candle some support. Finally, place the candle into the hole you cut.
 8. Leaf Bowl
Materials Needed:
- Leaves
- Glue or Mod Podge
- Paint Brush
- Balloon
First, blow up the balloon. Next, put a layer of glue or mod podge on the bottom of the balloon. The place the leaves on to the balloon and add another layer or glue or mod podge on top of the leaves. Let dry over night. After it is dry, pop the balloon carefully and remove it. Now you have your leaf bowl.
Happy Crafting!!


