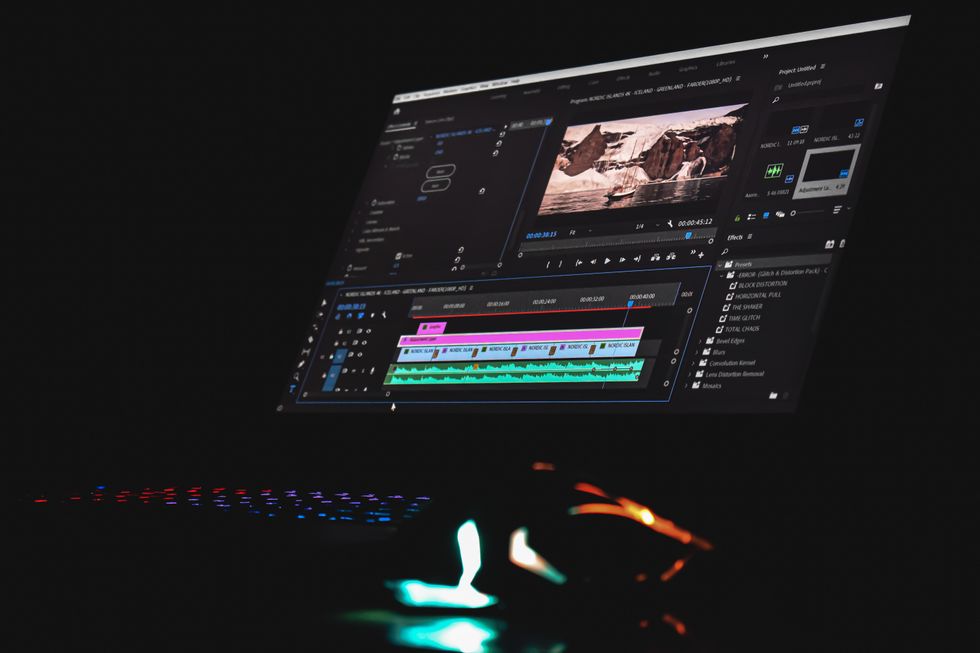
You shot a movie or a music video, and now it's time for the second part of the battle: post-processing. Like photography, this stage requires a good combination of both creativity and technical knowledge. And in this article, we want to help make the video editing process easier and more productive by providing some useful tips, techniques, and "life hacking" tips below.
While these tips won't teach you how to make edits to your videos, they can help cut your editing time in half and help you get better results in the end.
1. Choose the appropriate program
The first step in improving your video editing process is choosing the right software for you and your business. They usually offer everything you need for standard video editing, but you may prefer one over the others for their usability, digital interface, and features. The key here is to choose what works for you and your editing style, rather than just the latest and most advanced video editing software.
2. Use a Faster Computer
No, we are not going to have PC vs Mac in this section. You can choose the brand or model you want for your computer, as long as it's fast enough to store large files and allows you to focus more on your editing work without worrying about slow rendering.
It certainly helps to invest in a faster storage drive (SSD) that allows you to access your files and programs faster, as well as speed up rendering, loading and export times. Other things you can do to significantly reduce editing time are to increase your computer's memory (RAM) to at least 8GB if you're going to be doing professional or business work, and use your editing software. Get the recommended video card and processor for .
3. Watch Video Editing Tutorials
YouTube, blogs and educational websites are full of useful tutorials for creating great video content. You'll find that most of the tutorials are free, making it easy to access. Websites like VideoCopilot, Skillshare, and Red Giant Tutorials offer tons of specialized tutorials to help you improve your video content. When researching tutorials to achieve a specific look and accomplish specific tasks, target the software version of the software you are using. Many companies adjust function and menu settings from version to version.
4. Get Project Files
When following a tutorial, many new video editors prefer to use the same project files that teachers use in the tutorial. This will help you learn the steps correctly, as your work will look exactly like the demo sample. Many tutorials allow you to download their project files for this exact reason. Once you have more experience with the technology, you can repeat the process with your video files.
5. Export Web Version
Once your video is finished and ready for export, the natural tendency of most editors is to export it in the largest video resolution possible. It's definitely the way to go if it's going to play in cinemas and HD screens, but in today's generation where video projects are commonly marketed online and on social media, you'll need smaller, higher quality versions for easier playback. also have to export.
When exporting to the web, the goal is to create a file that retains its high quality and doesn't make it too bulky to upload and view online.
6. Add Text and Graphics
Depending on your movie genre, you may need to include text in addition to the title, opening/closing billboards (for streaming), and movie credits. You'll usually want to keep it simple with a clean, white sans-serif font that doesn't draw much attention. Melt them in and out, and see how it works for your film.
But if you need to add attractive graphics, you can create them with your own editing software. Adobe After Effects is a popular choice for creating some great motion graphics. If you haven't learned to create them manually yet, you can always get these awesome ready-made After Effects templates from Rocketstock.


 Today I am
  Go to the gym
StableDiffusion
 Listen to more music
Photo by
  Have more patience
StableDiffusion


