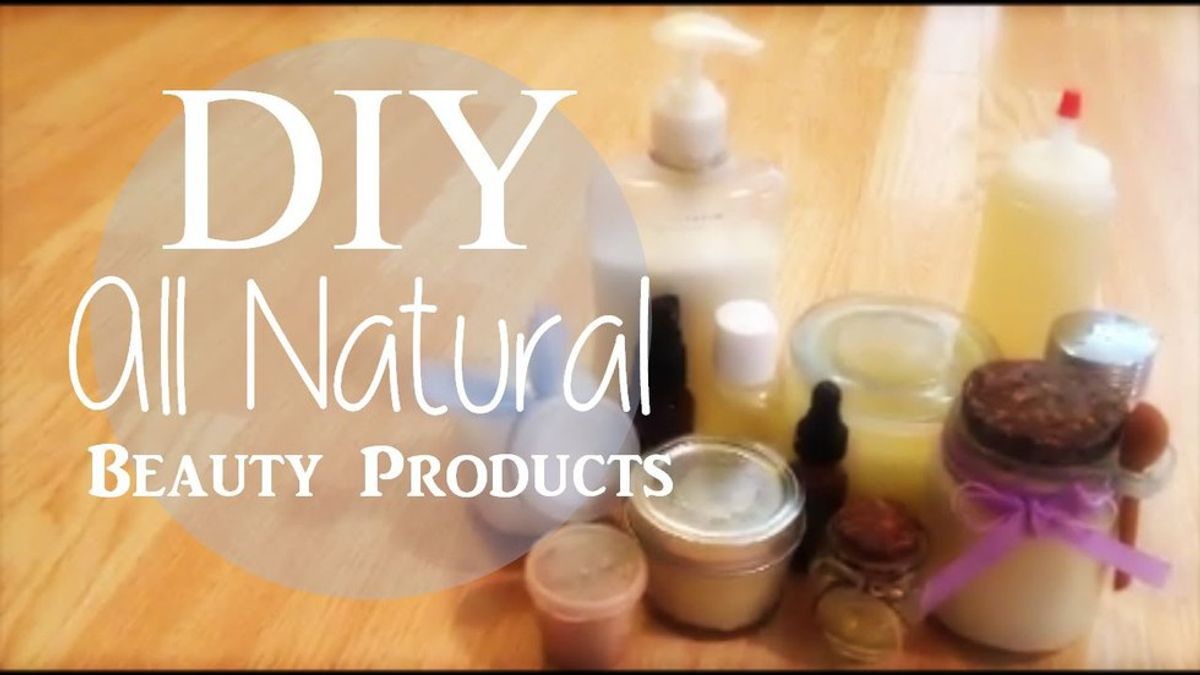
If if Pinterest hasn't had a significant impact on your life, then you really need to reevaluate your priorities. My Pinterest board reflects a point in my life, the mood I'm in and every single amazing gluten-free friendly recipe you could think of. (S/O to all the Celiacs) Recently my Pinterest board has been overthrown by natural beauty care recipes. This summer I've turned away from everyday products I had been using. Shampoo, conditioner, acne face washes, makeup remover, deodorant and exfoliators. I'm not saying I just cold turkey stopped using these products (Gross!), but what I've done is simply create my own. There are no ingredients I can't pronounce, weird reactions, and honestly I take some pride in knowing what is on my body is not only pure but I created it.
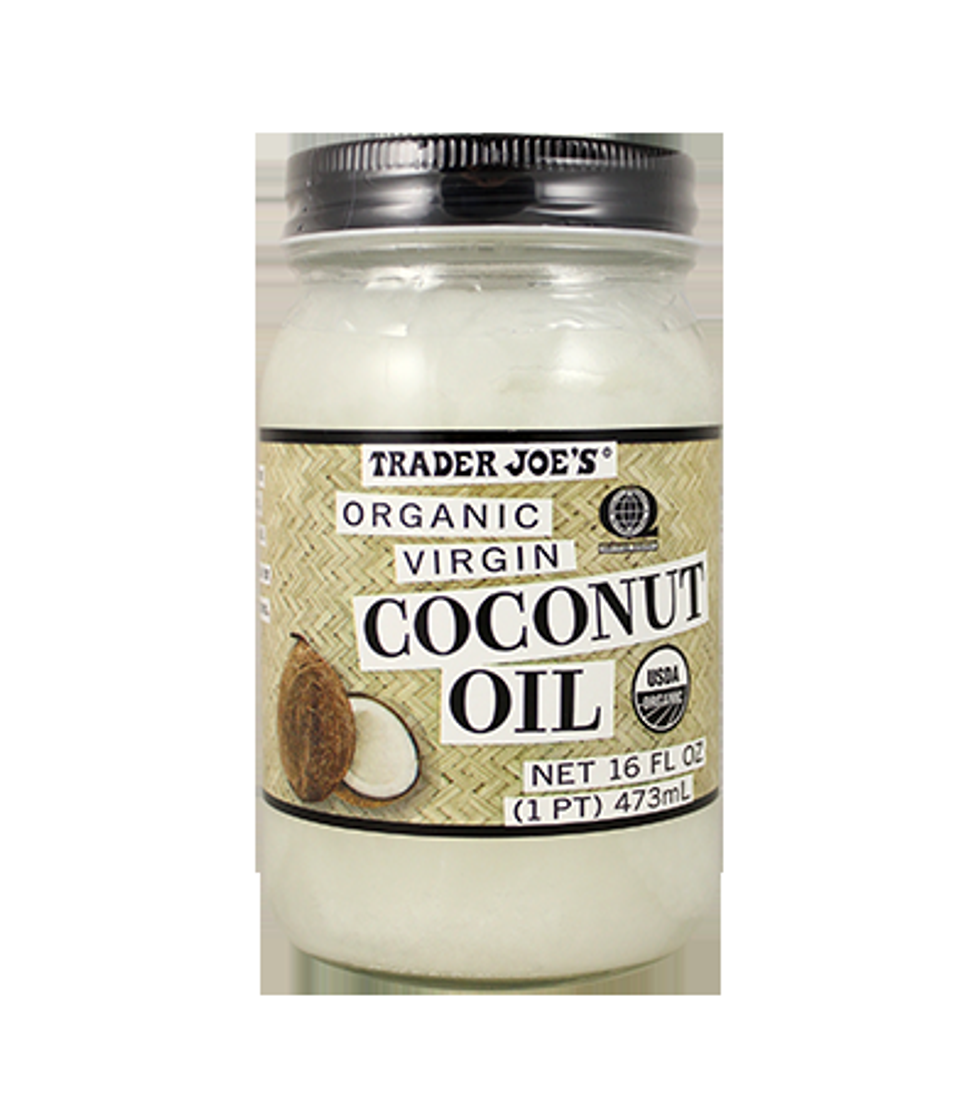
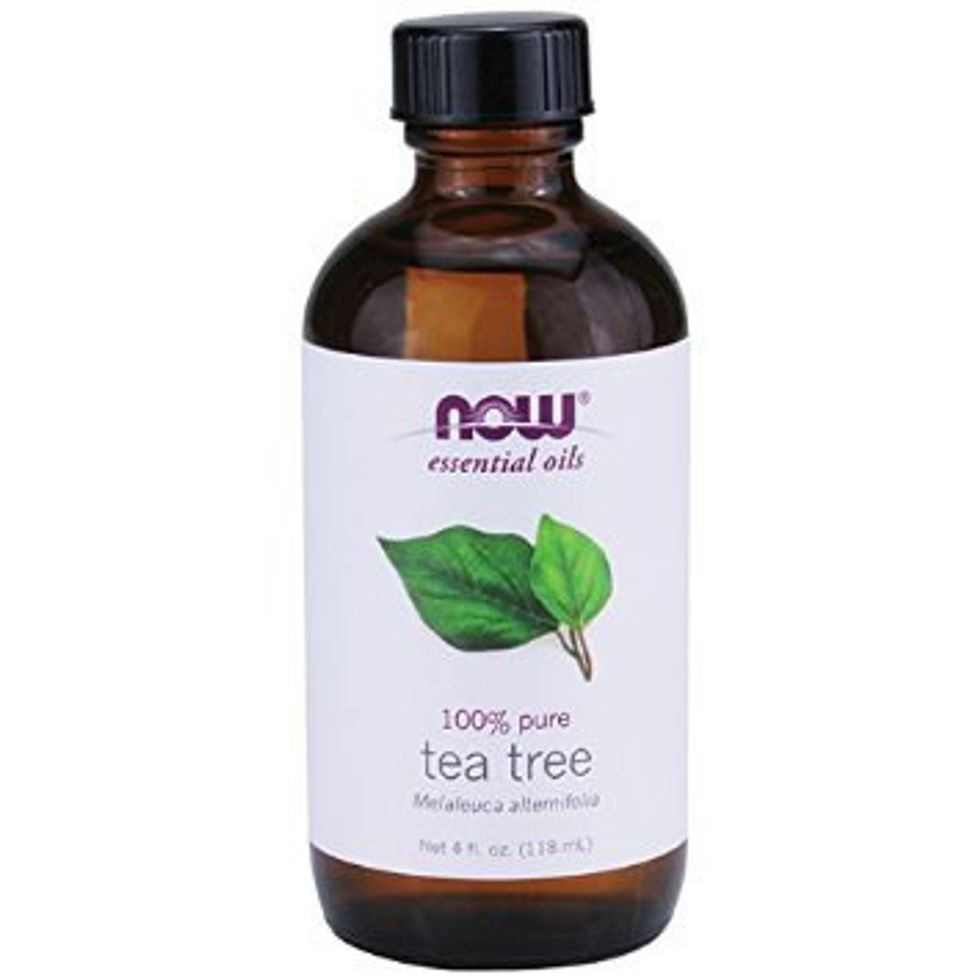
I absolutely LOVE the shampoo. It made my hair feel full and my scalp feel refreshed from the Tea Tree. This is defiantly a shampoo I will keep using. And it was SUPER CHEAP! I was buying Herbal Essences every 2 weeks. This shampoo cost me a total for 15$ and so far has lasted a month with more left. I made the mistake of applying WAY too much coconut oil while conditioning, my hair was straight up GREASY. Now that I got the hang of it. I apply the coconut oil before shampoo and I love the results. My hair dries into it's curls perfectly and has just the right shine to it without applying any oil afterwards.
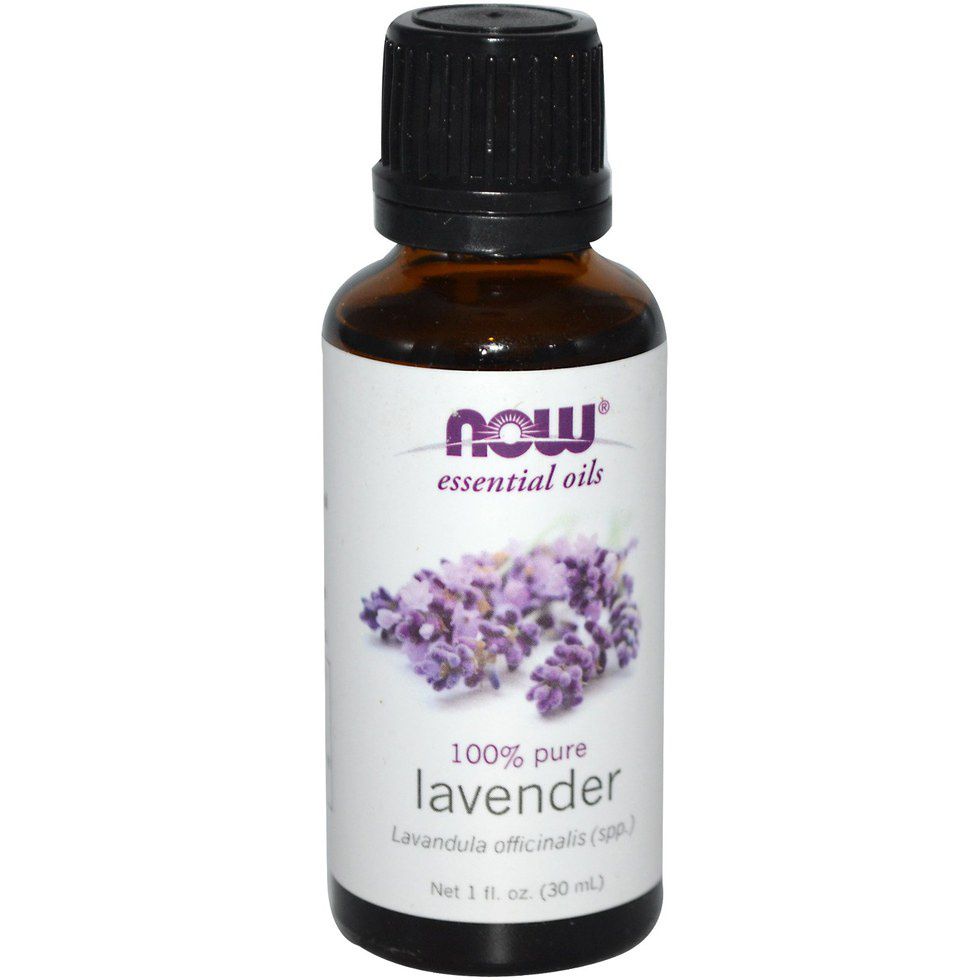
Lavender Oil Deodorant
I have used Dove deodorant for as long as I can remember. Don't get me wrong the stuff smells great but I always find myself having to apply multiple times throughout the day. I'm not a sweating monster, but this deodorant just do the job sometimes. I switched to making my own and trust me I'm never going back. Goodbye $8 deodorants. Hello FREE deodorant. Yes, FREE. Why? Because you can make this deodorant with items IN YOUR HOUSE.
What you need:
1/4 Cup Coconut Oil (Room Temperature)
3 TB Corn Starch
1 TB & 1 TS Baking Soda
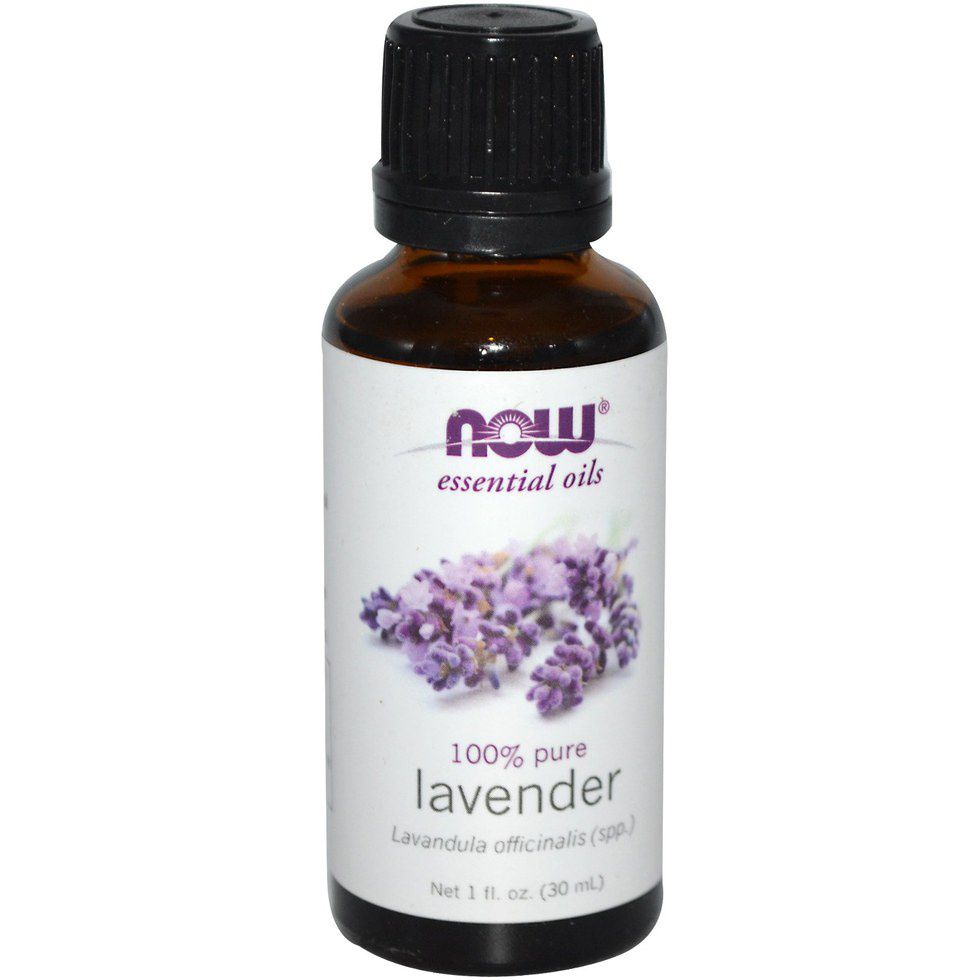
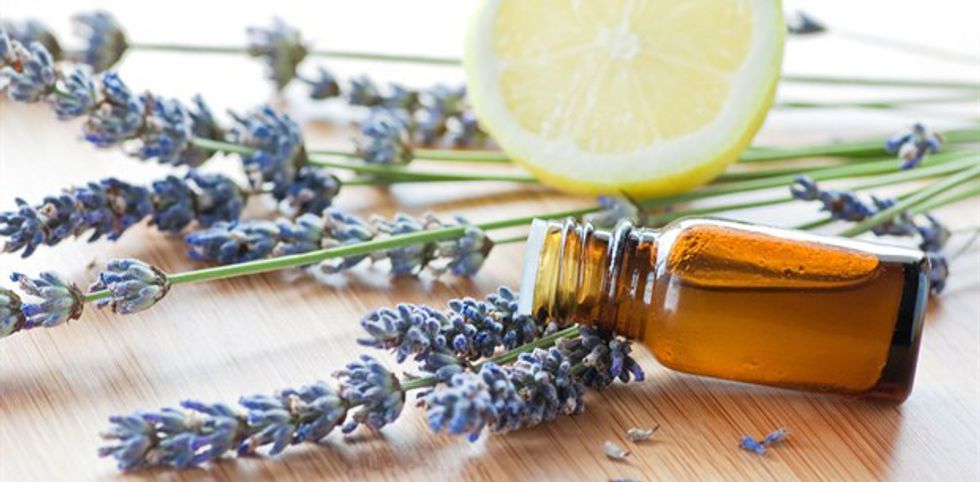
20 Drops Lavender Oil
Mix ingredients together in small bowl, let rest for 10 minutes at room temperature and then transfer to small mason jar to solidify. Use fingers to apply!
Review:
This deodorant has saved my life. Secret confession: I can finally wear colored tees without worried about sweat marks! This recipe isn't watered down so I know every time I apply it will last me the whole day. And on top of the awesome results it smells amazing! Totally will keep using this product. My white tees and wallet thanks me for this one.
Green Tea Body Exfoliator
Exfoliators and body scrubs are the trading body care product right now and like most of you yes I've done tried Frank body and many more exfoliators. Looking back it makes me sick to drop $20 for ONE use of an exfoliator. I looked around Pinterst and came up with an awesome recipe that doesn't kill my bank account. How much did I spend on it? Nothing at all. Once again like me, you have all the ingredients just sitting around in your house.
What you need:
3 Green Tea bags
1 Cup White Sugar
1/2 cup Olive Oil
2 TB Raw Honey
10 Drops of Tea Tree Oil
Mix all ingredients in bowl and then transfer to mason jar. Makes enough for five uses. Apply while in shower to wet and clean skin.
Review:
I use this exfoliator once or twice a week and I seriously look forward to it. After using it my body feels fresh and SO smooth. It has smoothed out my pretty caused runners feet and makes my entire body feel like satin, no joke. If there was only one product I could use the rest of my life it would be this one. The green tea leaves my skin feeling hydrated, refreshed and the smell is so relaxing. It makes a little bit of a mess in the shower but the clean up is super easy, I just run the water over the whole shower and the specks from the tea go down the drain. $0 spent, and 100% positive results, how much better can it get than that?
Hard Sugar Wax
We all love summer but admit it, a part of you kind of dreads having to shave your legs every other day with all that skin showing. And let's not even mention the pain of bikini lines. No words even needed. My skin becomes red and bumpy after shaving and it's just straight up irritating. I tried this hard sugar wax and I vow to NEVER pick up a razor again.
What you need:
4 Cups of White Sugar
1/4 Cup Lemon Juice
1/4 Cup Water
Cook 3 ingredients in small sauce pan until it boils for 5 minutes. Let cool for an hour or until a very, very thick consistency. Apply the cool wax to skin in small strips , layering the wax onto of each other 2-3 times. Apply wax opposite direction of hair growth, and rip parallel to skin with the direction of hair growth. After 3 minutes of hardening sip the wax and WALLA! Apply a cold rag on the recently pulled skin with pressure to avoid any bruising or irritation.
Review:
My opinion on this is it is the next best thing to the creation of chocolate. I not only spent nothing on it but a few seconds of pain leaves me smooth for 2 WEEKS. Once hair grows back it is thin and a lighter color. I'm thankful to the Pinterest Gods for letting this wax be apart of my life. You can apply it to any skin area and it works like magic.
Eye Make Up Remover
If you wear makeup you know the struggle of running out of makeup remover wipes and then dreading spending $10 on one pack that will last maybe three weeks. It's a pain in the neck and honestly I'm fed up with throwing my money away, metaphorically and physically. This recipe will save me hundreds every year and I'm never going back to over priced WIPES.
What you need:
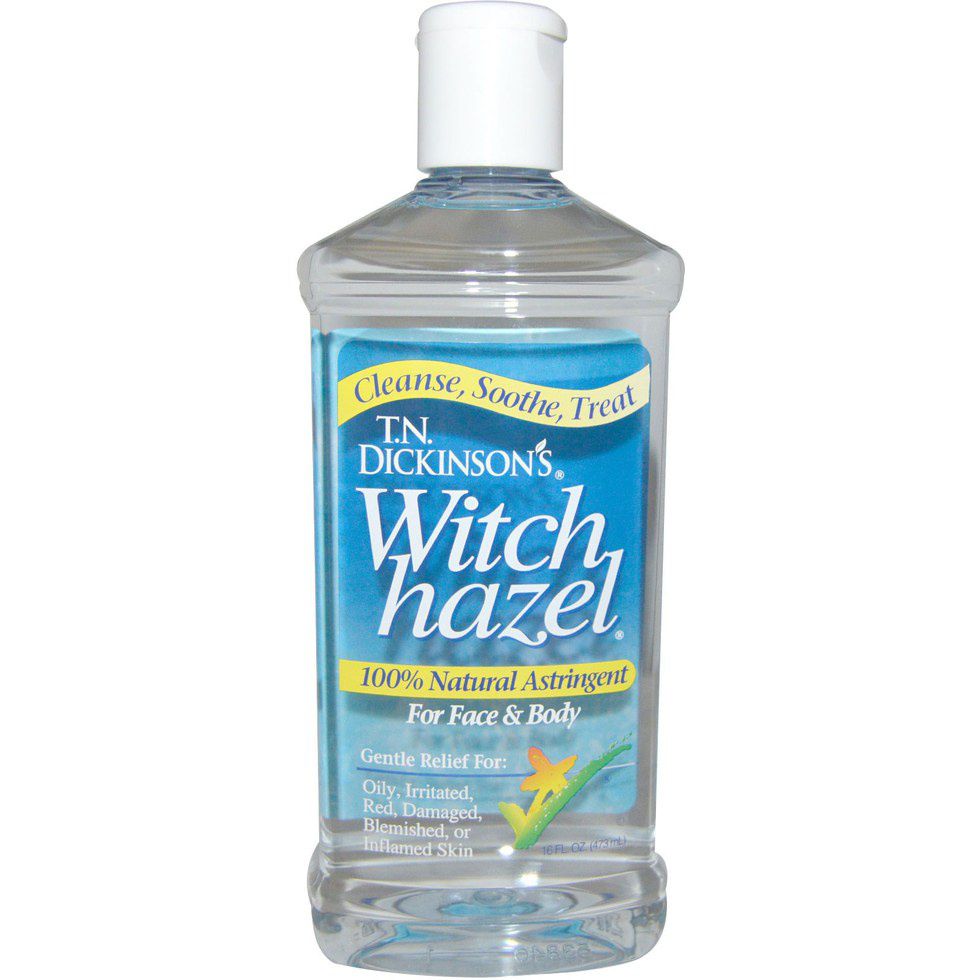
2 TB Witch Hazel
2 TB Water
2-4 Drops of Lavender Oil
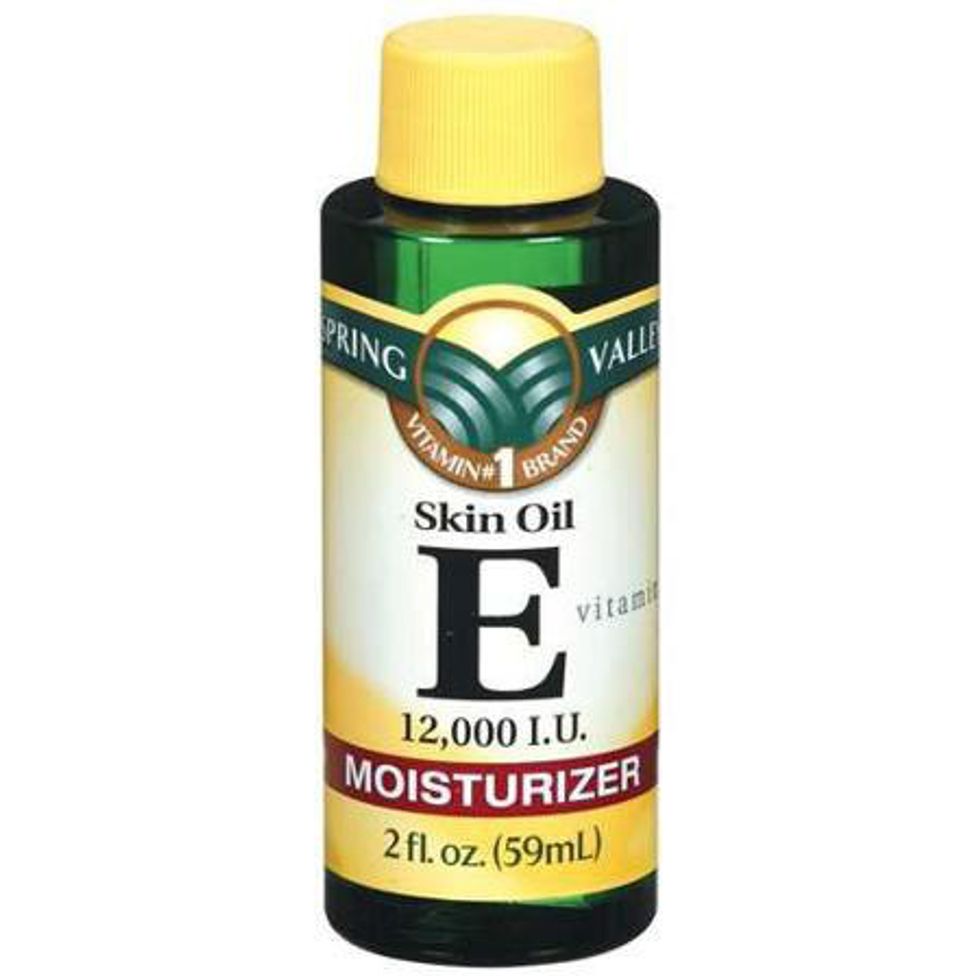
2 TB Liquid Vitamin E
Add ingredients together in bowl and stir. Transfer to small mason jar and shake before use. Apply to small cotton pad and wipe designated areas including face and eyes.
Review:
My wallet, and eyes thank me for this one. I was constantly buying makeup wipes and trust me that stuff starts adding up and it's basically THROWING YOUR MONEY AWAY. It infuriates me that a small wipe meant to be thrown out costs so much. The only cost for this recipe was cotton balls but I'd rather spend a dollar for a big bag of cotton balls rather than $10 on a pack of 25 makeup wipes.
I hope you have as much appreciation for these natural products as I do now! I am so happy to have made the switch and my body thanks me. You never know what kind of toxins are in the products that we use everyday. Not only am I freeing my skin of these awful toxins but my wallet is thanking me. I save an average of 50$ per month now based on these products alone. It's important to understand that it might take a couple tries to get these recipes right! Have patience and you will be extremely happy with your results. Good luck! :)

