We all have those times where you hit the snooze button one too many times or lost track of time watching Netflix. Wether you need to look half-way professional for a class or are meeting up with friends and want to be presentable this list it for you! As a 5-star procrastinator myself, I have created a make-up routine that takes me less than 5 minutes and gives me a more confident face.
Step One: Primer
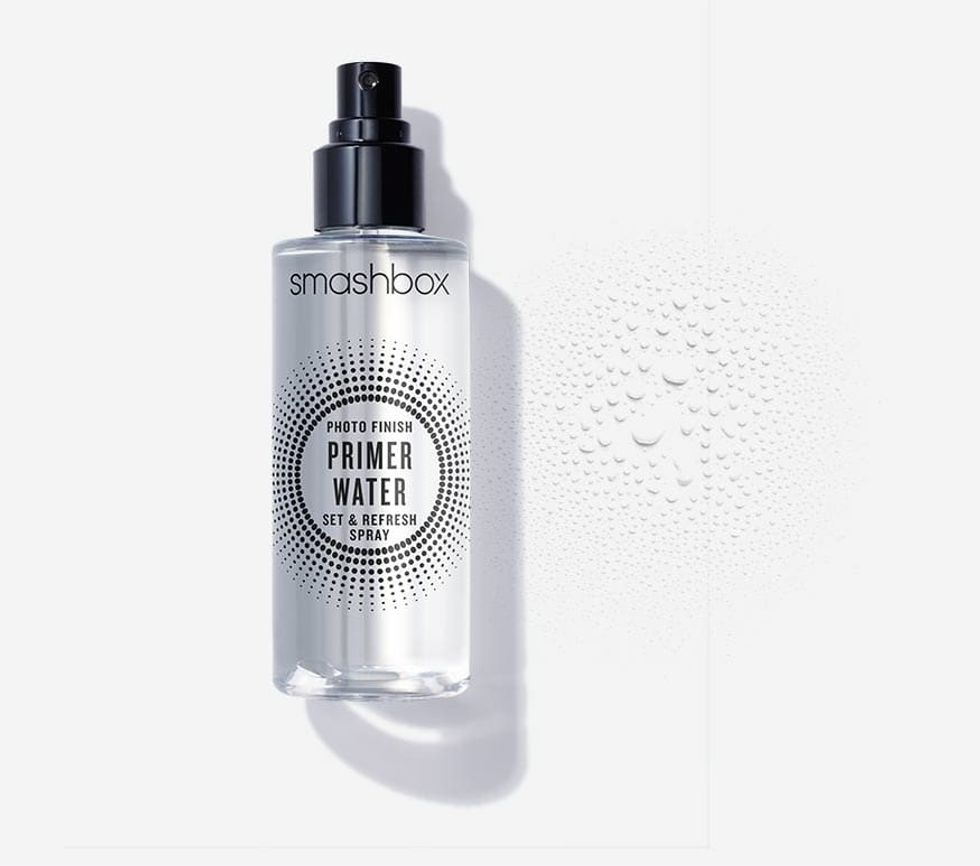
Now there are people who think primer in general is a conspiracy and not needed in any makeup routine, but I disagree. I find my makeup not only looks better but lasts longer when I take the 10 seconds it requires to put on some primer. My go-to the the Smashbox Primer Water ($32), a refreshing spray that will give your face a thin base to better apply any makeup. If the steeper price tag turns you off, try any of the Mario Badescu sprays ($7); they can be used as a primer and skin care.
Step Two: Foundation
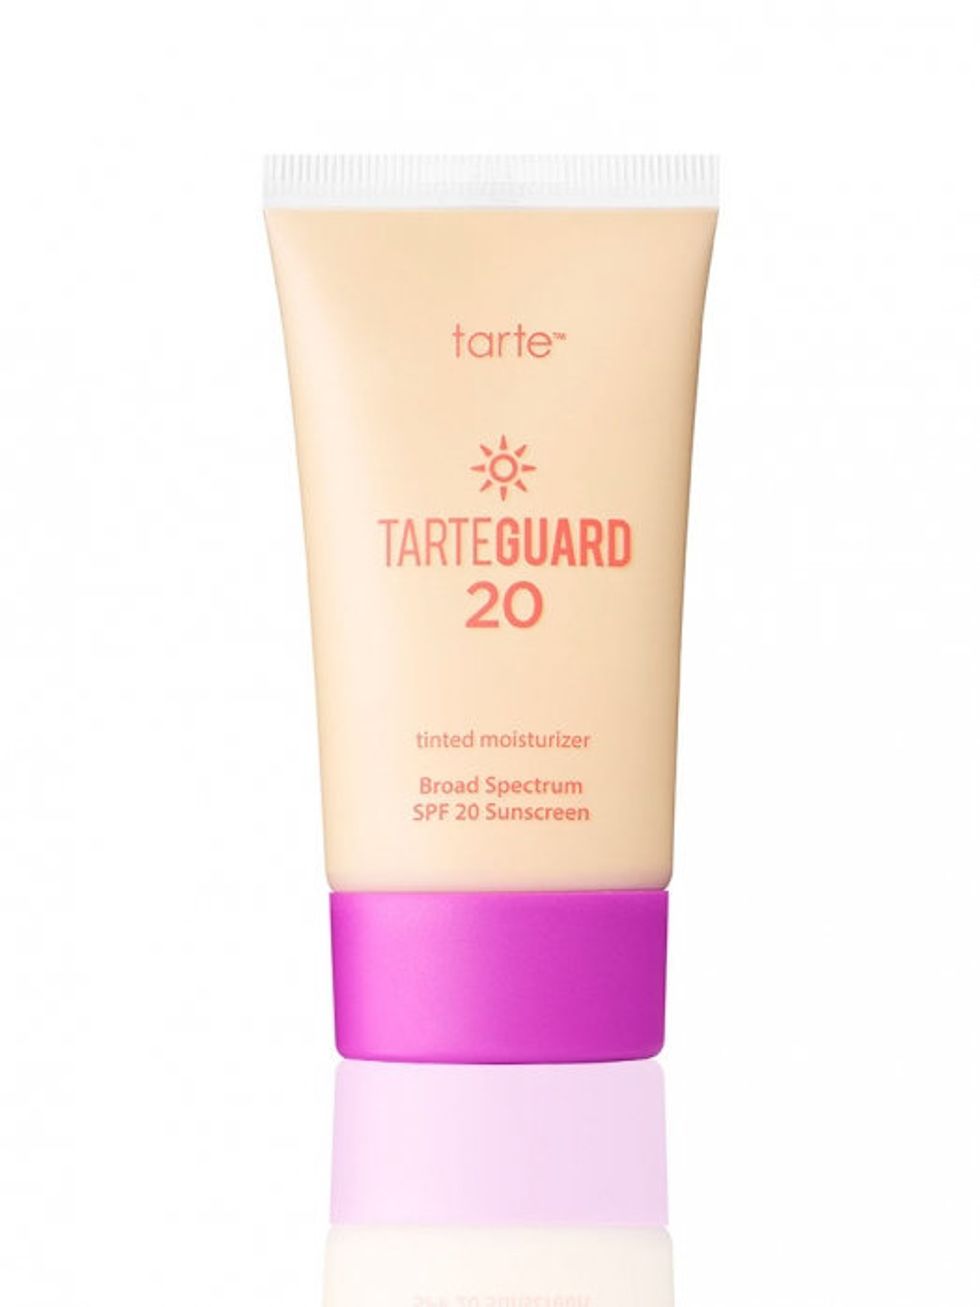
This step will vary depending on how much coverage you are looking for, but for this quick routine I recommend a product you can rub in with your hands, typical a BB or CC cream. Before my trip to South Africa I wanted a tinted moisturizer with physical sunscreen, not chemical. There are many articles on the differences between the two and benefits and cons if you are so inclined. The Tarteguard 20 Tinted Moisturizer ($36) was recommended and it quickly became my go to overseas when I needed sun protection with a little coverage. What I love most is that you can keep layering the product if a certain area on your face needs more coverage and it doesn't get cakey!While their shade range (only THREE colors?!!?!) leaves much to be desired, if you fit within the skin shades I would highly recommend. It Cosmetics makes Your Skin But Better CC Cream with 50 SPF ($38) using chemical sunscreen that I have used frequently with a newly expanded shade range. Covergirl, NYX and other drug store companies also offer these types of products at a lower price point.
Step Three: Concealer
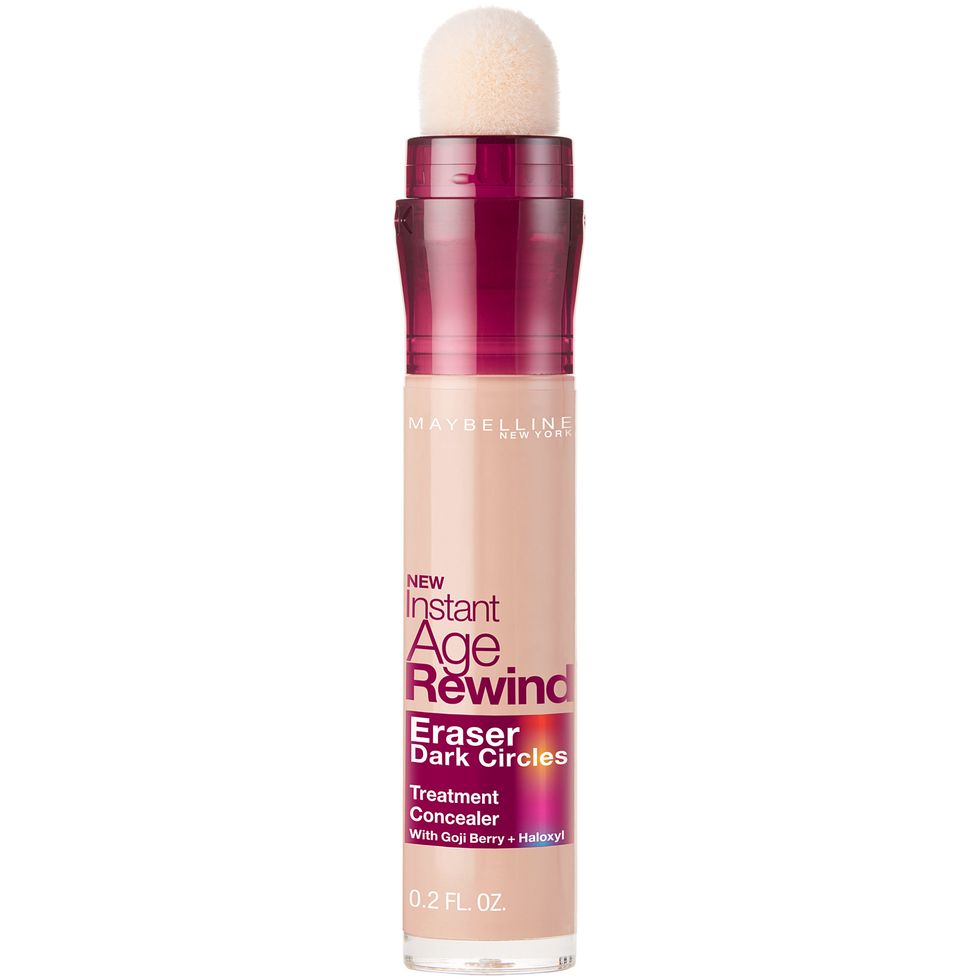
Now some people may be able to forgo this step if they are blessed with no under eye circles. I, however, am not that fortunate! My go to for a quick coverup of my dark circles is the Maybelline Instant Age Rewind Eraser Dark Circles Treatment Concealer ($9.99). The dome sponge applicator distributes the right amount of product every time, and I am able to blend it underneath my eyes using my fingers without it getting patchy. Another plus is it comes in the shade Neutralizer, which has a yellow undertone and is perfect to do a slight color correcting when covering up my purple eye circles.
Step Four: Setting the Under Eye Area
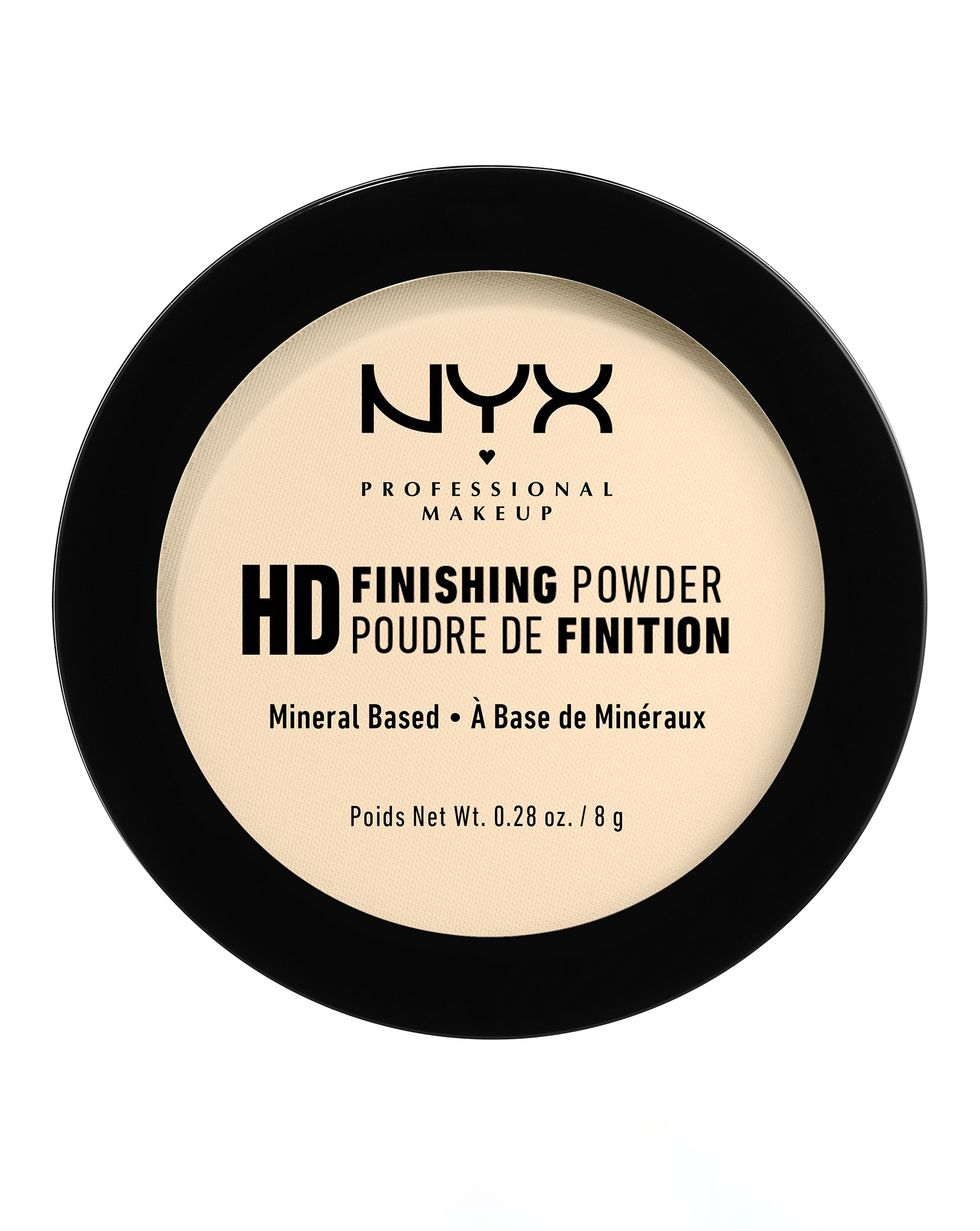
It is imperative when you are using under eye concealer to set the product with a powder so it does not settle into your creases! I've found over the years that the High Definition Finishing Powder by NYX ($10) has the perfect finely milled texture to set the concealer without making it look dry or powdery. Again, I love that they have a yellow shade in the line so I can do some additional color correcting with my dark circles. They also have a translucent shade for those who do not need that extra color in their powder.
Step Five: Setting the Face
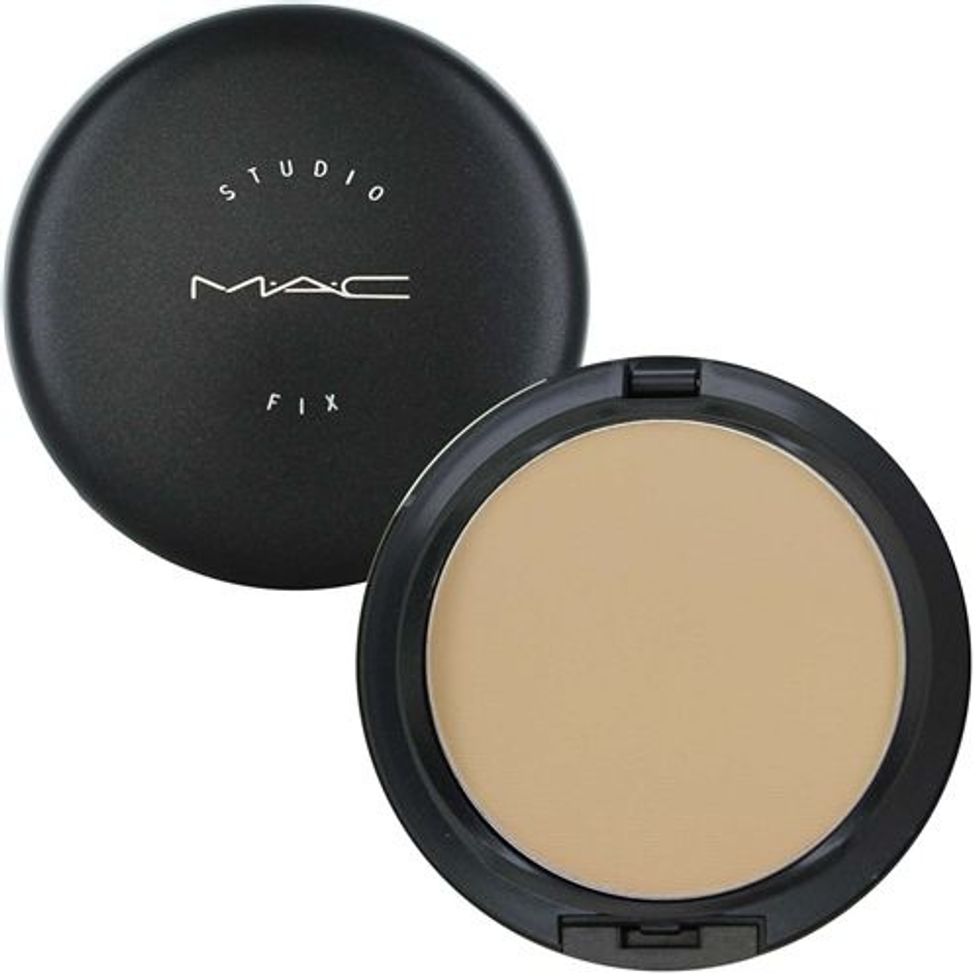
Now if you have dry skin you may steer away from this step as to keep the added moisture on your skin from the foundation. For those like me with normal to oily/combination skin we definitely need to set out face to keep out skin from getting oily! *That's not to say that those with dry skin can't use powder, you do what works for you!* I like to get some additional coverage by using a colored powder, specifically the Mac Studio Fix Powder Plus Foundation ($30). This powder keeps my foundation set for the whole day and doesn't settle into my face lines. I also switch it up with the Covergirl Vitalist Healthy Setting Powder ($11.99) for a more affordable option.
I have very oily skin, so I always take extra precautions to make sure my makeup doesn't become oily throughout the day. After using the skin toned powder I will follow up with the Rimmel Stay Matte Pressed Powder ($3-$7) in the translucent shade to further control my oily skin.
Step Six: Blush
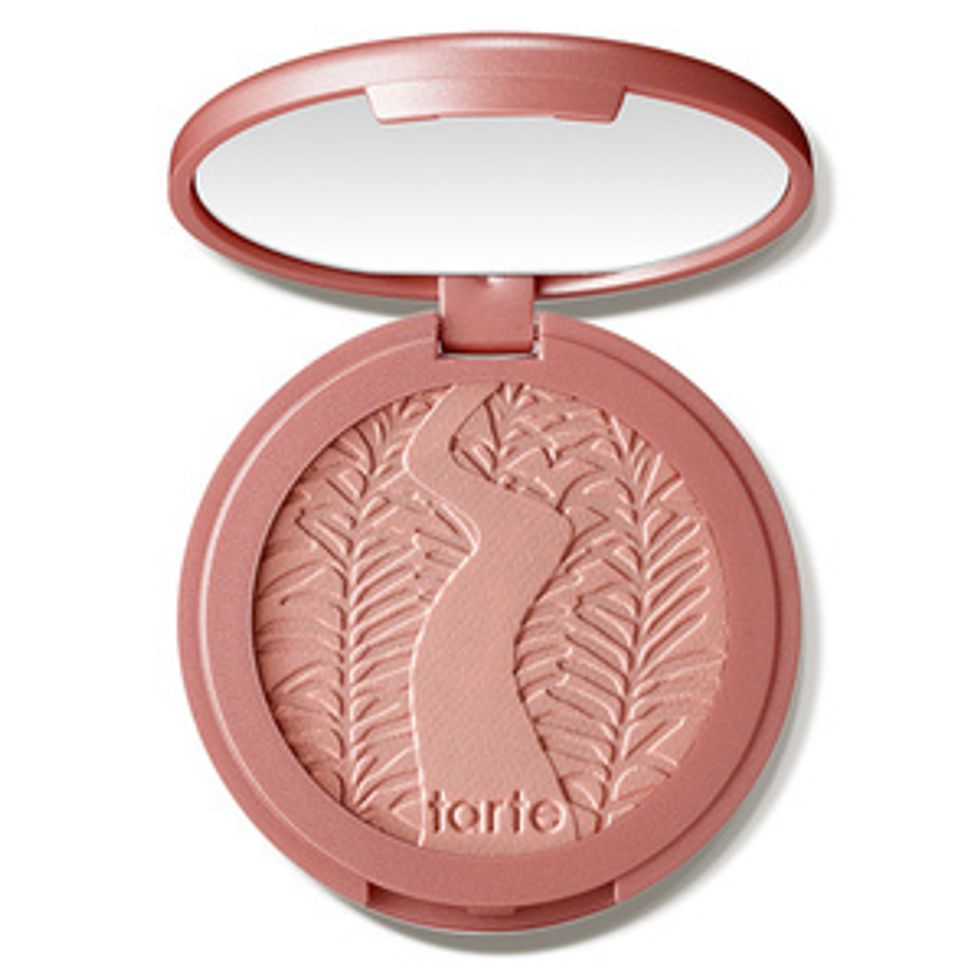
When I'm in a rush I will forgo the bronzer and highlighter but always take a few seconds dab on some blush. I find when you just put on foundation and concealer you create a flat looking base, void of any 'natural' color or contours. For me, the Taste Deluxe Amazonian Clay 12-Hour Blush ($15) in the shade Exposed adds just the right amount of fleshy pink back into my face. I also have some Milani Baked Blushes ($7.99) that do a fabulous job at adding that color back in as well.
Step Seven: Setting Spray
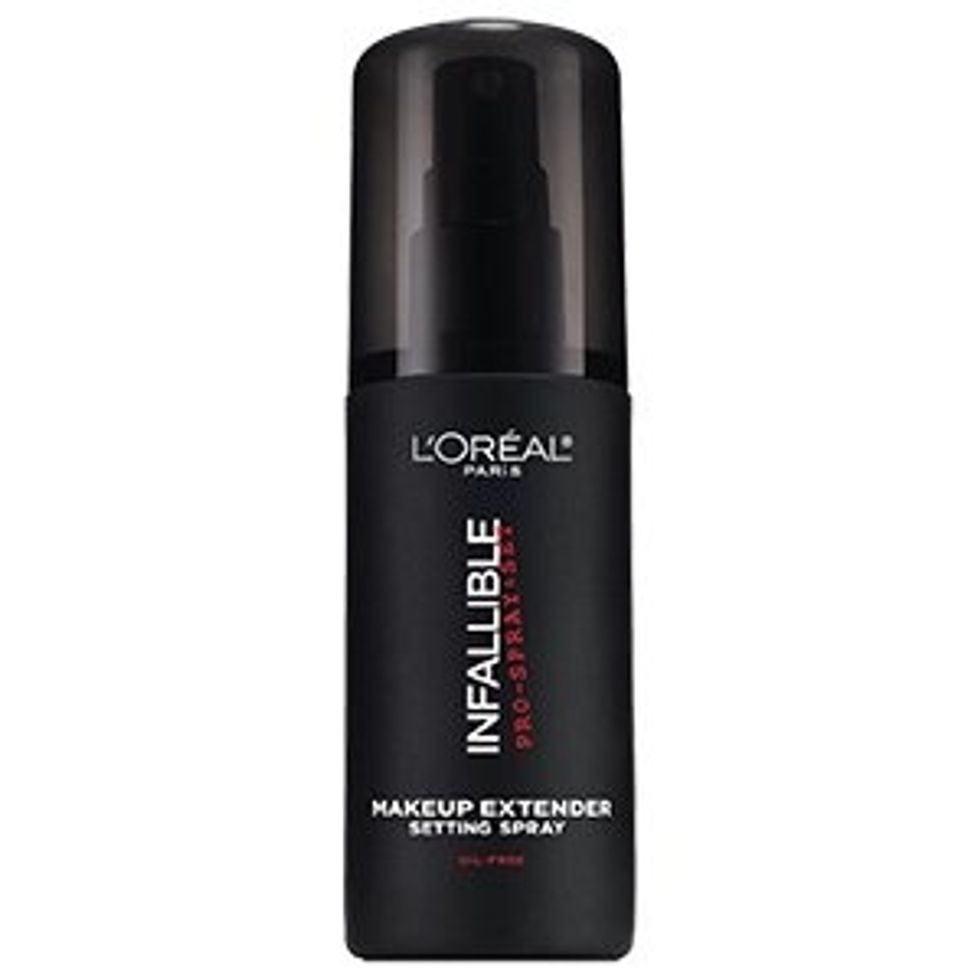
Another step that will literally take you two seconds is setting all of your makeup with a good setting spray. This will help keep your makeup intact and looking good all day, while also keeping it in place. I've been a fan of the L'Oreal Indallible Pro-Spray & Set Makeup Extender Setting Spray ($16.99) for awhile, but not so much the price for being a drug store product. A cheaper option that is just as good is the Wet n' Wild Photo Focus Natural Finish Setting Spray ($4.99), that also comes in a matte version I am eager to try!
Step Eight: Mascara
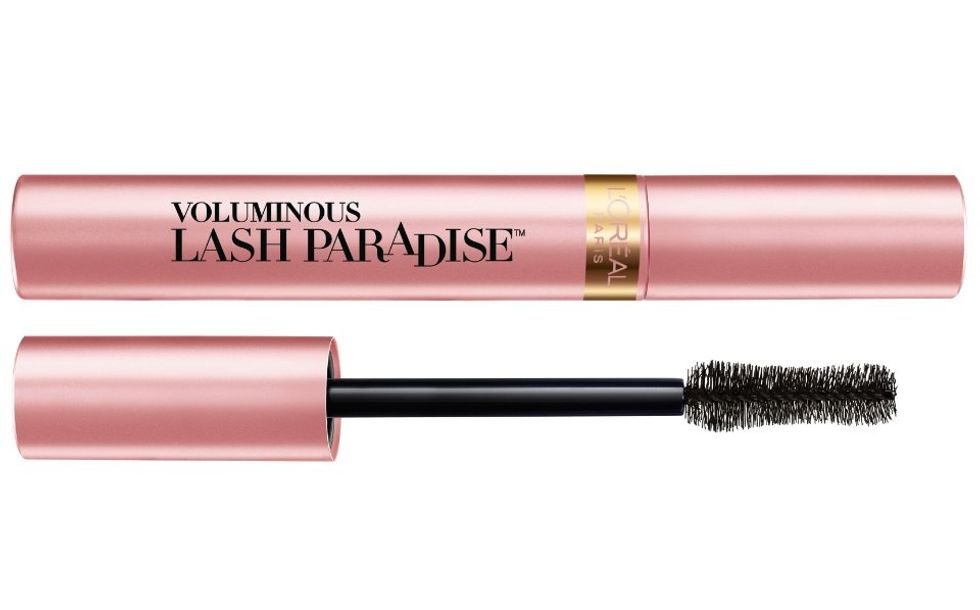
Now, even the most amazing makeup is going to look super weird if you forget to put in mascara. I've recently been using L'Oreal's Voluminous Lash Paradise Waterproof Mascara ($9.99) as my go for quick makeup days. There has been a ton of hype surrounding this mascara and a lot of people like it. I was a hard core L'Oreal Telescopic Carbon Black Mascara user, but due to the shape of my eyes if the mascara I'm using isn't waterproof it will smear all under my eyes. So I've made the switch to Lash Paradise and have been happy so far!
Step Nine: Lips
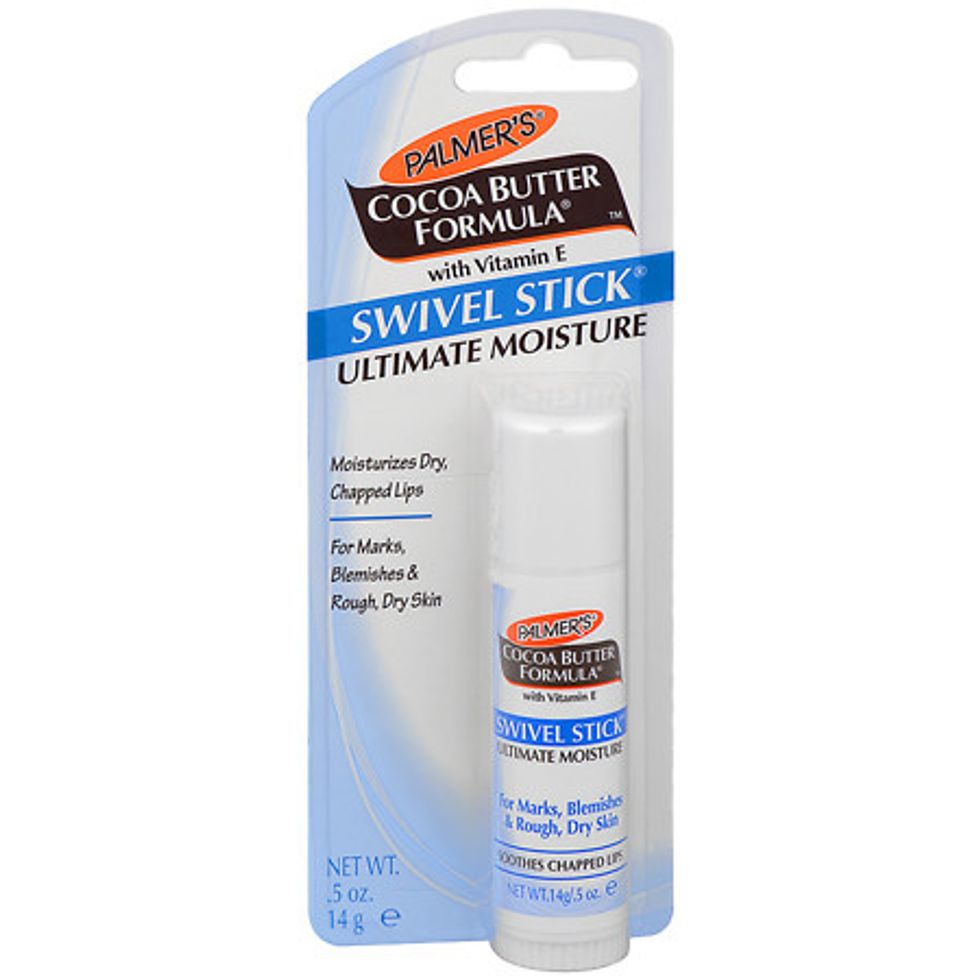
Even before moving to the frigid Wisconsin territory, I've been a chapstick girl through and through. Specifically a die hard fan of the Palmer's Cocoa Butter Swivel Stick ($3.50) since before 5th grade. The glue stick like packaging made for some funny moments in grade school where people thought I was putting glue on my lips not chapstick. With bitter weather already upon Marquette's campus I carry this around everywhere to protect my lips from getting cracked due to the cold air. It's the most low maintenance finish to this makeup routine and can obviously be switched out for any lip product of your choice.
There is it! A nine step makeup routine I swear will take you less than five minutes and leave you ready to face whatever comes your way. Hopefully this gives you some inspiration and tips on getting ready in those crunch time moments!

