Are you tired of the same old same over-priced ornaments? Are you looking for cute ways to make your ornaments more personal? Or easy crafts to make with your children or students? Or cheap presents for your relatives if you're on a budget this year. Well here is four easy, cheap, and cute ways to make the perfect ornaments for your Christmas tree! All you need are clear plastic or glass ornaments and some crafting supplies!
1. Make Ornaments From Melted Crayons
For this you're going to need crayons, a hair dryer, and a bowl of ice water. All you need to do is take off the silver cap and take the crayon colors you want to be melted inside. Break a small piece off each of the crayons you want to use and drop them inside and put the cap back on. Take the hairdryer and turn it on about 6 inches from the ornament, roll the crayons all around the ball as the hairdryer is melting them, until the ornament is completely covered. You can also dump glitter inside with the crayons to give it a sparkly effect.Then place the ornaments into the bowl of ice water so the wax can harden. If you want you can also glue things to the outside, like bows, bells, sequins, pipe cleaners, or glitter. Or paint on the outside to add more of a decorative look. And then, presto, a colorful ornament!
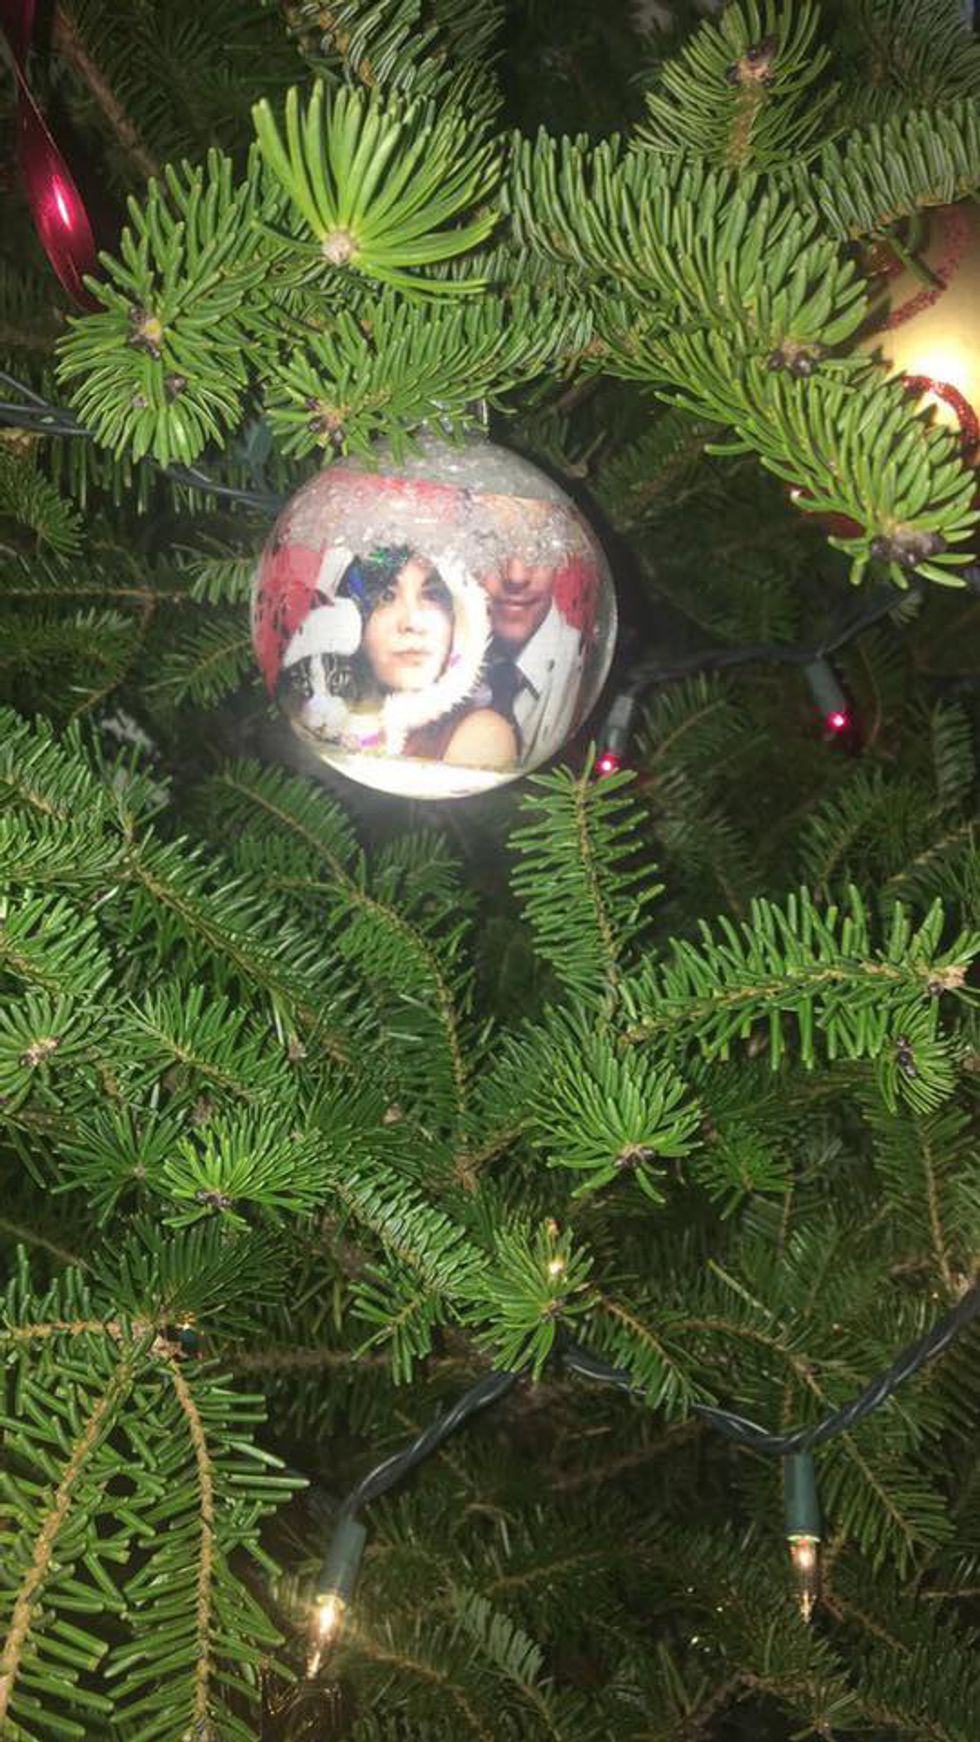
2. Make Ornaments Out Of Pictures.
Print off small wallet sized photos for your ornaments! Then you can either fill the ornaments up with oil (like coconut oil, or olive oil if you want it to have a more vintage feel) and other decorative items to float inside with the picture (like glitter, bells, sequins, etc.) and then seal the cap closed. You can pain the outside if you want or add a cute ribbon! Or, you can fill the bottom of the ornaments with sand (white or colored) and other items to decorate the inside with, like jewels or bells), and then seal it shut and decorate the outside if you want! And then boom, a beautiful Christmas ornament for you or your family members!
3. Make Pressed Ornaments Out Of Flour.
This recipe is super easy! All you have to do is mix 1 cup of flour, 1/2 cup of salt, 1/2 cup of water. Once it's mixed it should look similar to clay like dough substance. You can take it and form it into the shape you want, and form any kind of print you want into it. Make sure you leave a hole at the top for the ribbon to fit through. Once you have it decorated to your liking put it on a baking sheet and bake it on 250 degrees for 2 1/2-3 hours, or until it is completely dry. Then take it out and set it to cool. Once it's cool, you can paint and decorate it to your desired effect, and then loop a ribbon through it, and then voila, it's finished!
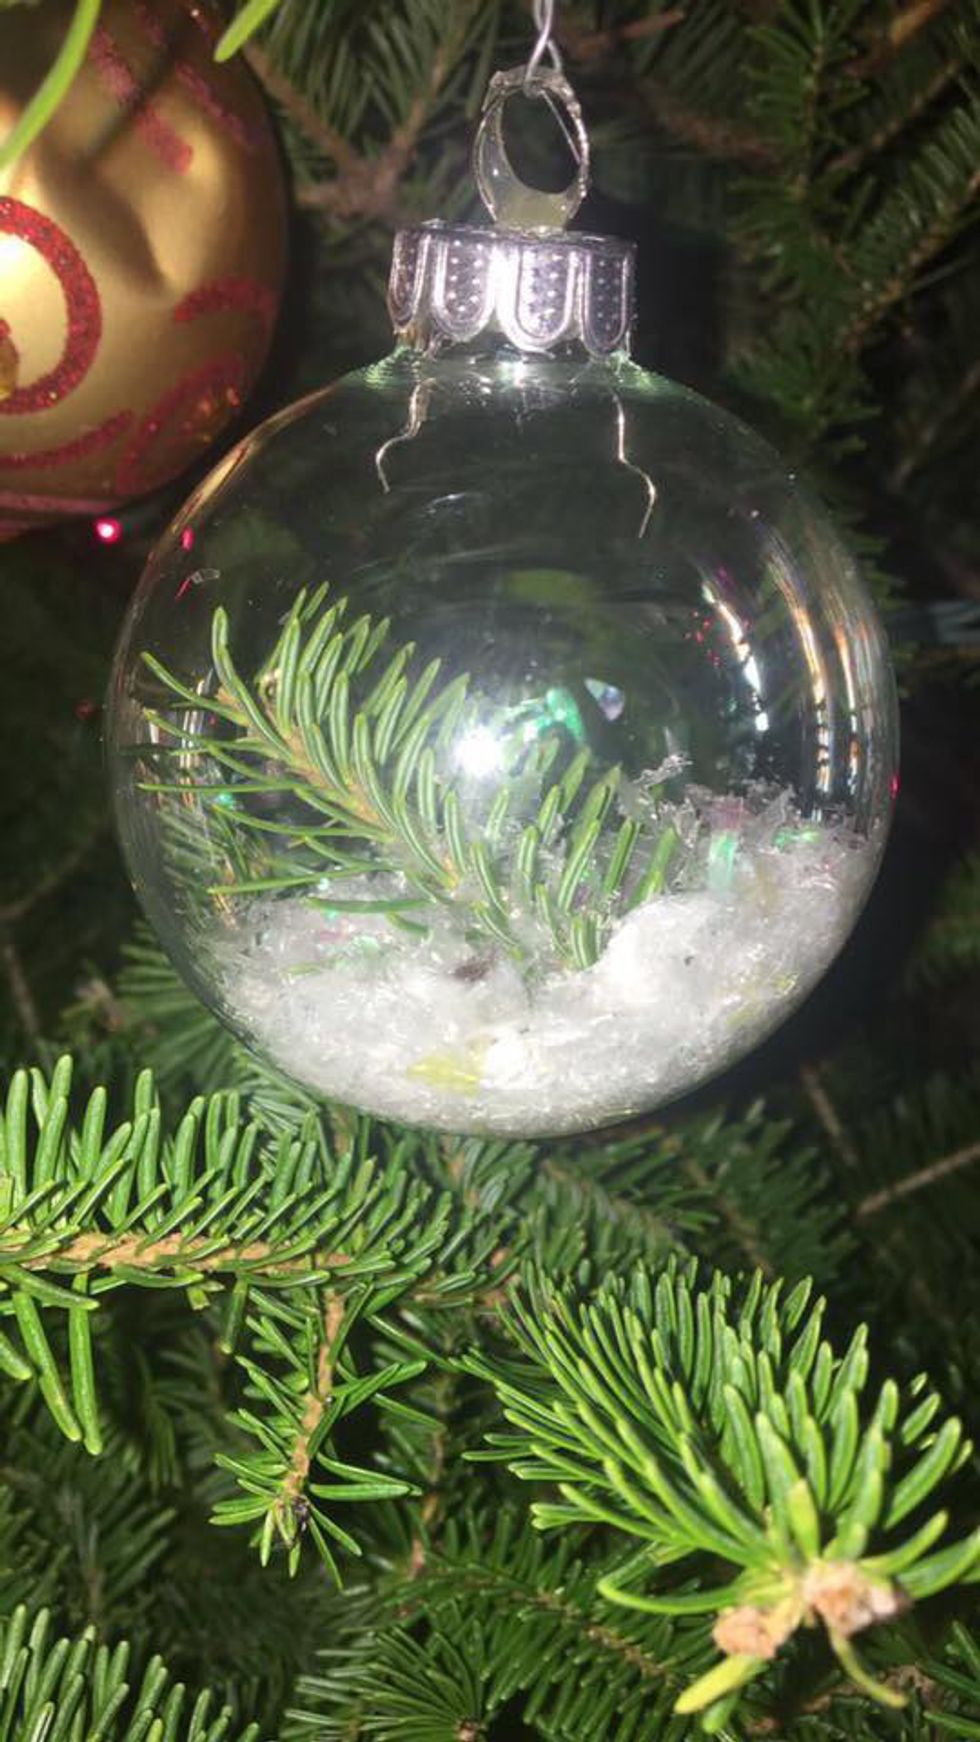
4. Ornaments Made Out Of Sand.
This one might be the easiest out of all four. All you need is some sand (white or colored) and whatever decorative bits you want to be inside - bells, tinsel, garland, whatever you're feeling. Make sure you poor the sand in first to create a base for the ornament. You may want to use a funnel for this process. Once the sand is all set inside, drop in the other decorations and then seal the ornaments shut. Then you can decorate the outside to your liking. And then ta-da, a simple and elegant tree ornament!
Decorating your Christmas tree shouldn't take a lot of time or money, and these four DIY tricks are the perfect examples of that! And they're just so cute, how could they not create some festive cheer?!


