
The 1950s was a glamorous time for makeup. Thick, bold eyebrows with a nice red lip was a go-to look for most girls. Contouring was a no-no and so was dark, edgy eye-shadows. A softer, more feminine look was preferred and whether you realize it or not ladies, fifties makeup is underlying the everyday makeup tricks you use today. Winged eye-liner for example, that started in the fifties. It wasn't as dramatic as it is now, but it was around.
I've done a lot of research on vintage makeup routines and tricks, and the 1950s is still my favorite look. It's simple, frames the face, and looks nice on every face shape. I'm going to give a step by step tutorial on how I "put my face on."
1. Base/ Foundation
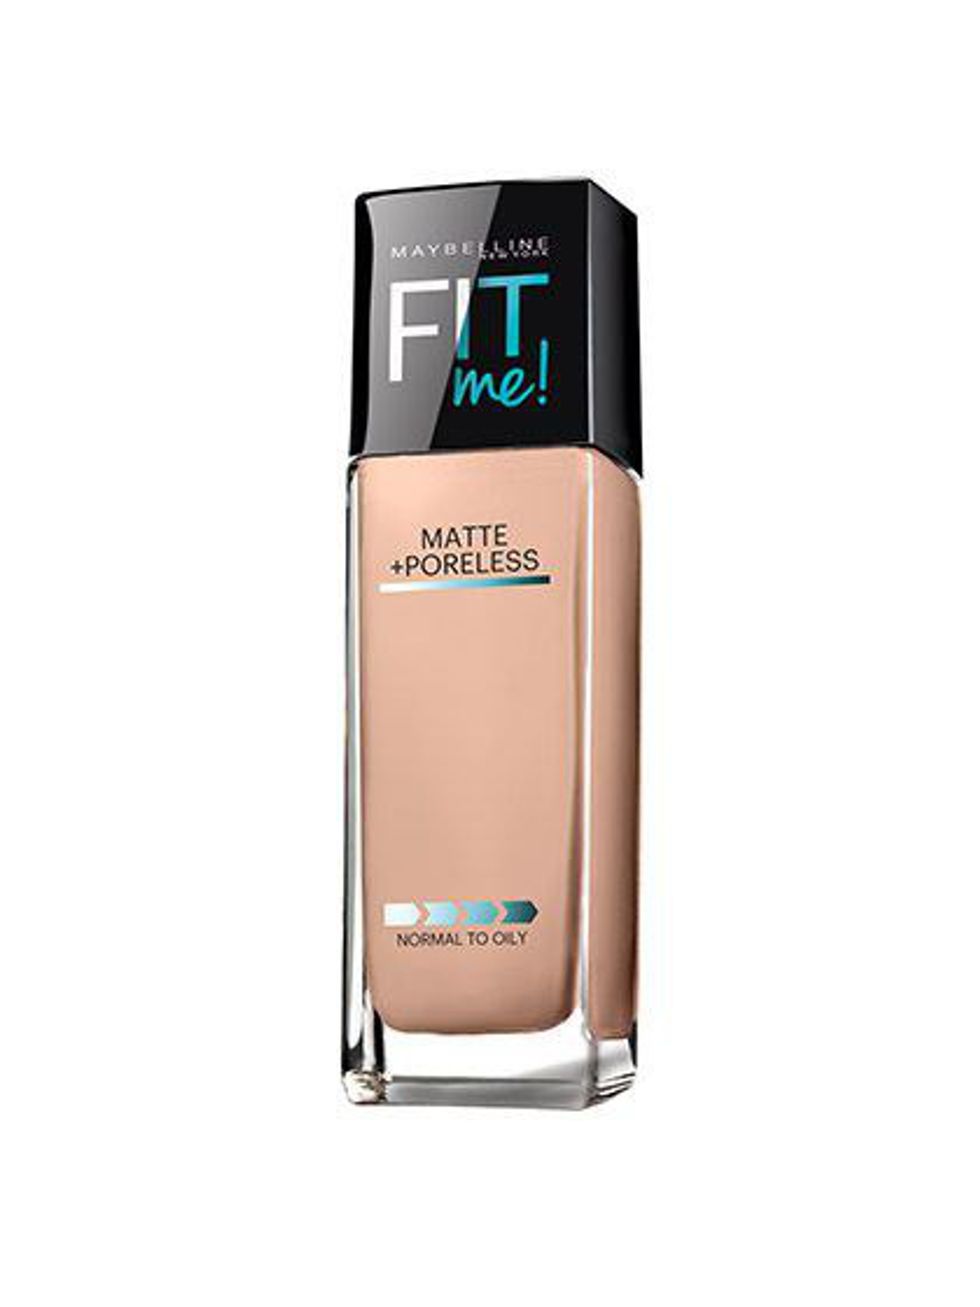
If your face is prone to shininess (or has acne/acne scars) this is the foundation I recommend. It covers scars and other blemishes while giving the face a nice, pore-less look. If your skin is blemish free, or nearly so, just put on a little powder foundation.
2. Eyebrows
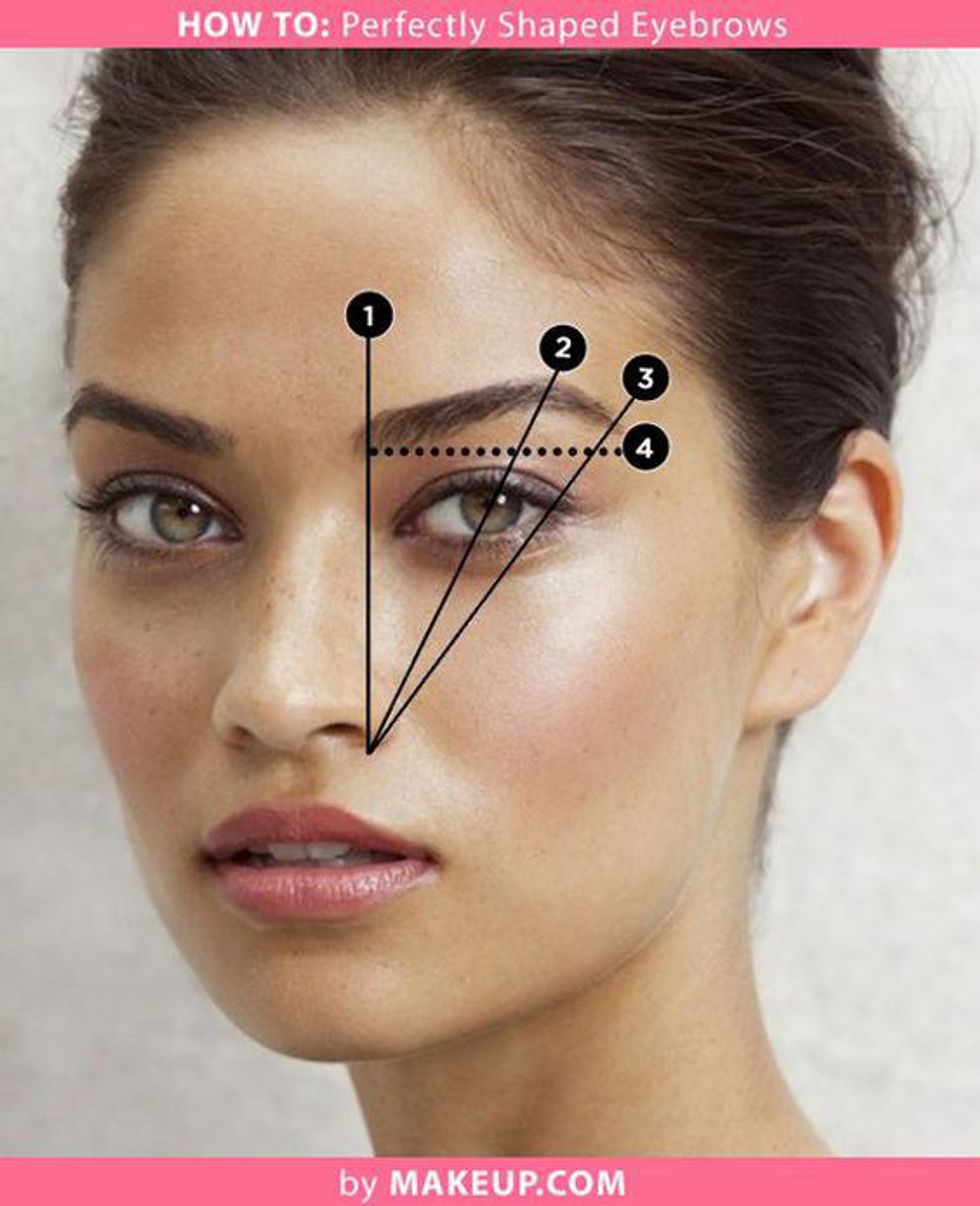
Filled in and nicely shaped brows were also important in the fifties makeup routine. If you don't know how to pluck (shape) your brows, the link on the above picture will take you to a great tutorial. Once you have your eyebrows shaped, take a brown or black eyeliner pencil (brown is for light haired girls, i.e. blondes, reds, and browns, and black is for dark brown/black haired girls) and lightly outline the brow. Be sure to follow the natural brow line. When you've done this, use the pencil to fill in the rest of the brow and use a clean mascara (or brow) brush and sweep it over the pencil. This gives the brows a natural, filled in look.
3. Eye-shadow
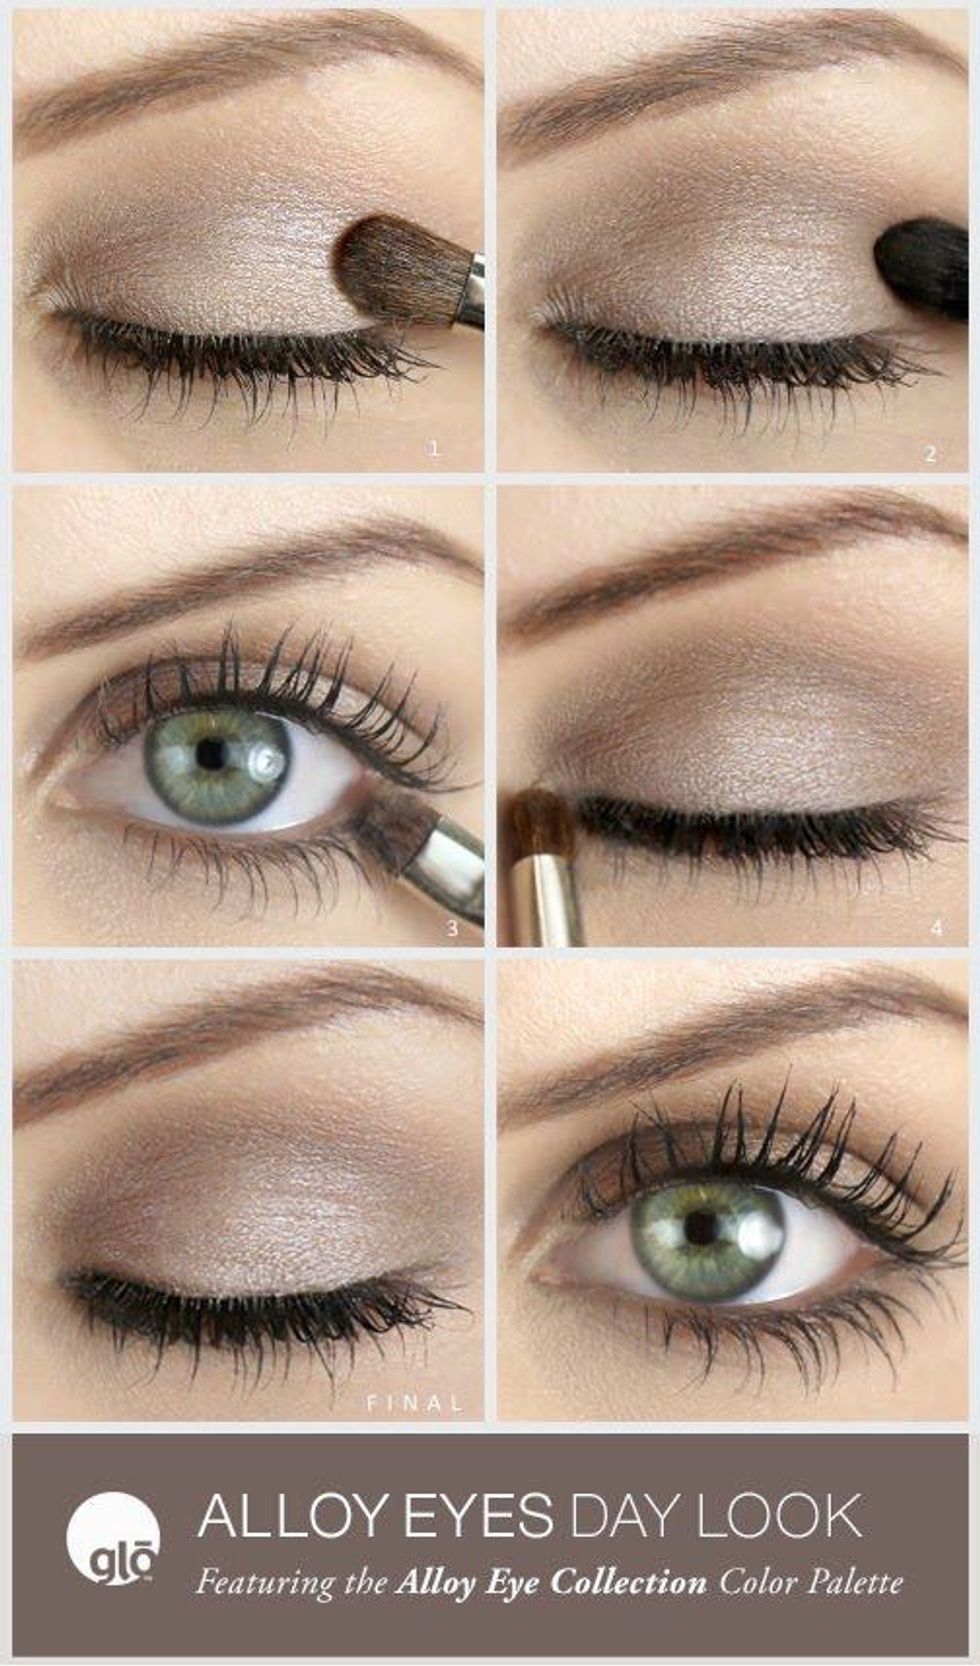
Eye-shadow is another important element in this makeup routine (although most days I just use eyeliner) and it's quite simple. Because this style brings focus to the eyes in a more natural way, only one or two colors were used on the eye. One shadow color was used for everyday looks, while two were used for "evening" looks. Bright and unnatural colors were not often used, so stick to more neutral colors, and always ones that compliment your eye color.
4. Eyeliner/Mascara
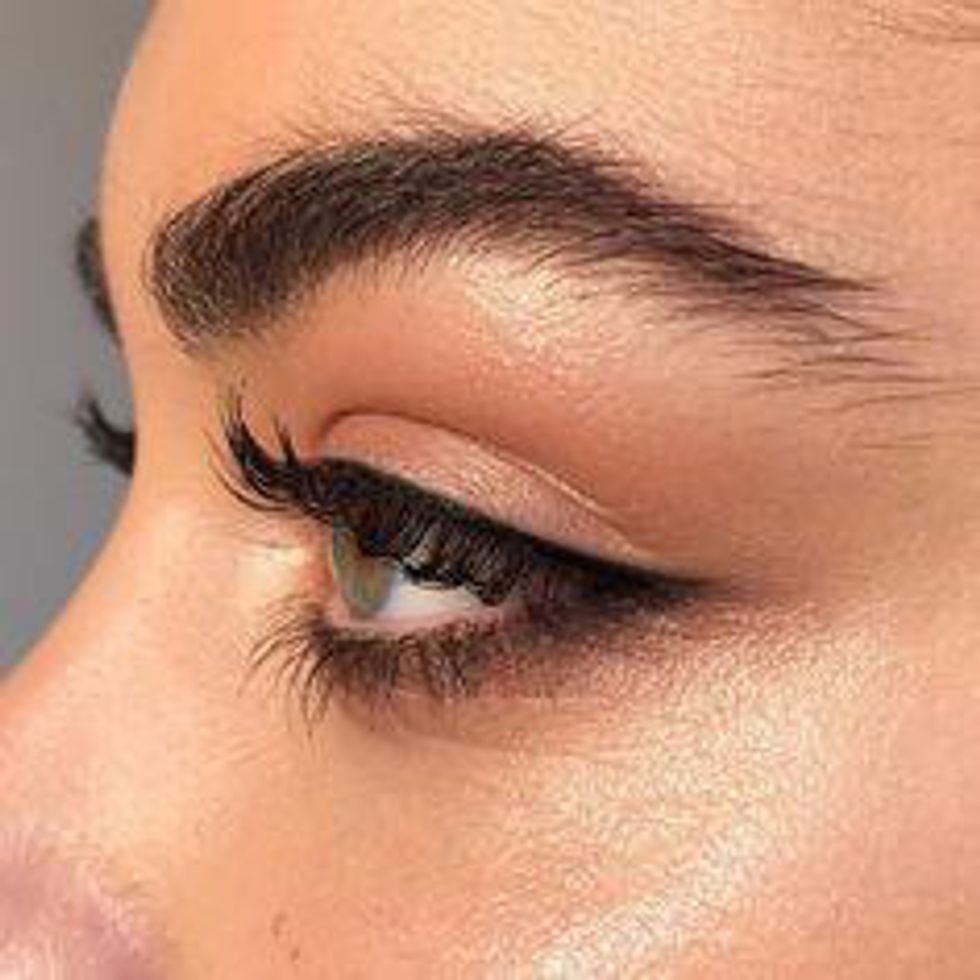
Unlike today's eyeliner trends, liner was used as minimally as possible. You want to get your liner as close to the lash line as you can. If you want a bit more drama for your evening look, you can add a thin, tiny wing with your liner. As far as mascara goes, don't overdo it. You want your lashes to look long and full, but not fake. Just put enough on to accentuate your eyes.
5. Blush
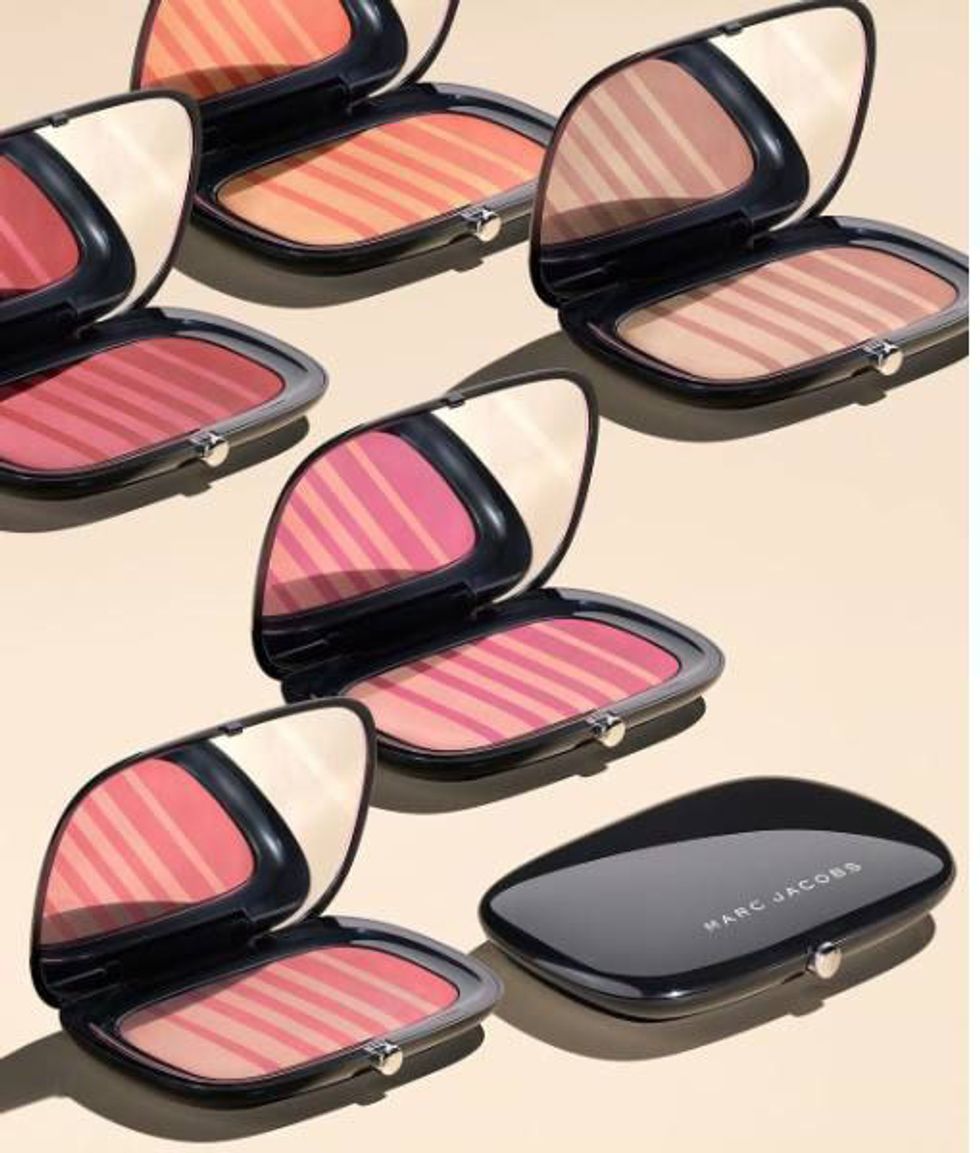
When it comes to blush, only three colors were typically used: red, rose pink, and coral. What color you use all depends on your skin shade. If you aren't sure how to match a shade, go to your local makeup store and ask for help. Or at the very least, Google it. Once you have your shade you need to know where to apply it. This depends on your face shape. Like before, if you don't know how to do this, Google a face shape chart and how to (lightly) apply blush according to that. It's really very easy and can be done in just a few minutes.
6. Setting Powder
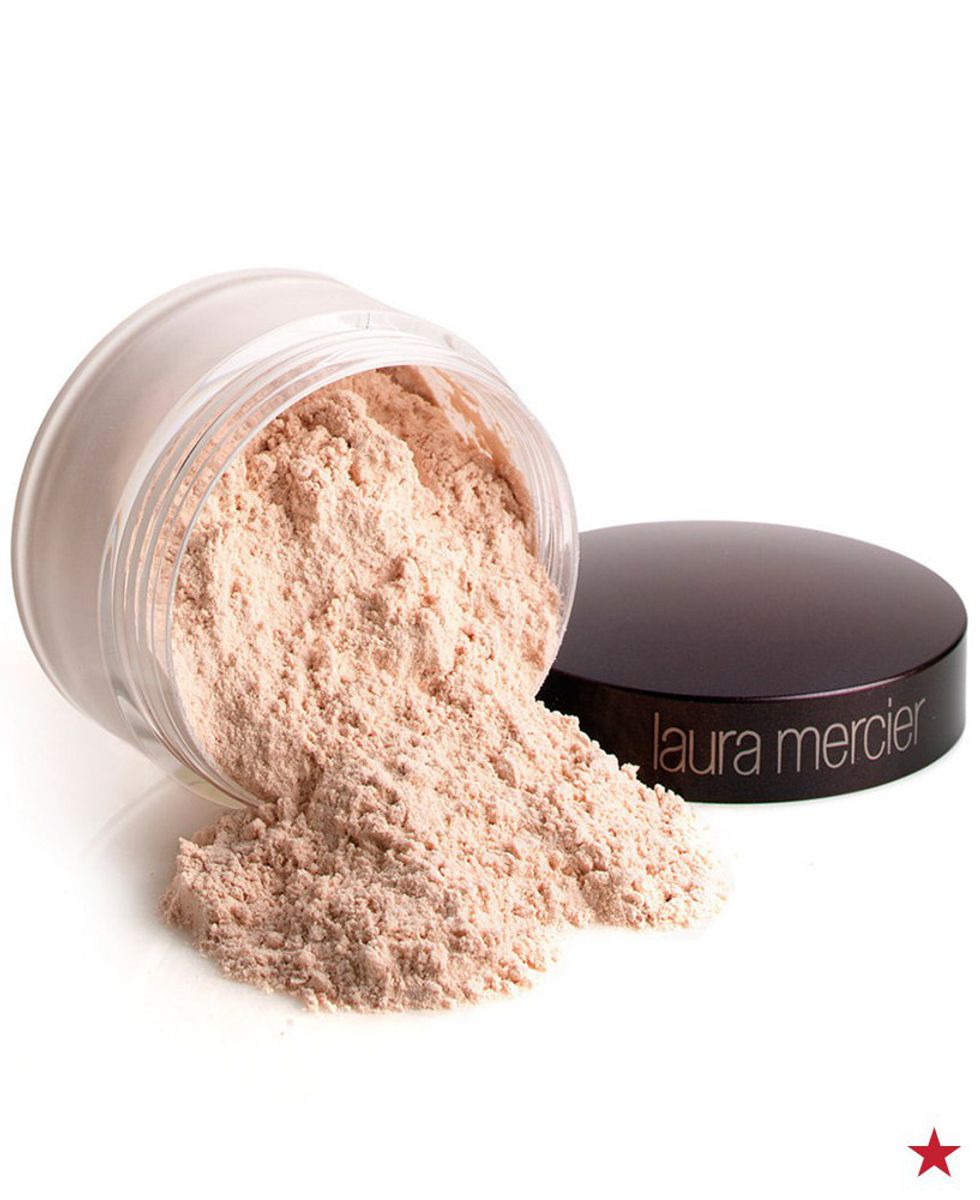
Although this was a step you couldn't skip back in the day, I make this optional. I rarely use it myself but if you want to use it in your routine, you can. Like blush or powder foundation, you want to put this on lightly. Once it sets for a minute (literal 60 seconds) take a clean cotton ball and gently remove excess powder with downward sweeps.
7. Lip
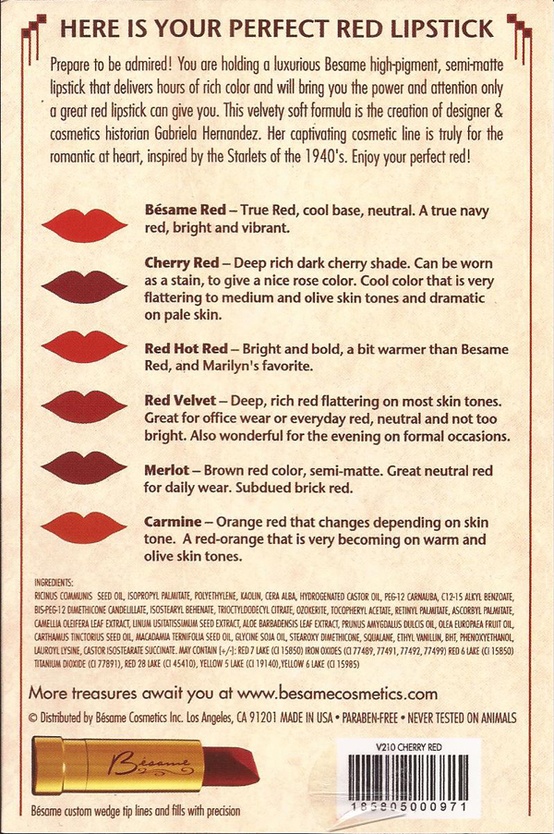
Like your blush, lipstick all depends on your skin tone. Lipstick colors usually ranged (in fifties makeup routines) from pale pink to red. So, depending on what you feel like putting on, you can wear pink, coral, or red. Despite what some people say, EVERYONE can pull off a red lip. It's just all about skin tone and what shade of red matches yours. Hair color also plays a part. If you're a light haired girl, pale pink/coral colored lipsticks would look good on you. Vice versa, if you have darker hair, you should probably stick to red lipstick.
If you're a visual learner, here's a link to a vintage makeup how-to. Hopefully you found this tutorial helpful, or at the very least, entertaining and informative.