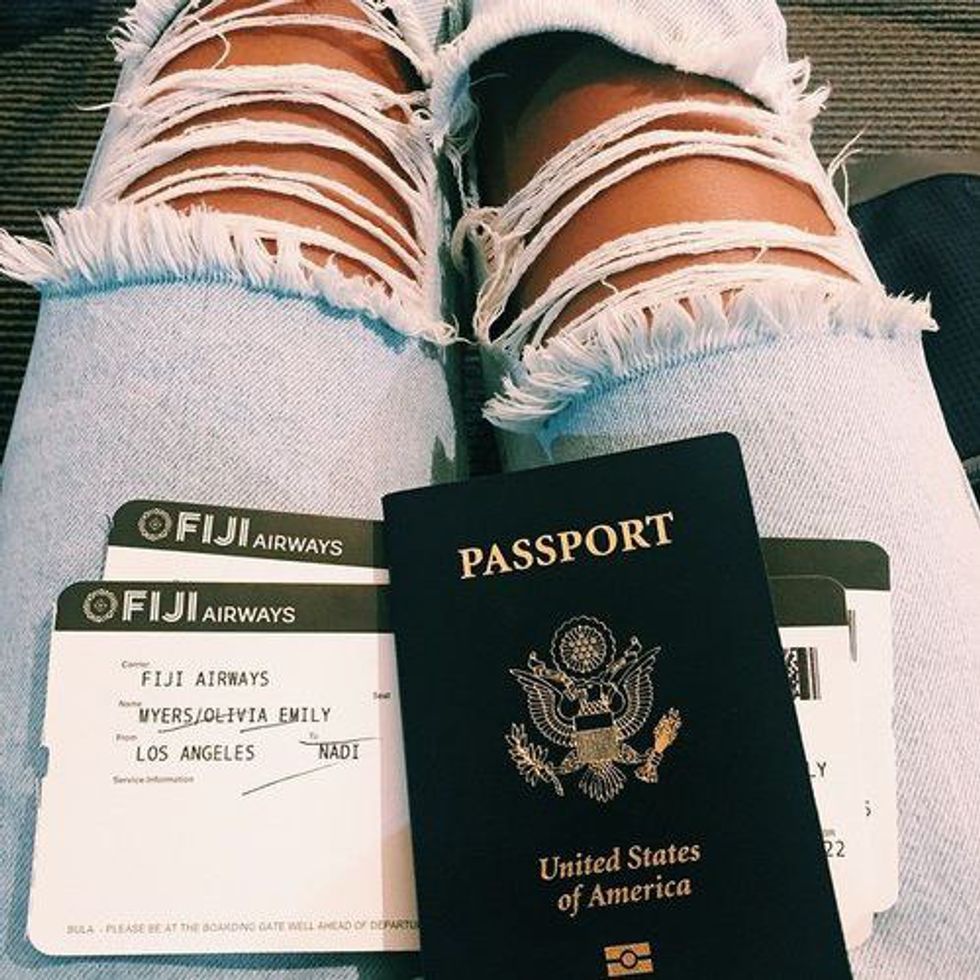
Studying abroad can be a life-changing experience, but filling out all of the paperwork beforehand can be a total buzzkill. Do I really have to fill out another medical form? Aren't my confirmation email and passport enough proof that I'm attending school abroad? Not to mention that if you make a mistake or have a question, the staff at the consulate are almost impossible to get ahold of.
France especially can be one of the trickiest countries to travel to in terms of paperwork. Not only do you need a Visa, but there are very specific details that must be followed. If done correctly, the Visa process can be super easy and effortless. Here are 13 things you should expect when applying for a long-term student visa in France.
1. If you don't already have one, get a passport.
If you're even slightly considering going abroad, get a passport immediately. You need a passport to fill out most of the documents, and getting a passport application approved can take a few weeks.
2. Apply through Campus France.
Registering with Campus France is part of the Visa process. You basically need to create an account with specific information, send a money order and wait for a confirmation email telling you to proceed with booking a Visa appointment. This process can take awhile, and if there are any errors in your information you'll need to adjust them online. This should be done as soon as possible so that you can make your Visa appointment.
3. Find your local consulate.
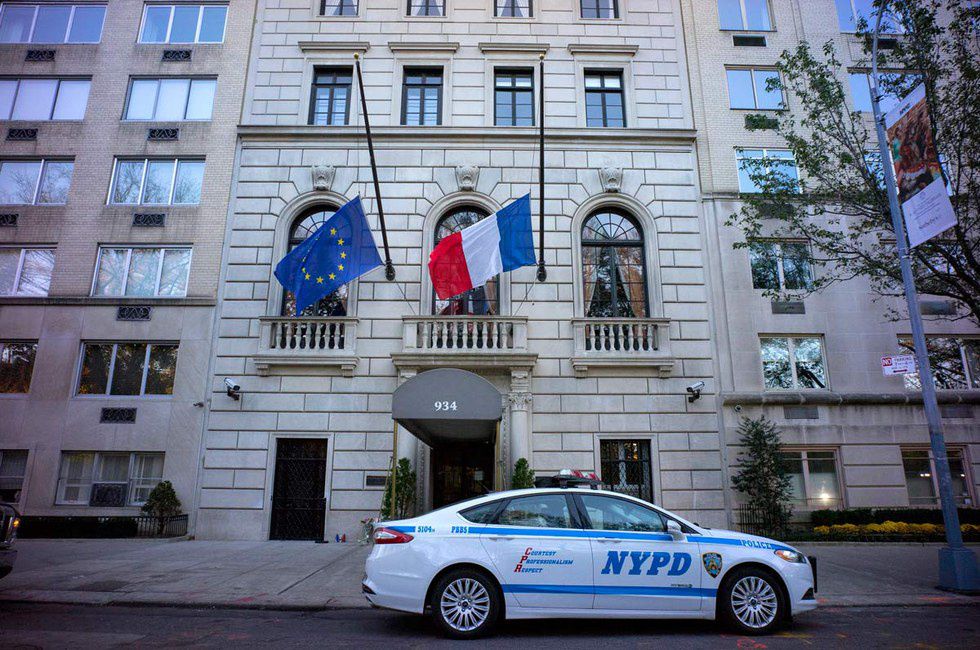
4. Make your Visa appointment.

5. Print the confirmation sent to your email.
You won't be able to walk in the door without your appointment slip, so make sure you print the page.
6. Make sure you have all of the documents listed on the website.
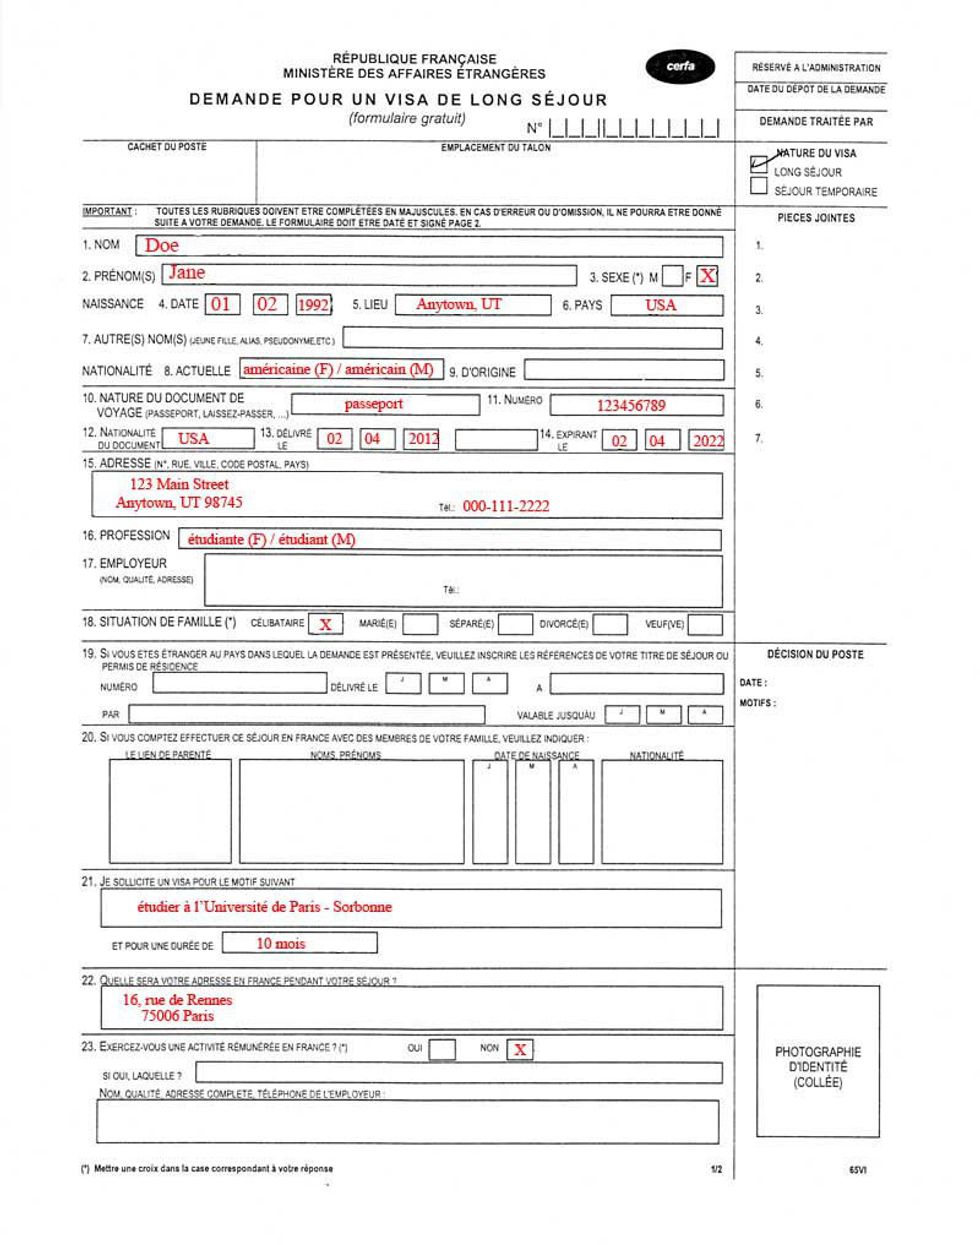
7. Bring two separate folders.
You'll need original copies and photocopies of every document or identification that you bring. The easiest way to keep track of the materials is to put copies in one folder and originals in another. Separating materials by paperclips or Post-it notes helps as well.
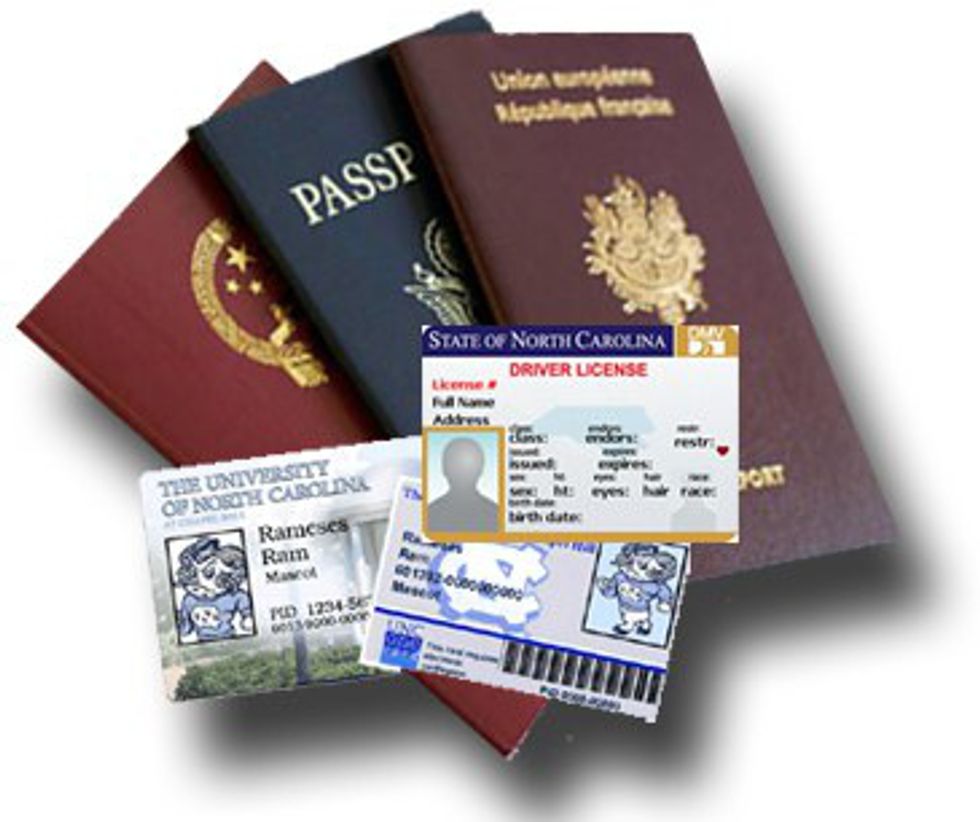
8. Bring any form of ID that you have.
I brought my social security card, birth certificate, student ID, license and passport. I didn't need anything but my license and passport (and copies of both), but I was prepared just in case.
9. Know the address and show up early, but be prepared to wait outside.
I showed up a half hour early and there were 3 people standing outside waiting to be let in before me. By the time I got past security, it was already the time my appointment was scheduled for. I also had to walk another block over because in NYC there is a building specifically for Visas and another that deals with passports.
10. Bring a book.
All phones must be turned off completely before coming inside, and the wait inside can be long. Bring a book, magazine, etc.
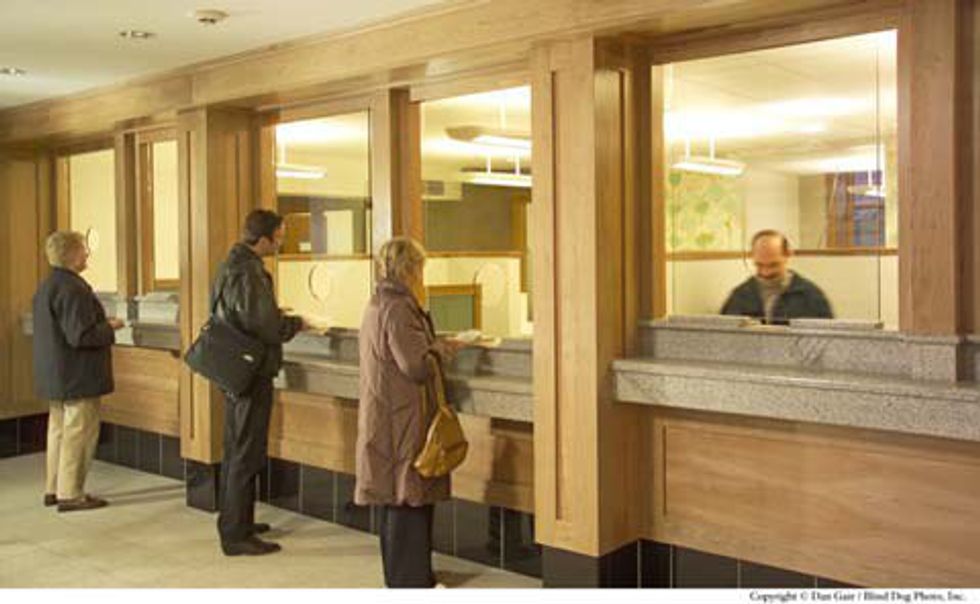
11. Expect to be called up twice.
There are two windows -- at the first, I only showed my IDs, Campus France confirmation pages and my acceptance letters. I also paid the transaction fee of $56, which they expect in exact change or by MasterCard or Visa. I then had to sit back down. Once they called me up again, I showed the rest of my information such as my flight itinerary, notarized bank statement and anything else the website specifically asked for. In my case, I didn't need any additional documents. I was free to leave after.
12. Don't expect your passport back.
In New York, passports must be picked up the following week between 3:30-4. Check your local consulate to see how you'll receive your passport back.
13. Don't stress, just be prepared.
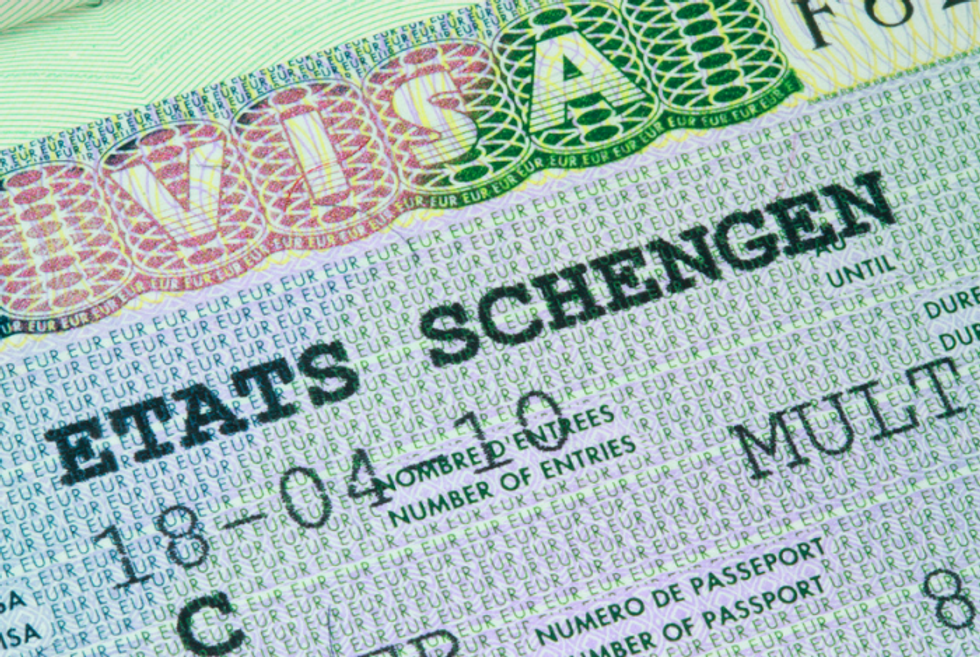
Don't let the paperwork take away from your excitement for this amazing experience. Be prepared and book your flight! You're halfway to France already!


