So you wish you were a good photographer, huh? Yeah, me too.
In all seriousness though, improving the look of your photos involves only a few simple steps. If you're a beginner, this list will be a great way to learn the basics.
1. A Good Camera Is Important
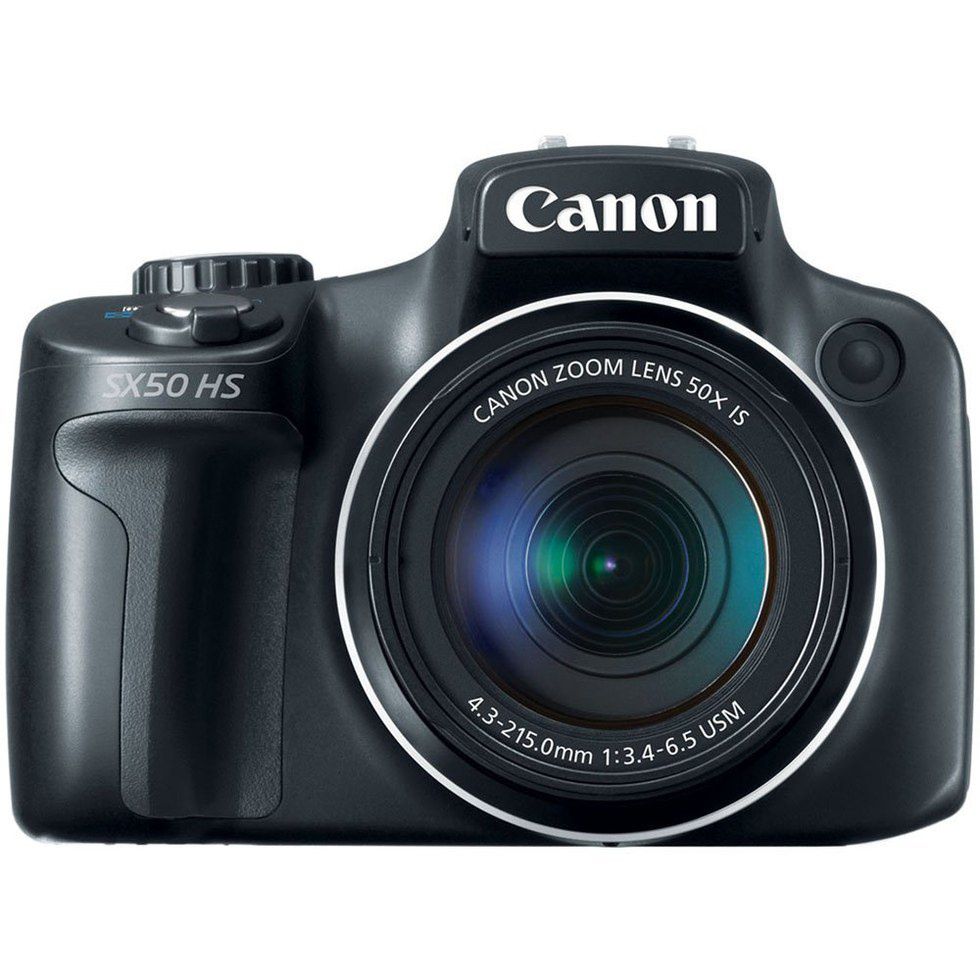
Sure, you can take some "snappies" on a little wind-up camera from Wali-World, but how far will that take you? The benefits of having a good digital-SLR camera are phenomenal. Good brands include Nikon, Sony, and (my personal choice) Canon.
The power of the lens is critical. If you have more than on lens, be sure to study up on the the strength. You don't want to try to use a 50mm Wide Angle lens when you're trying to get a picture of that cute little chipmunk you've seen running around your yard. That ain't gonna fly--of course, chipmunks rarely do!
3. Use Your Tools
You don't have to have expensive photo editing software in order to do nice touch-ups on your photos. Windows Photo Gallery and iPhoto/"Photos", if you're on a Mac, have great color correcting abilities. Those programs are equipped with all of the basic tools that a beginning photographer really needs.
4. Setting the Scene
Let me tell you a story. Let me only tell you the last line. "Well, that would have been a great picture if it weren't for the mess on the floor." This is an easy fix. Set (or find) a good scene before you take your pictures and you'll end up with a good product. Mediocrity begets mediocrity.
Now onto the details...
5. White Balance
This is an important item to get a hold of. Sometimes, a photo comes out looking a little yellow, when it aught to look bright and white. This is do to a poorly adjusted white balance on your camera. Most cameras let you manually adjust your white balance. Fixing this simple issue should keep your white things white and your yellow things yellow.
6. Shutter Speed
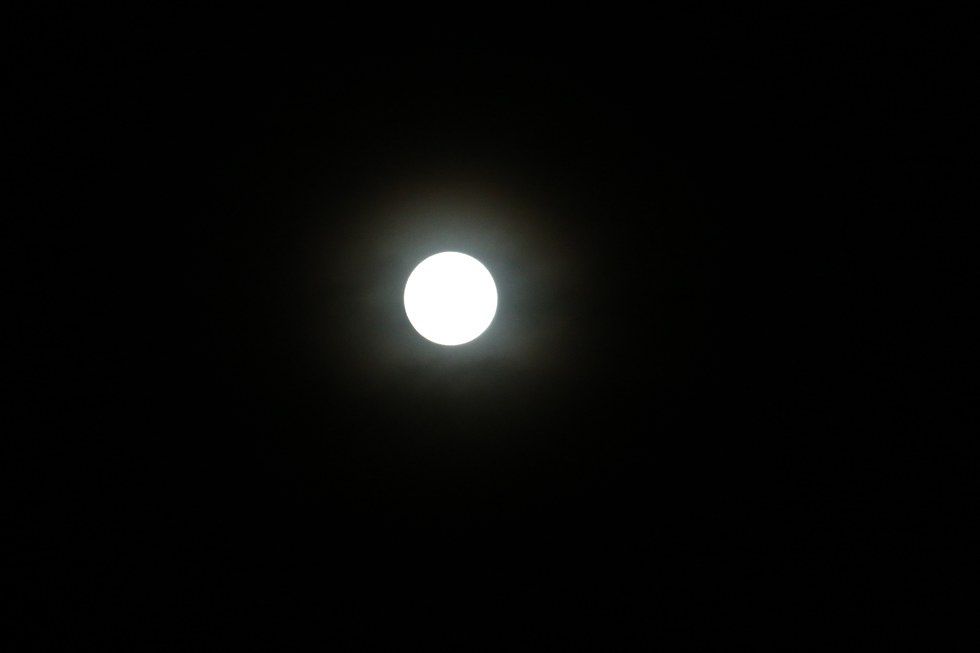
Raising and lowering your shutter speed, is the quickest and easiest way to adjust the exposure (brightness) of your photos. Pulling it down too low will cause your photos to be far too bright. But raising it too high will make them too dark. Take account of how bright your setting is before you start adjusting, and remember that lower numbers equal higher light and vice versa. That will save you plenty of headaches. (FWI, don't over expose the moon... just don't.)
7. ISO
I've no idea what those magic little letters stand for, but they sure do make a difference. Adjusting your camera's ISO changes it's sensitivity to light. This has a certain effect on the brightness of your photos; but more significantly, it effects the brightness of the colors in your photo. Mastering ISO takes work, but it can be well worth it in the end.
8. Depth of Field
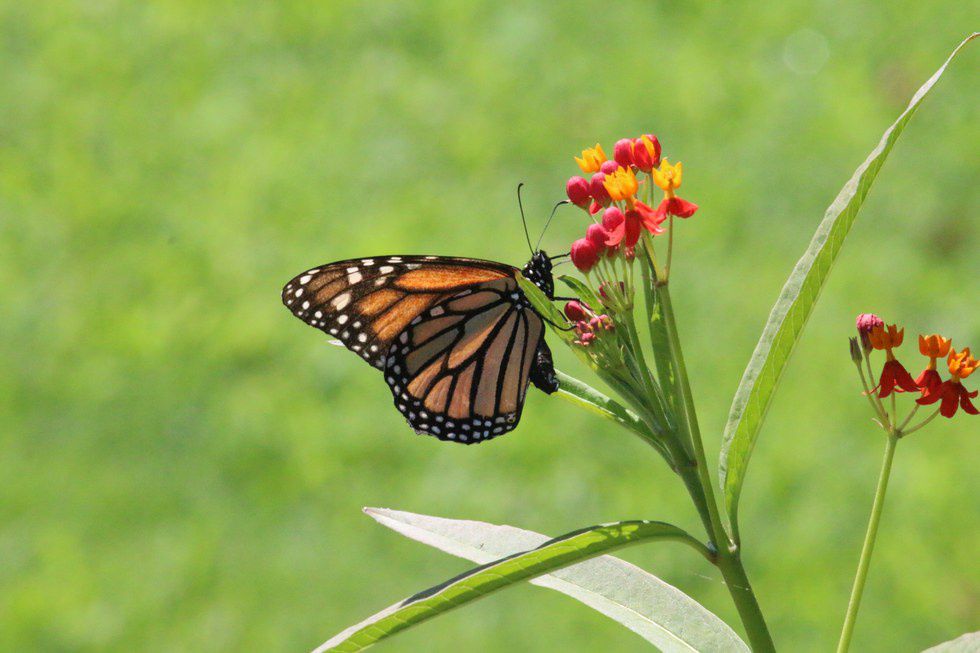
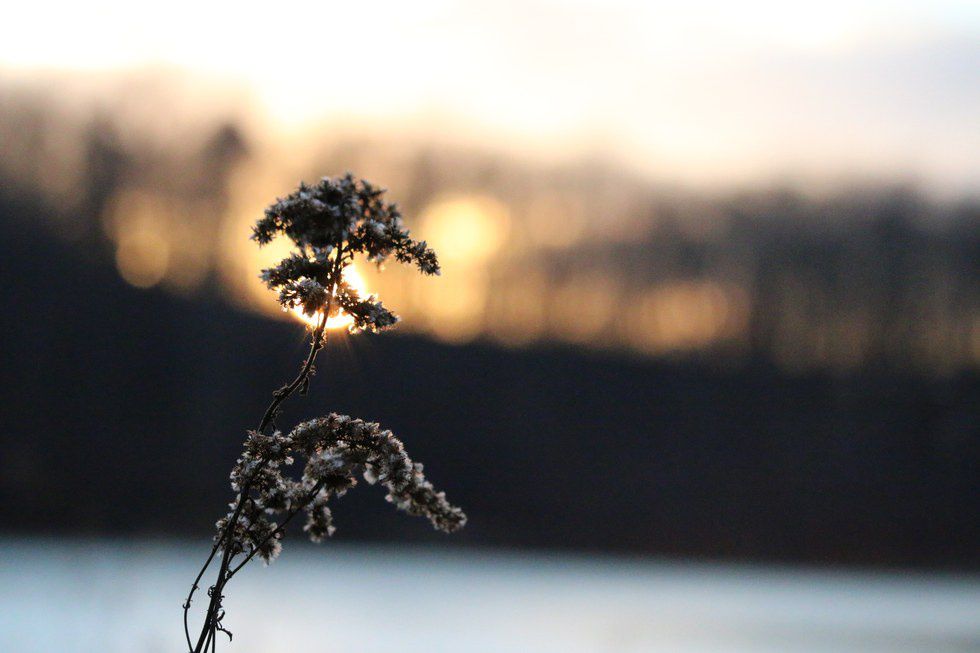
Also referred to as "depth of focus," this setting (refined by adjusting the camera's "aperture") changes how deep the focus of the picture is. If you're taking a picture of a flower, it is better to have a more narrow depth of field, so that only the flower is in focus, separating it from everything in the foreground.
9. Lighting
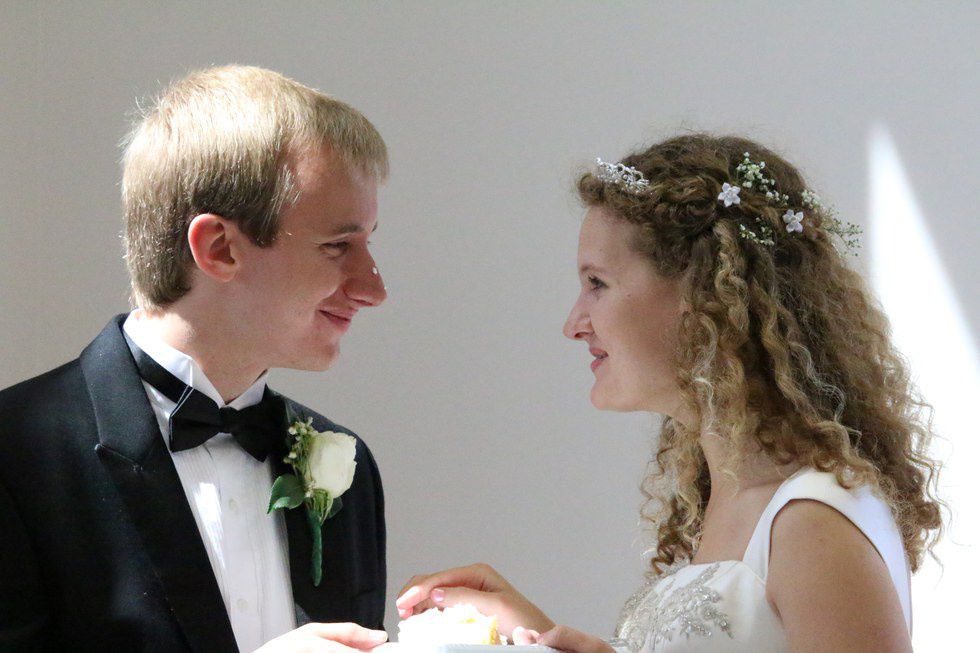
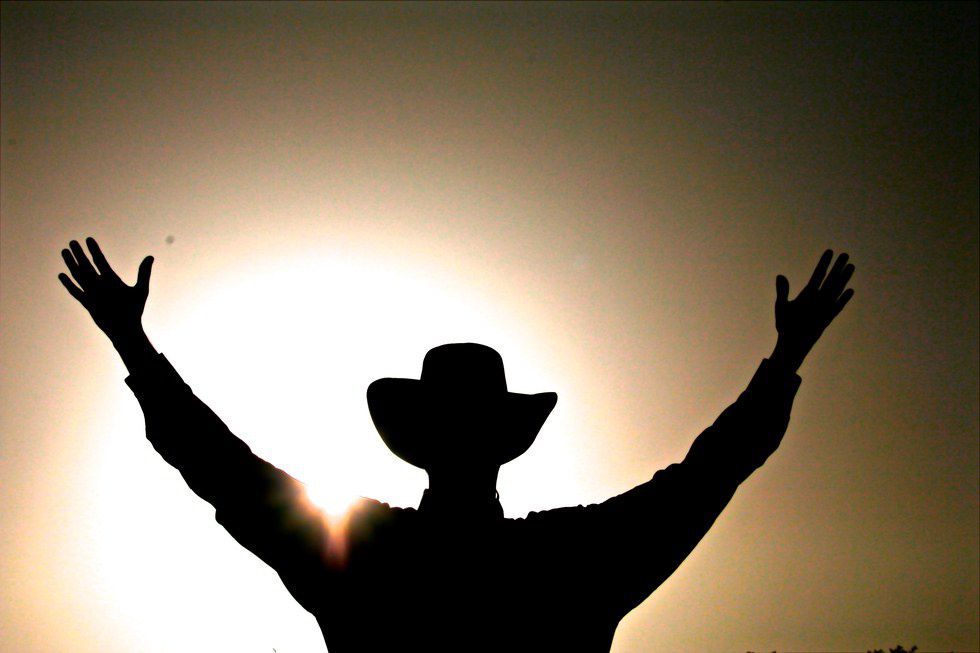
Light can be a photographers greatest ally or worst enemy. Finding the appropriate lighting can be quite a task. Be sure to wrap your subject in light. Lighting the front and the back of your subject is key. (Freebee: Heavily backlighting your subject can be used to great effect. You're welcome.)
10. Subject
This is arguably the most important thing in this whole list. Because a picture of a rock, regardless of how high the quality of the image may be, is still just a picture of a rock. Be sure your subject is interesting. And not a rock...


