In my recent article, 4 Simple Halloween Costumes You Already Have in Your Closet, I wrote about some awesome easy DIY costumes. One of which was Katniss Everdeen from the Hunger Games. Below, I will go into detail to show you exactly how I created my female fighter costume for Halloween 2016.
1. Arrow Quiver Bag
The quiver bag I crafted to carry my fake arrows around for the night cost me $0! You can make one too with:
- A cylindrical can or bottle (i.e. Pringles can, shampoo bottle, soda bottle, etc...)
- 2 sheets black card stock
- 1 sheet white card stock or printer paper
- Elmer's glue
- Paper cutter or ruler & scissors
- Sharp knife
- 1 long piece of thick black ribbon (length will depend on where you want the bag to hang)
The first step is to get your container ready for use. To do so, remove the label and rinse out the container you have chosen.
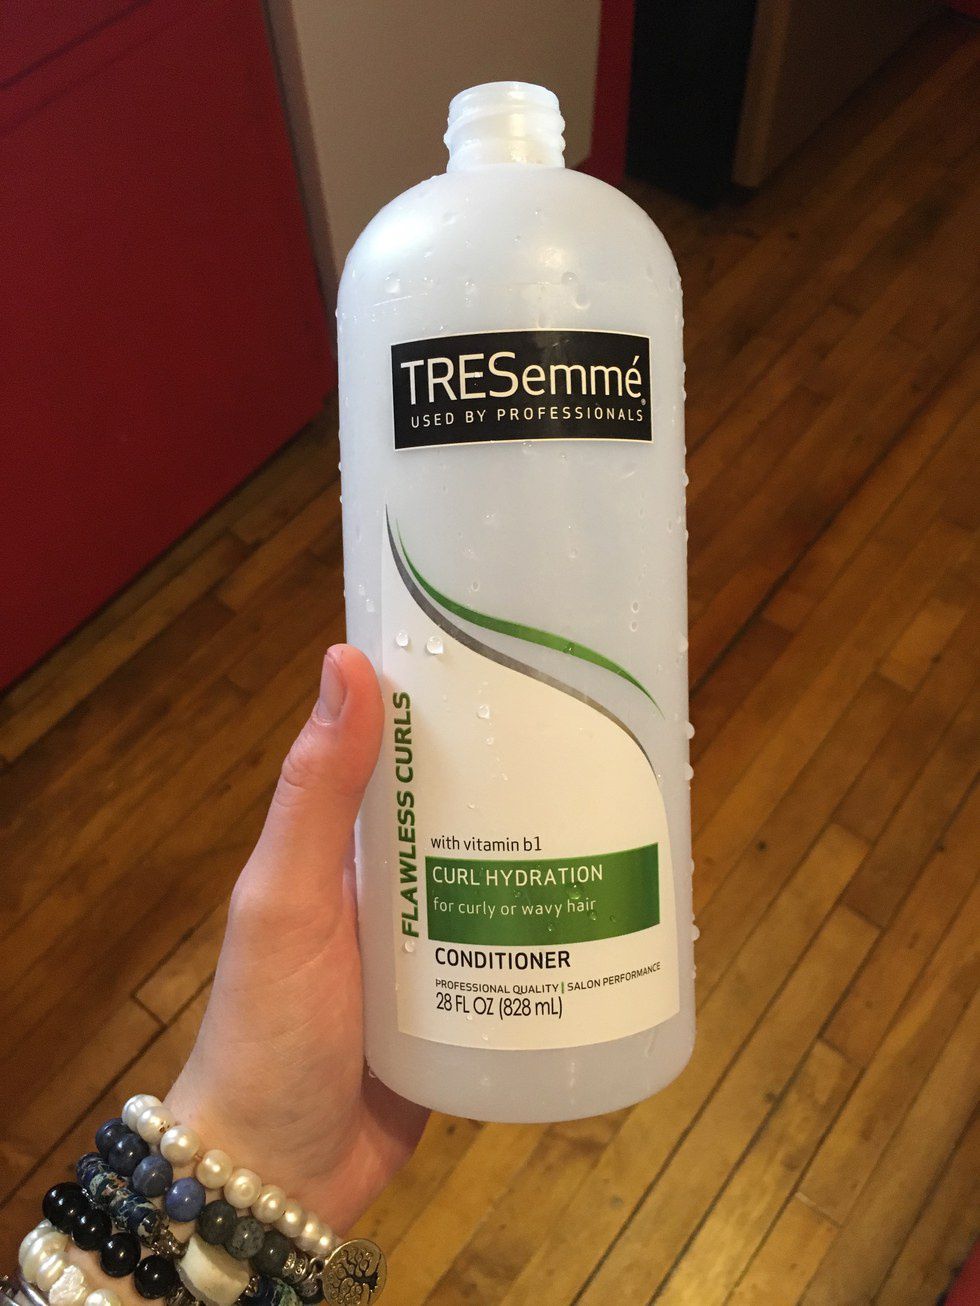
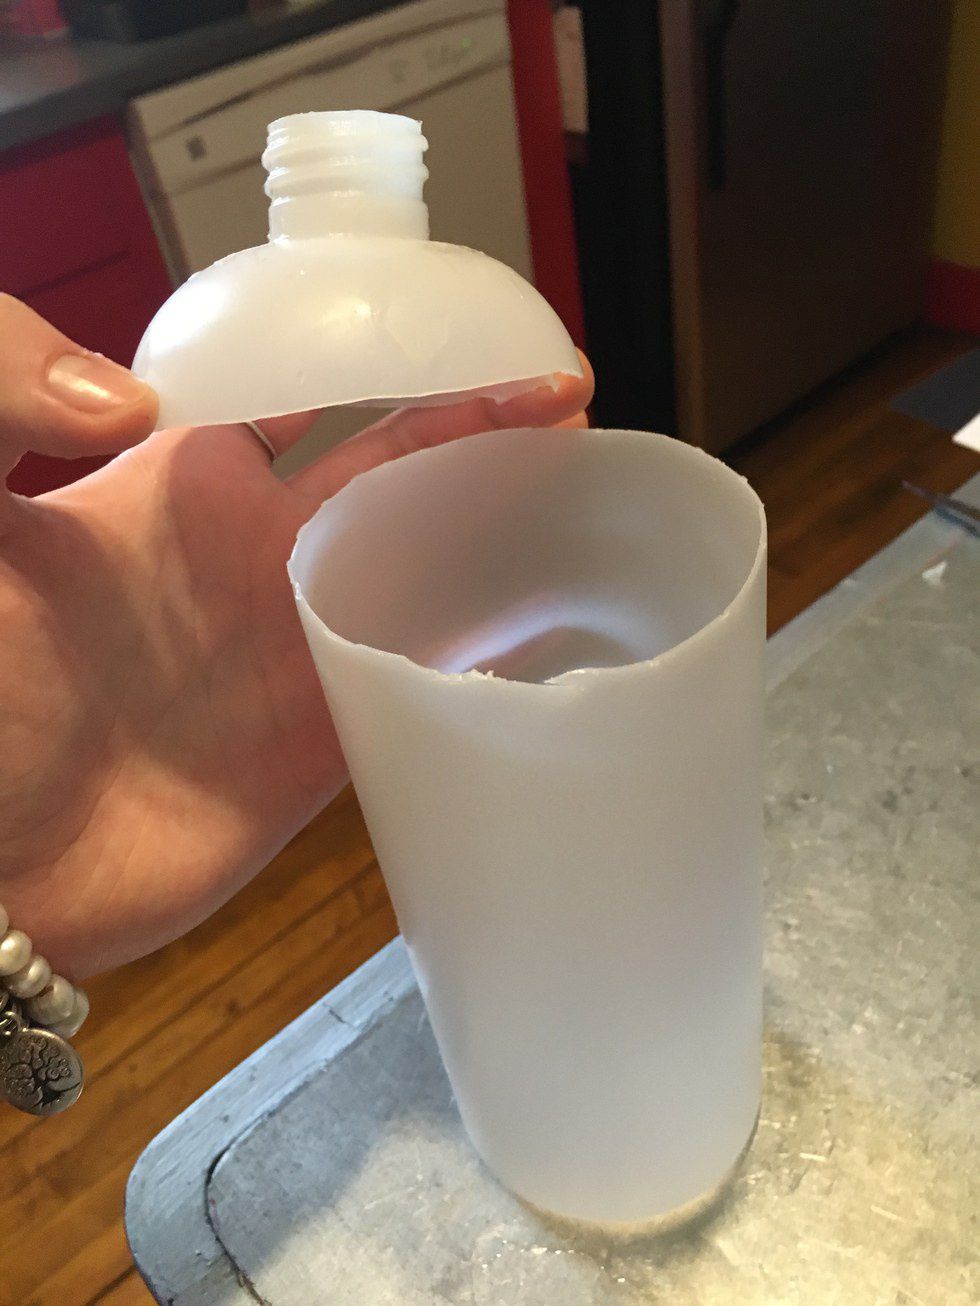
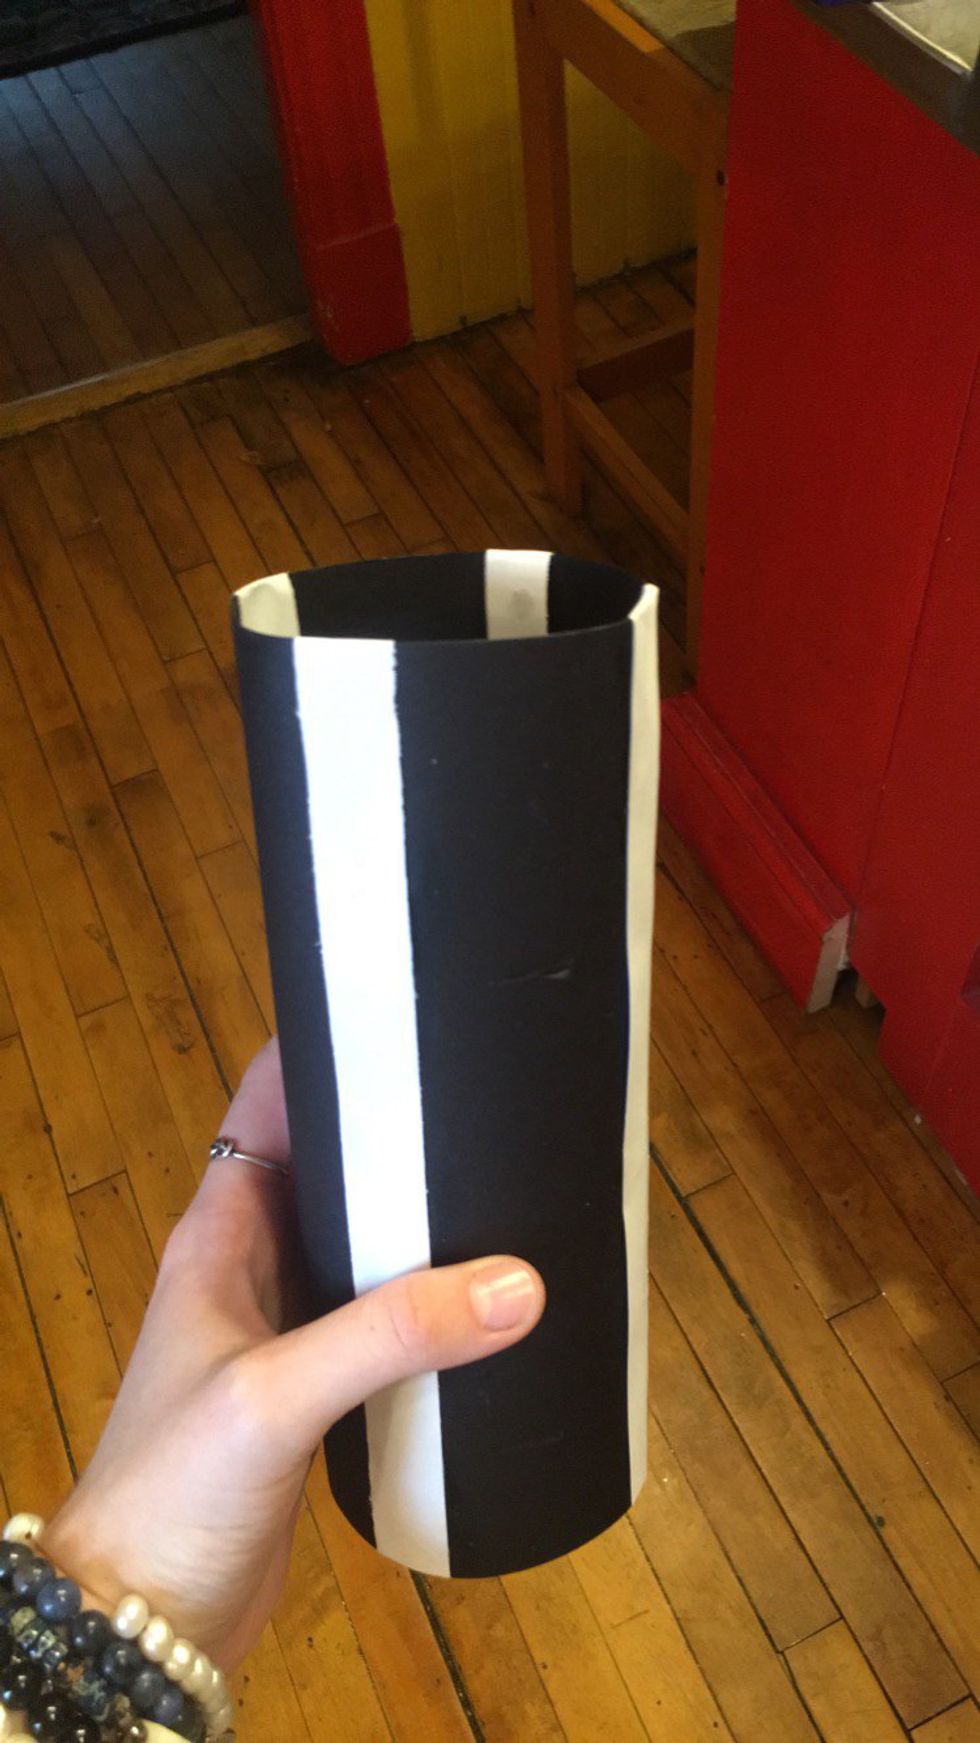
Next, you must turn whatever kind of container you are using into a one-ended cylindrical tube. If you are using a Pringles can for this, all you have to do is remove the lid. However, if you've chosen a soda or shampoo bottle, you should cut the top off. As shown below, I used an empty conditioner bottle which I removed the top from.
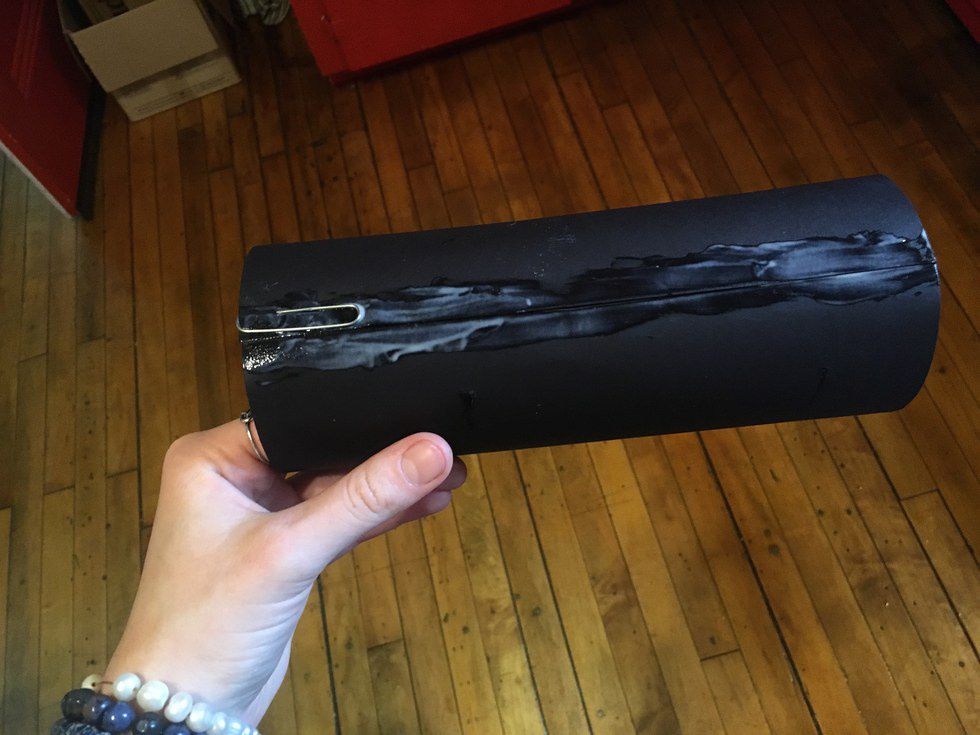
After you have the basic shape, cover your container in black card stock. My card stock was a bit longer in length than my bottle, so I took advantage of those few inches to add extra length to my quiver bag. I let the excess card stock rest above the open side of my quiver bag; and, used Elmer's glue to secure the paper to the bottle. Don't be afraid to be messy with the glue because we will be covering the seam. Because this glue isn't especially strong, I used a paperclip to hold the paper in place on the bottle while the glue dried.
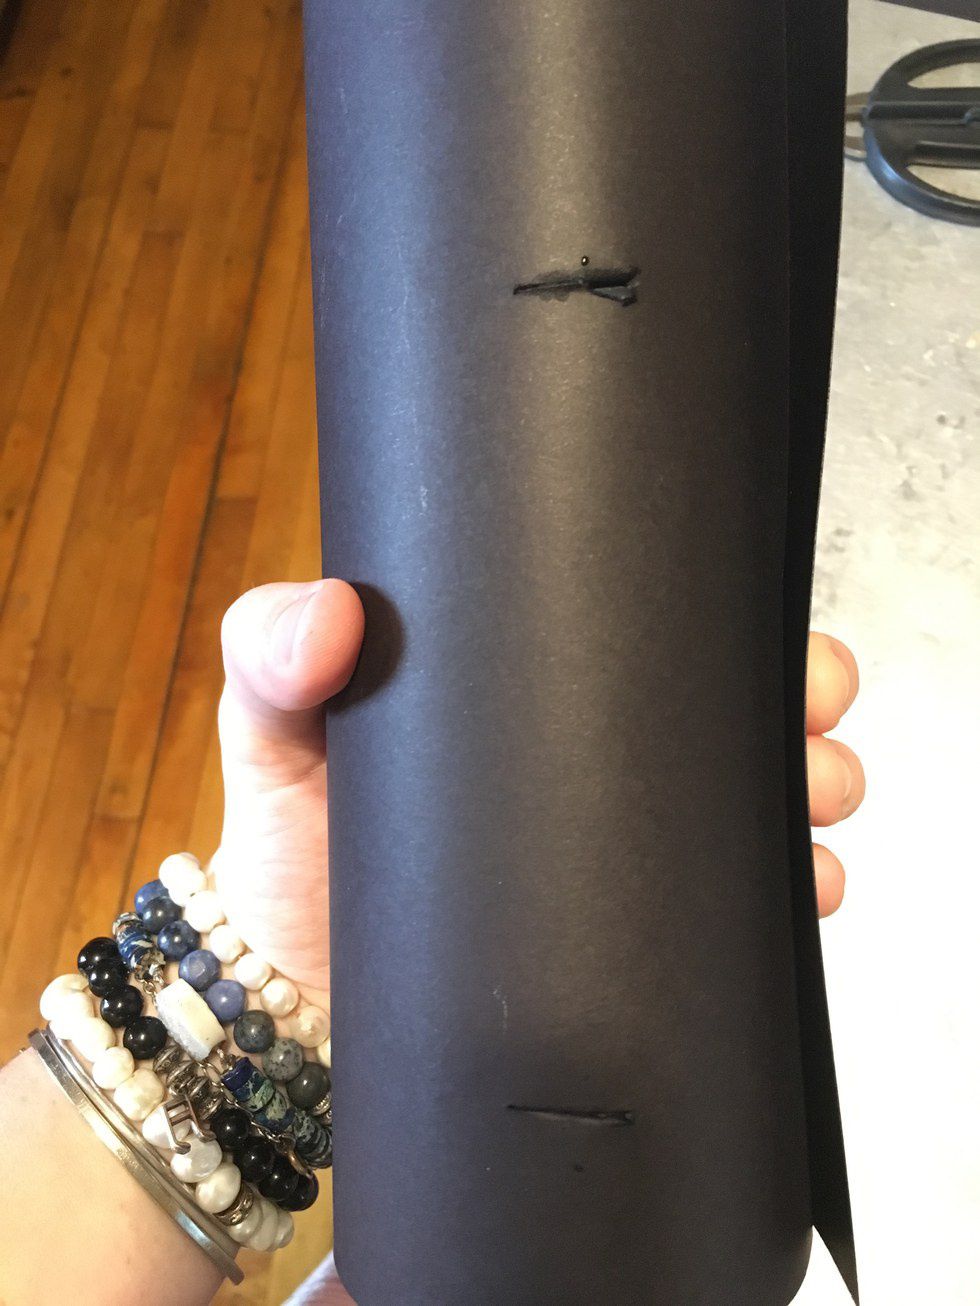
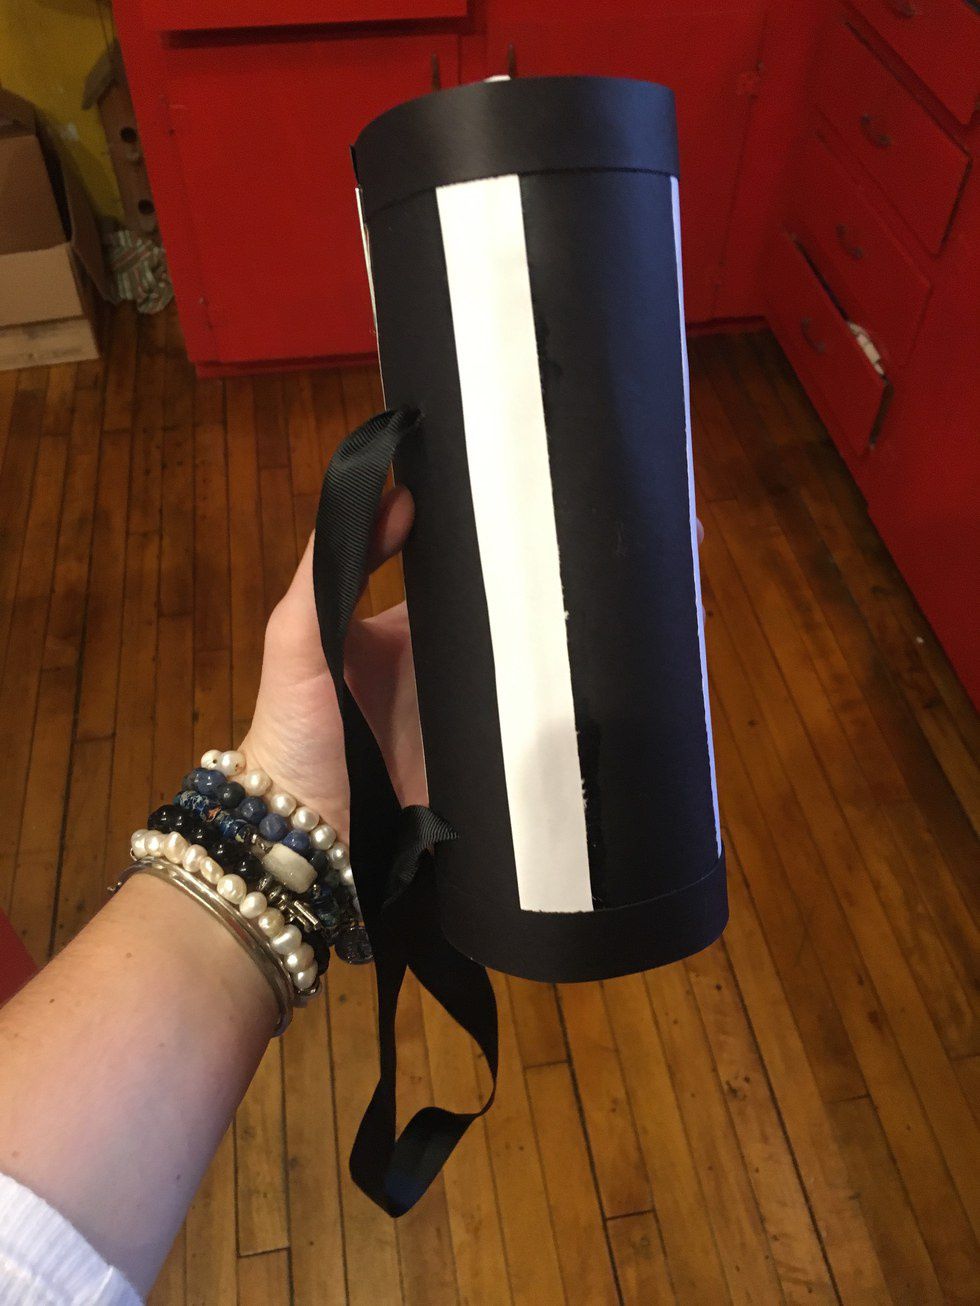
Once your glue has dried and the card stock is secure, use your sharp knife to cut 2 slits through both the card stock and bottle. The slits should run about 1" horizontally and be located 2" from the top of the bottle and 2" from the bottom. This is where your strap will hang.
Using your paper cutter or ruler & scissors, cut 3/4" wide strips from your white paper. The amount of white stripes you use on your arrow quiver bag will vary depending on its diameter. My bottle allowed me to comfortably fit 4 white stripes. Be sure you don't use too much glue as it will seep out the sides.
You will then need to cut 2 3/4" wide strips from your other sheet of black card stock. These should be glued around the diameter of the bottle—one around the top edge and the other around the bottom.
When all of the glue on your arrow quiver bag has dried, you can slide the ribbon through the previously made slits. If the ribbon doesn't easily slide through, use your scissors or knife to guide it. After you adjust the ribbon to help your bag hang where you want it to, tie the ribbon on the inside. Viola! You now have a fully-functional arrow quiver bag; AND, you are one step closer to being Katniss!
2. Arrows
After you've made your arrow quiver bag, you will need a few arrows to put in it! I made 6 fake arrows for a grand total of $3! You can make them too with:
- 6 1/8" wooden dowels
- Silver or grey spraypaint
- 1 large sheet brown paper
- Elmer's glue
- Scissors
- Garden shears
- Scrap newspaper
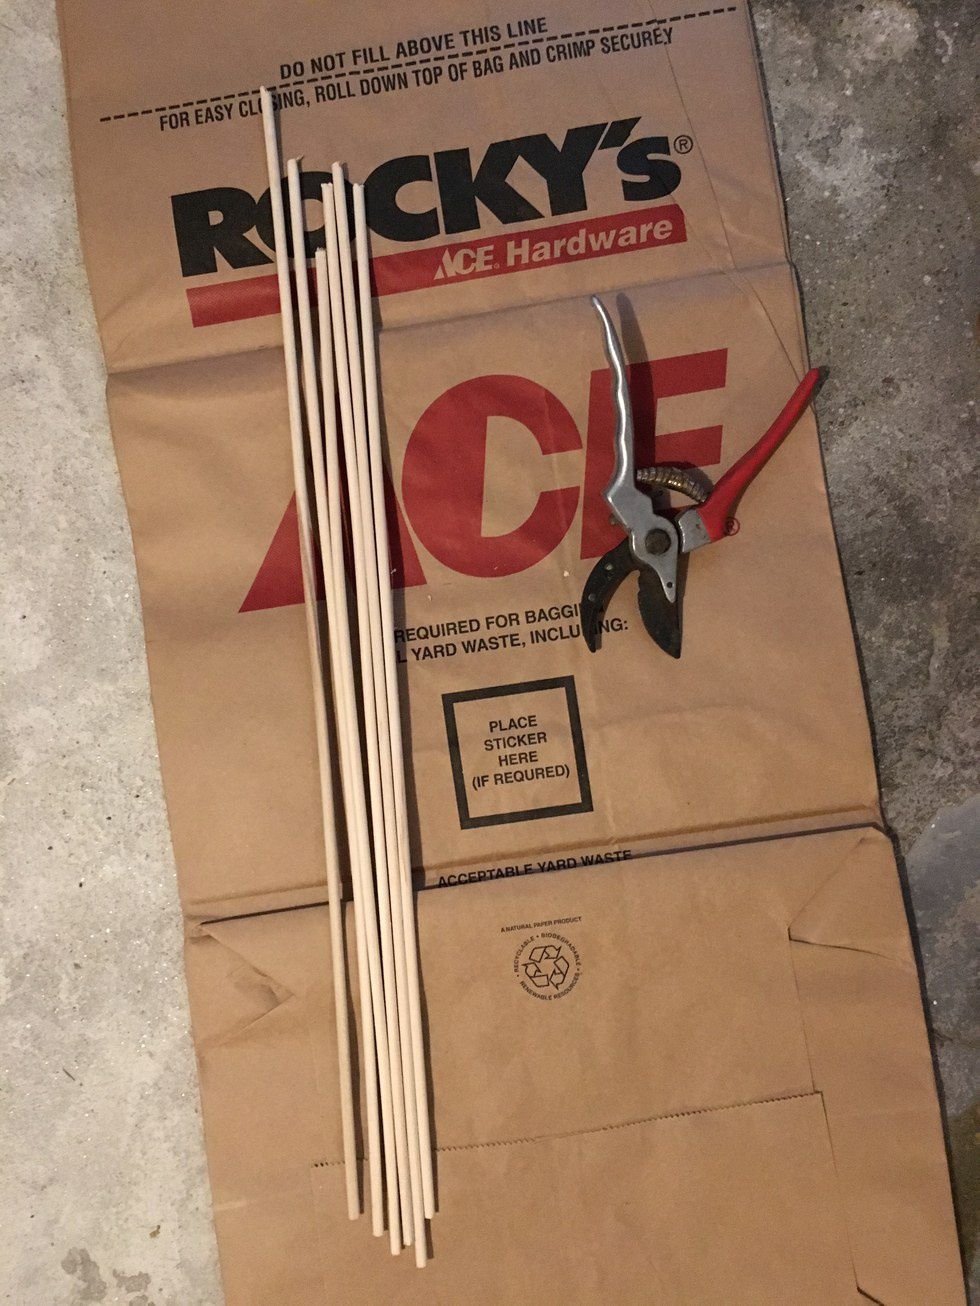
The first step in creating your wooden arrows is cutting your wood in half. The dowels come quite long, so use your garden shears to carefully cut each wooden dowel in half.
Then, lay the dowels out on your newspapered surface. This project should be done in a mess-friendly zone in crafting clothes.
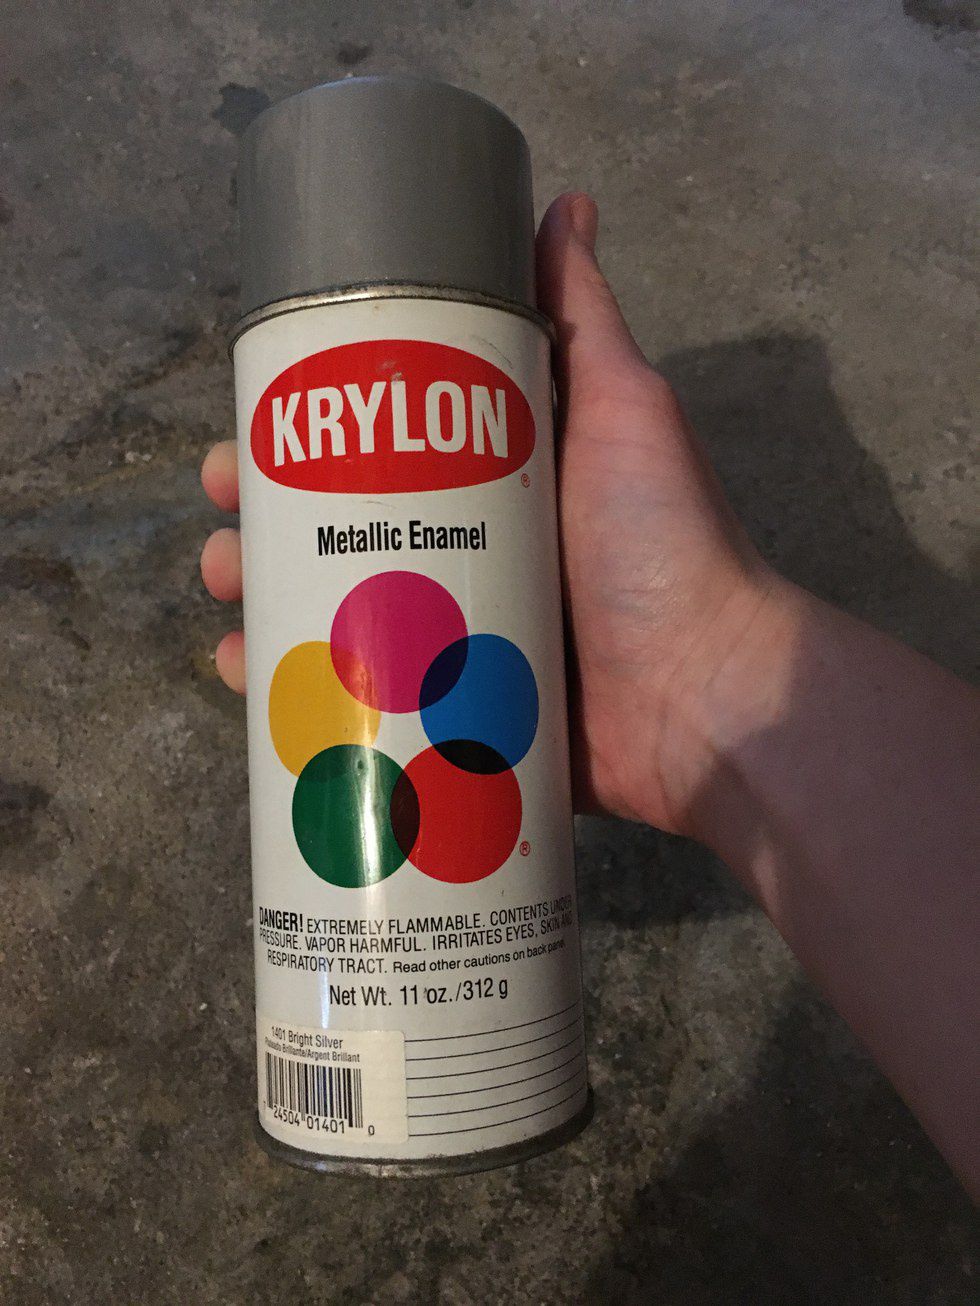
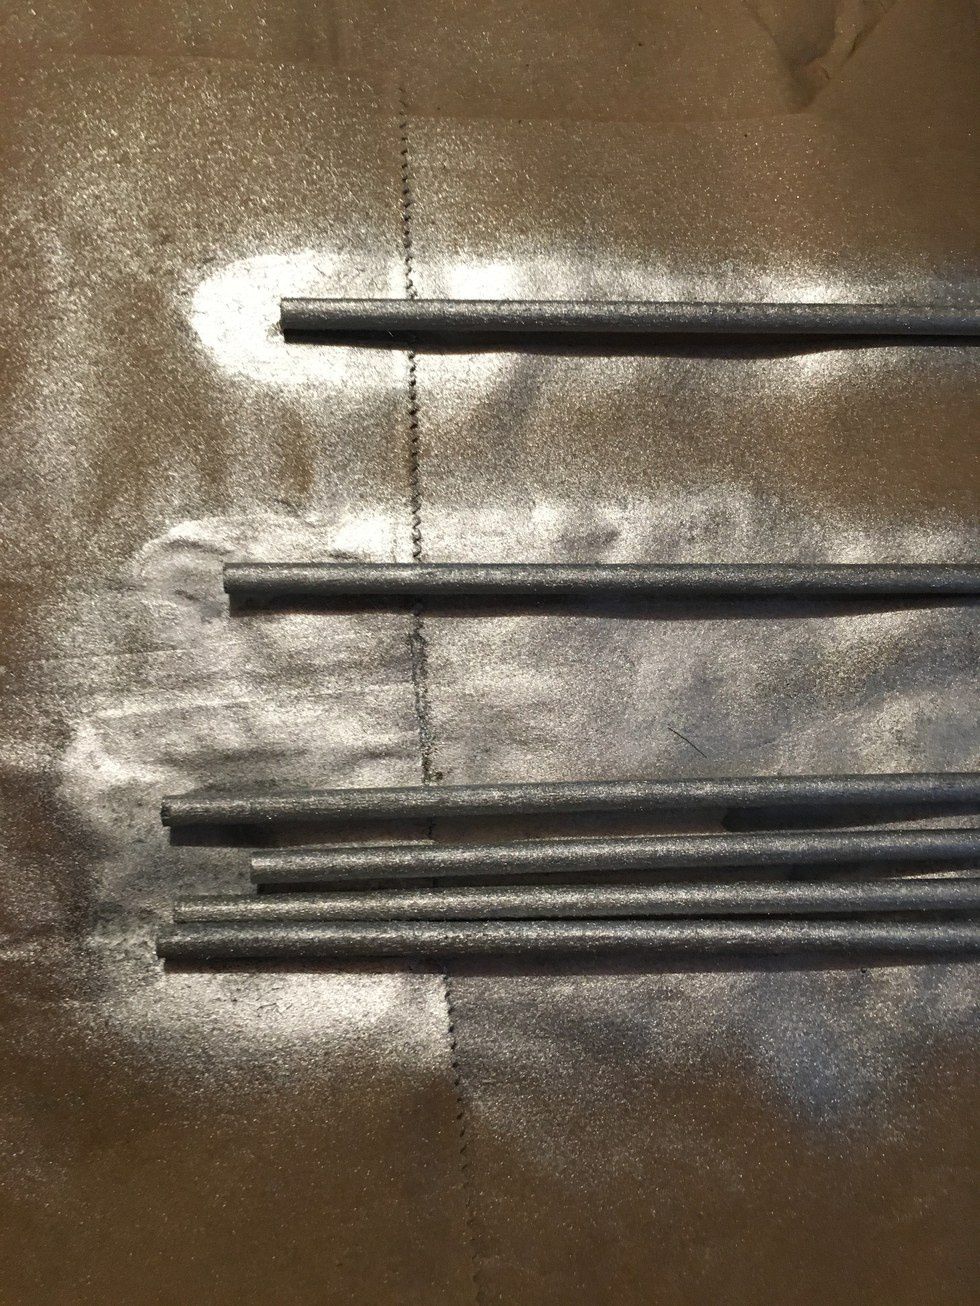
Shake your can of paint and spray the visible side of each dowel with a good coating of silver paint. Your result should be opaque. if you can see the wood through the paint, add another layer.
While the paint dries, cut 12 triangles out of your brown paper. These will act as the arrow heads.
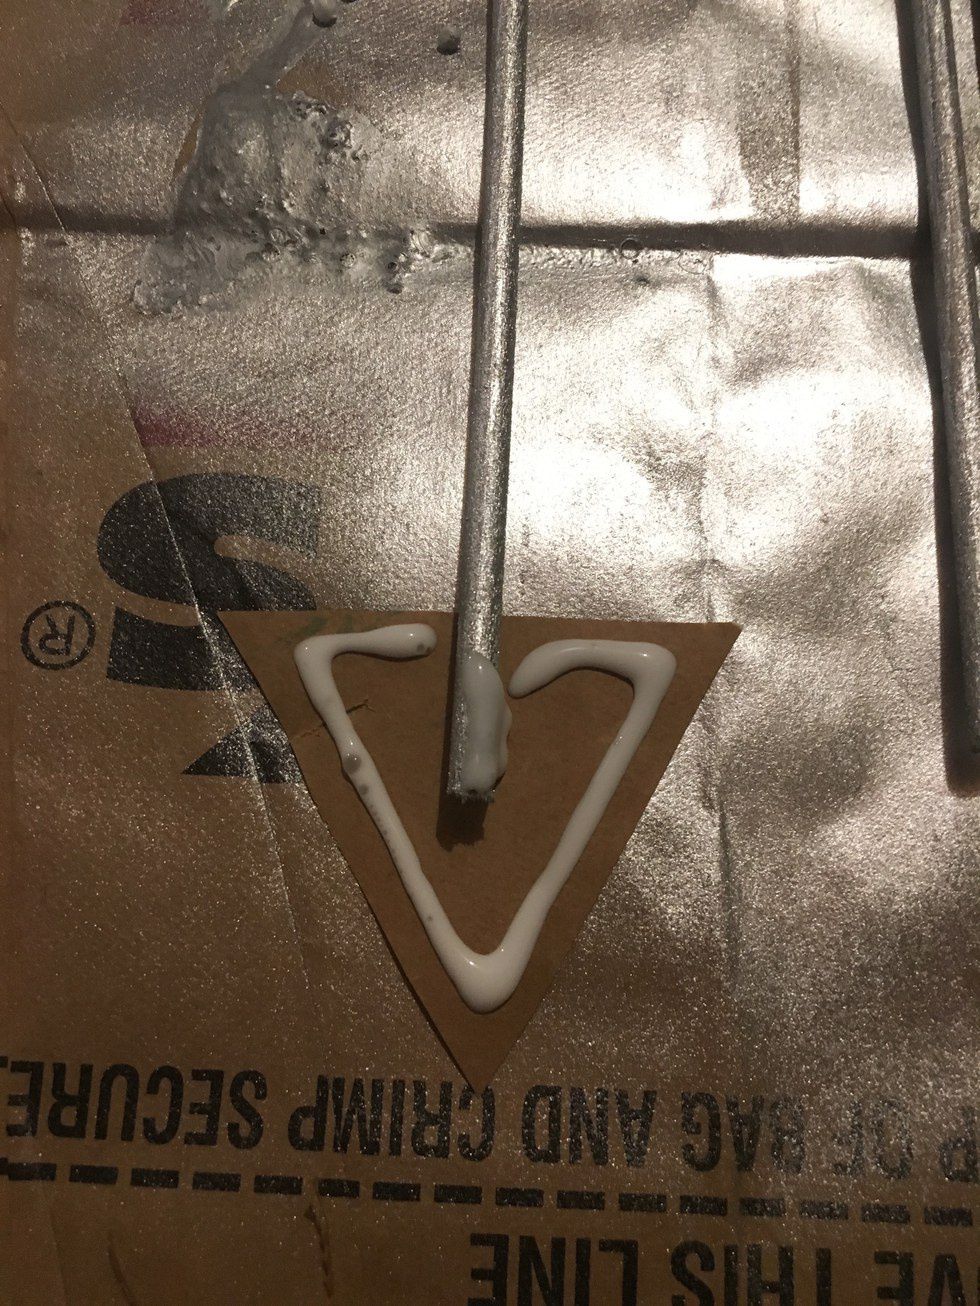
Once your dowels are safe to touch, attach an arrowhead to each. Every dowel should have two brown-paper triangles fastened to the end you cut. Use Elmer's glue to adhere the triangles to each other, with the dowel sandwiched in between.
After your dowels and arrowheads are dry, give them with a coat of spray paint. At this point, no wood or paper should be visible and you should have 6 cosplay wooden arrows!
I hope you all like my DIY costume ideas and have a great time acting out your favorite characters this Halloween season!


